This project is based on the MagicMirror2 project by Michael Teeuw. It can be found here.
My original plan was to buy a picture frame, put an old laptop on the back, and add a two way mirror film. As a student with limited resources this had to be done cheaply, so I used what was on hand. A hot tip would be to not cheap out on the actual mirror, as the solution I had turned out quite horrible. Read on to see how it turned out. Please note that I will not be putting a great amount of time into this build log as I have a lot of things to do.. So there will be poor structure, grammar erros and so on. Please enjoy!
The parts I used:
- Frame: IKEA 50x40cm
- Old laptop(I used two): Lenovo ThinkPad E330
- Reflective mirror film
- VGA to LVDS controller board(Found here)
- Voltage buck converter
- USB drive
- Tools: Drill, saw, soldering equipment, hotglue gun, screwdrivers etc.
Alright, so let’s get to it.
Building the hardware
The first step was to tear open the laptops and pull out the screens for mounting in the picture frame. You should google how to replace the screen on your specific laptop to get this done.
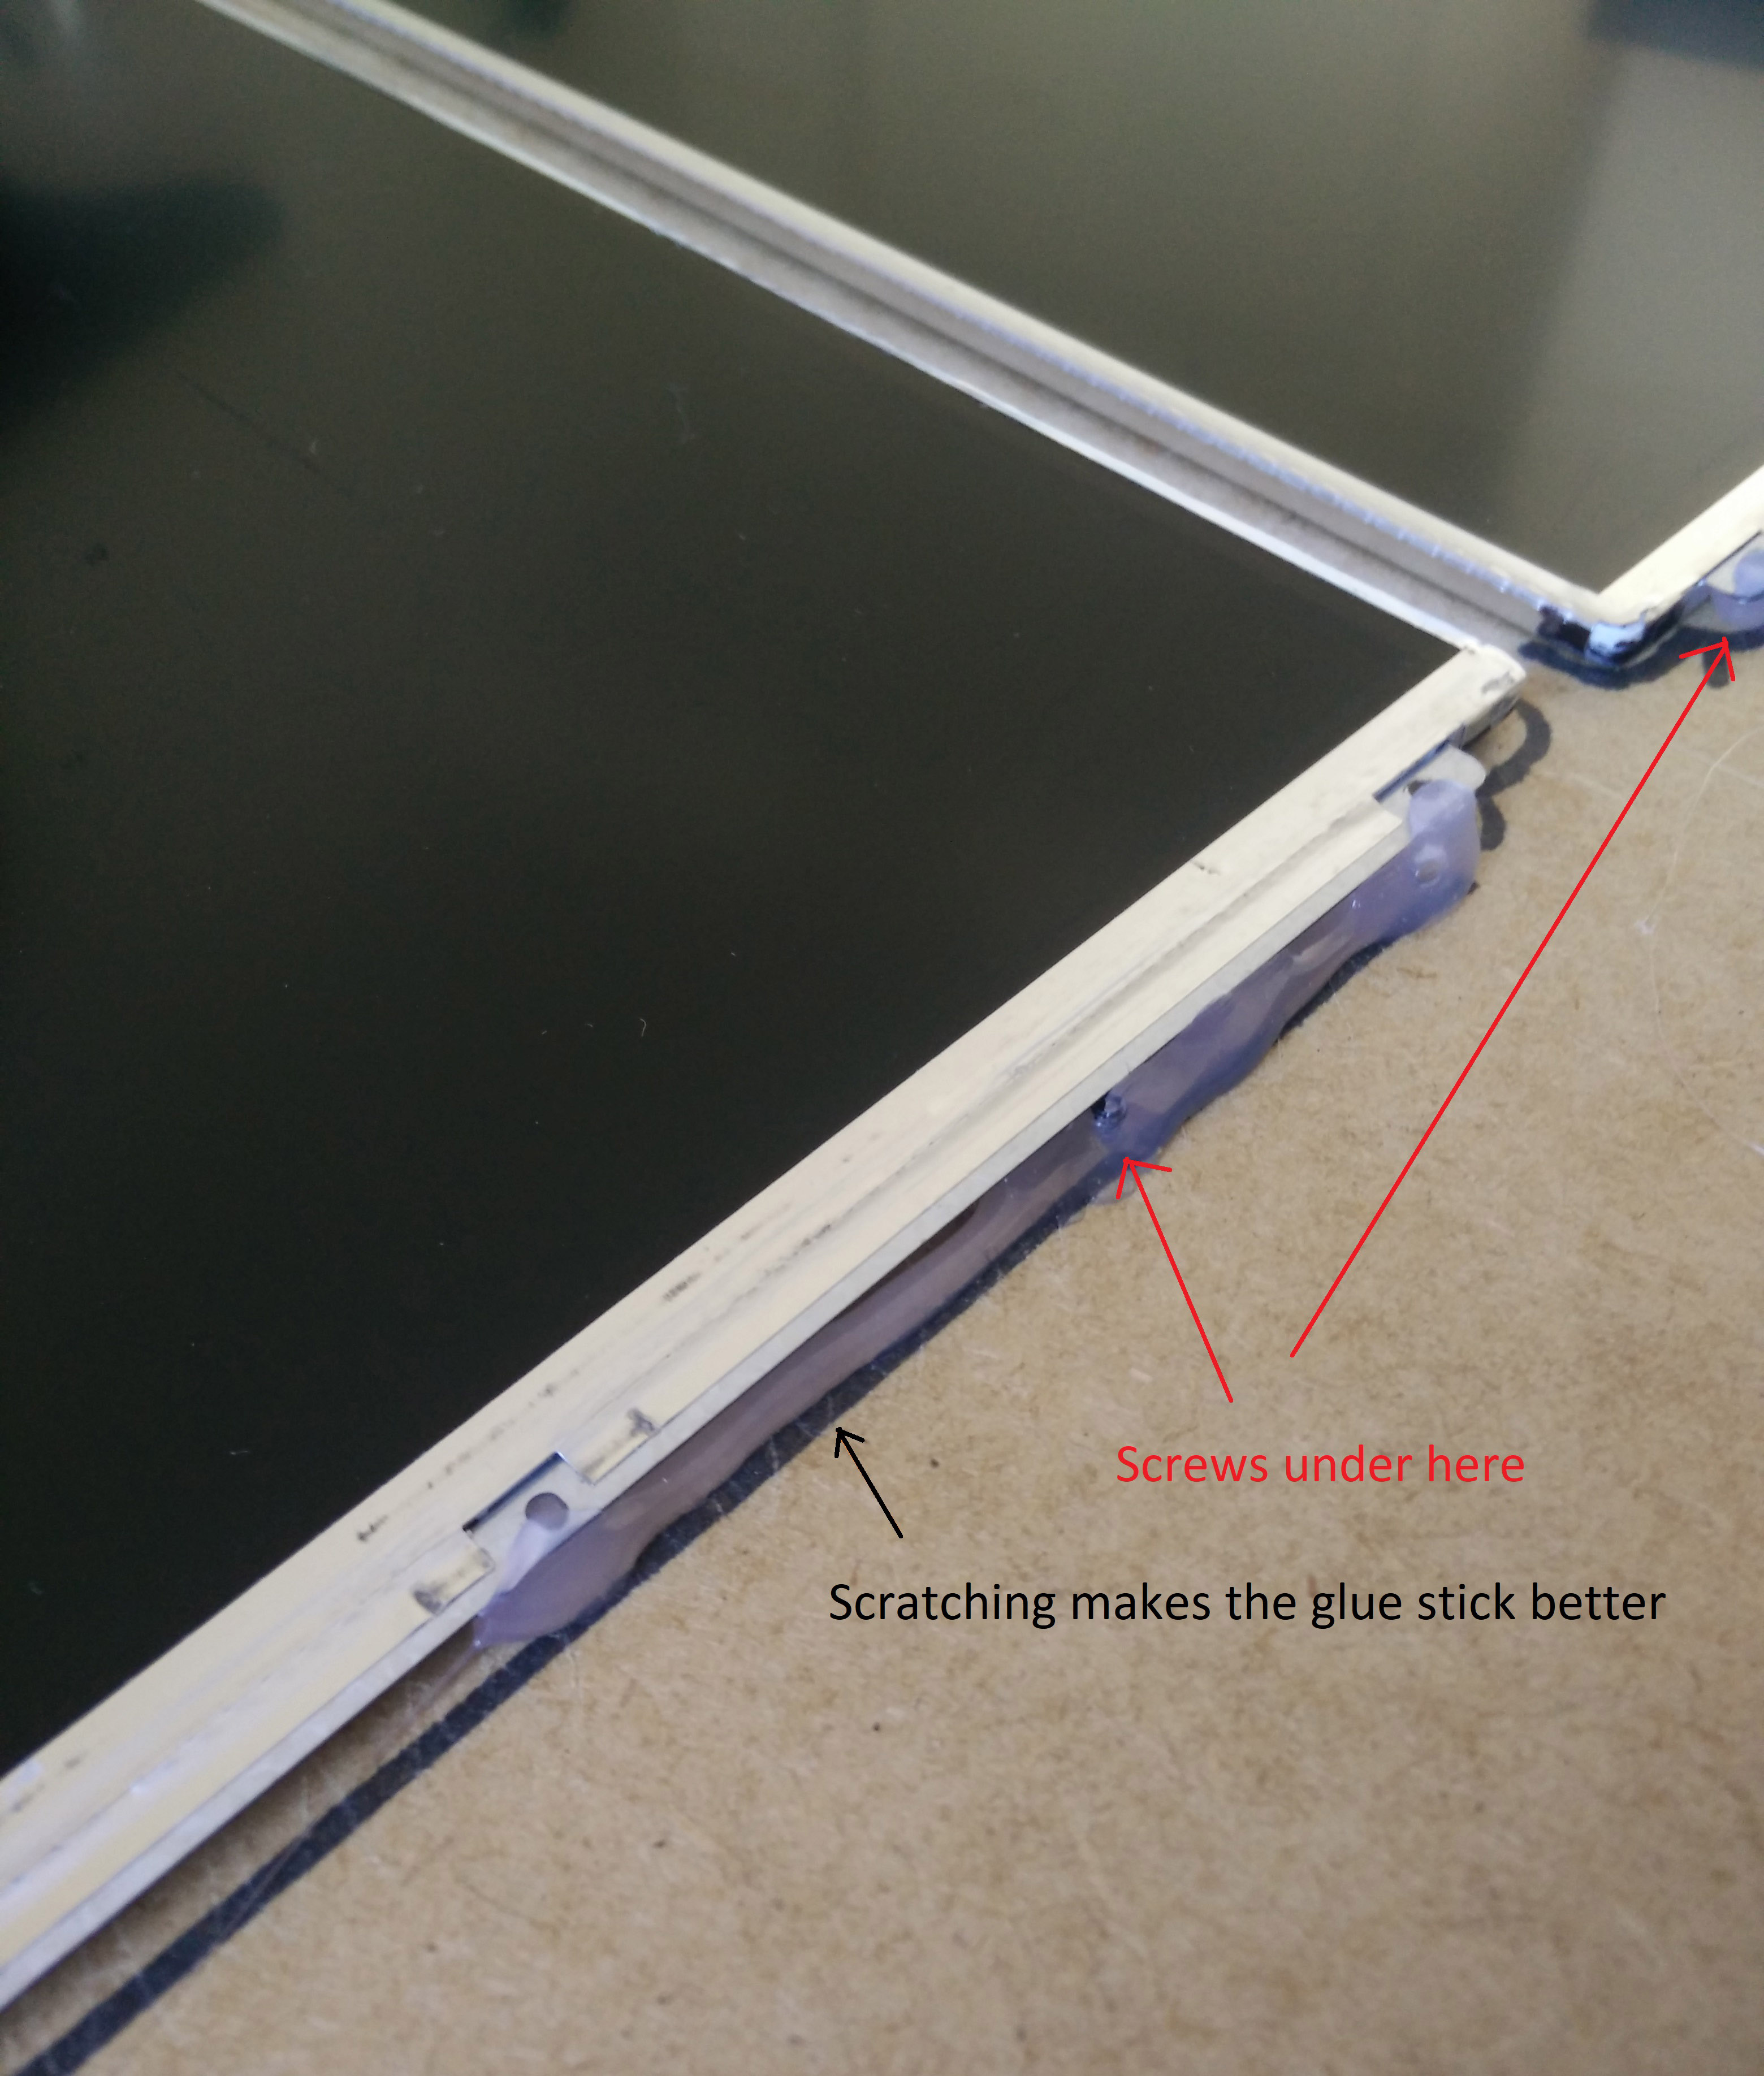
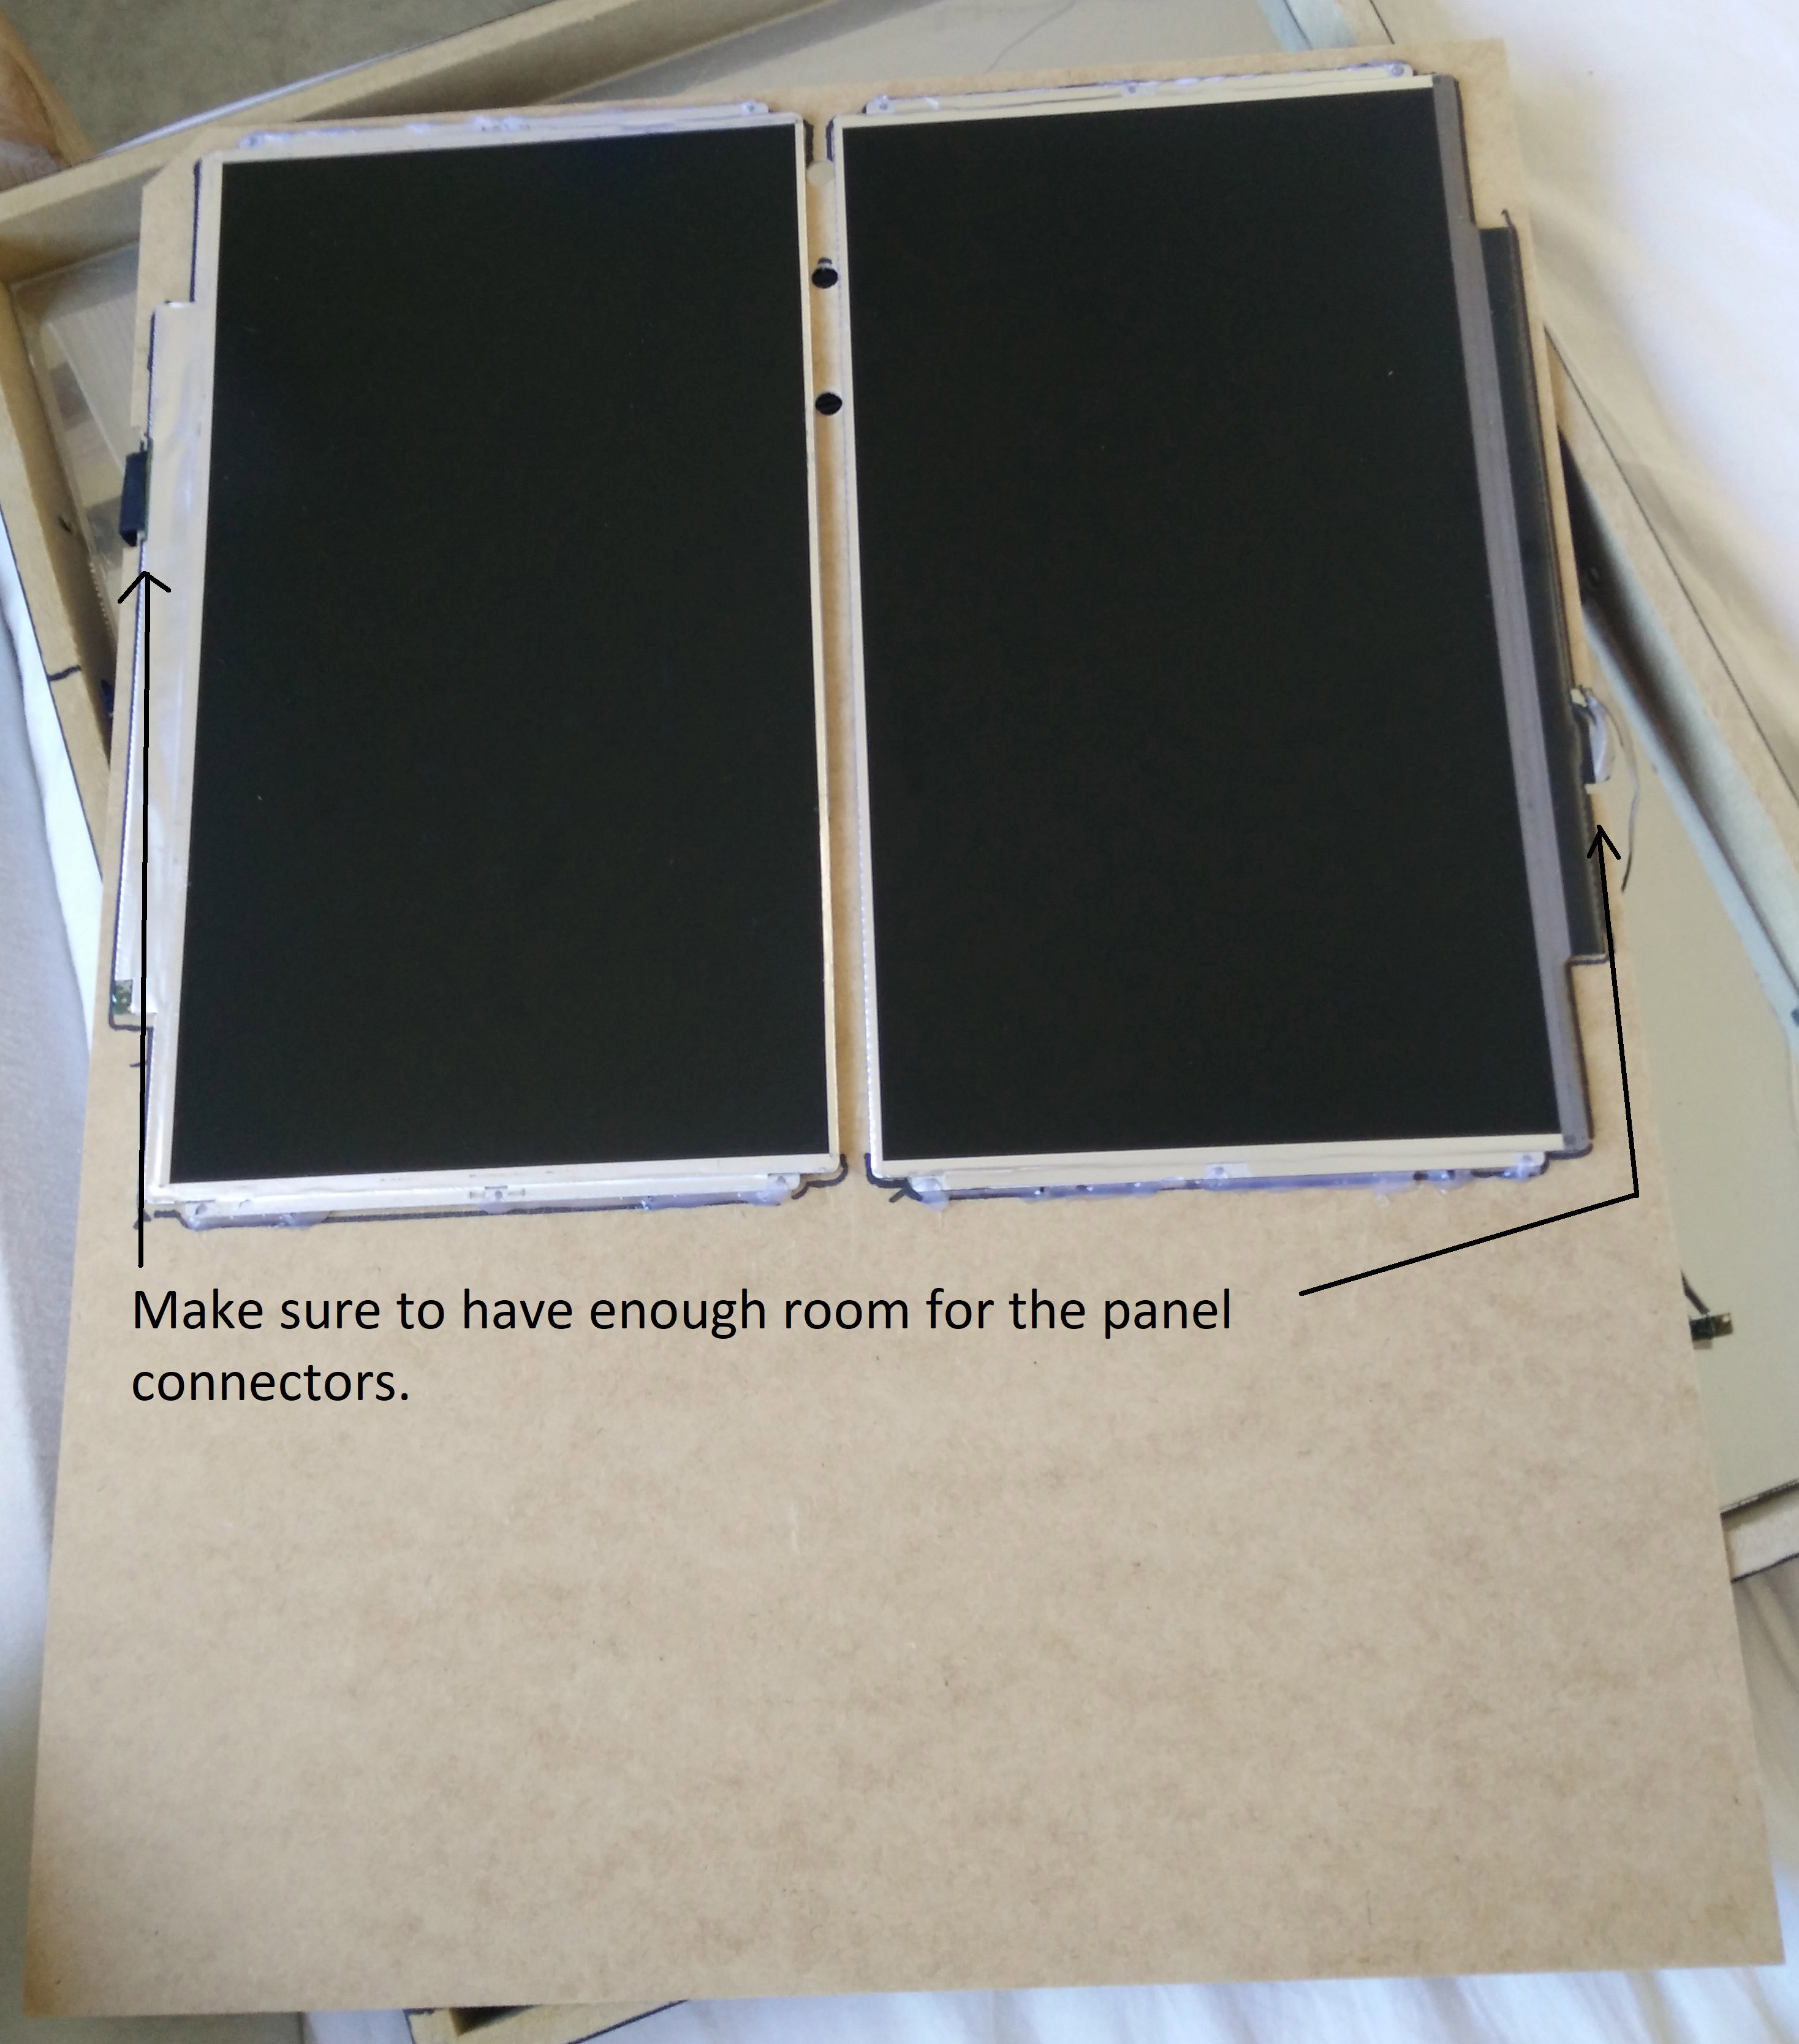
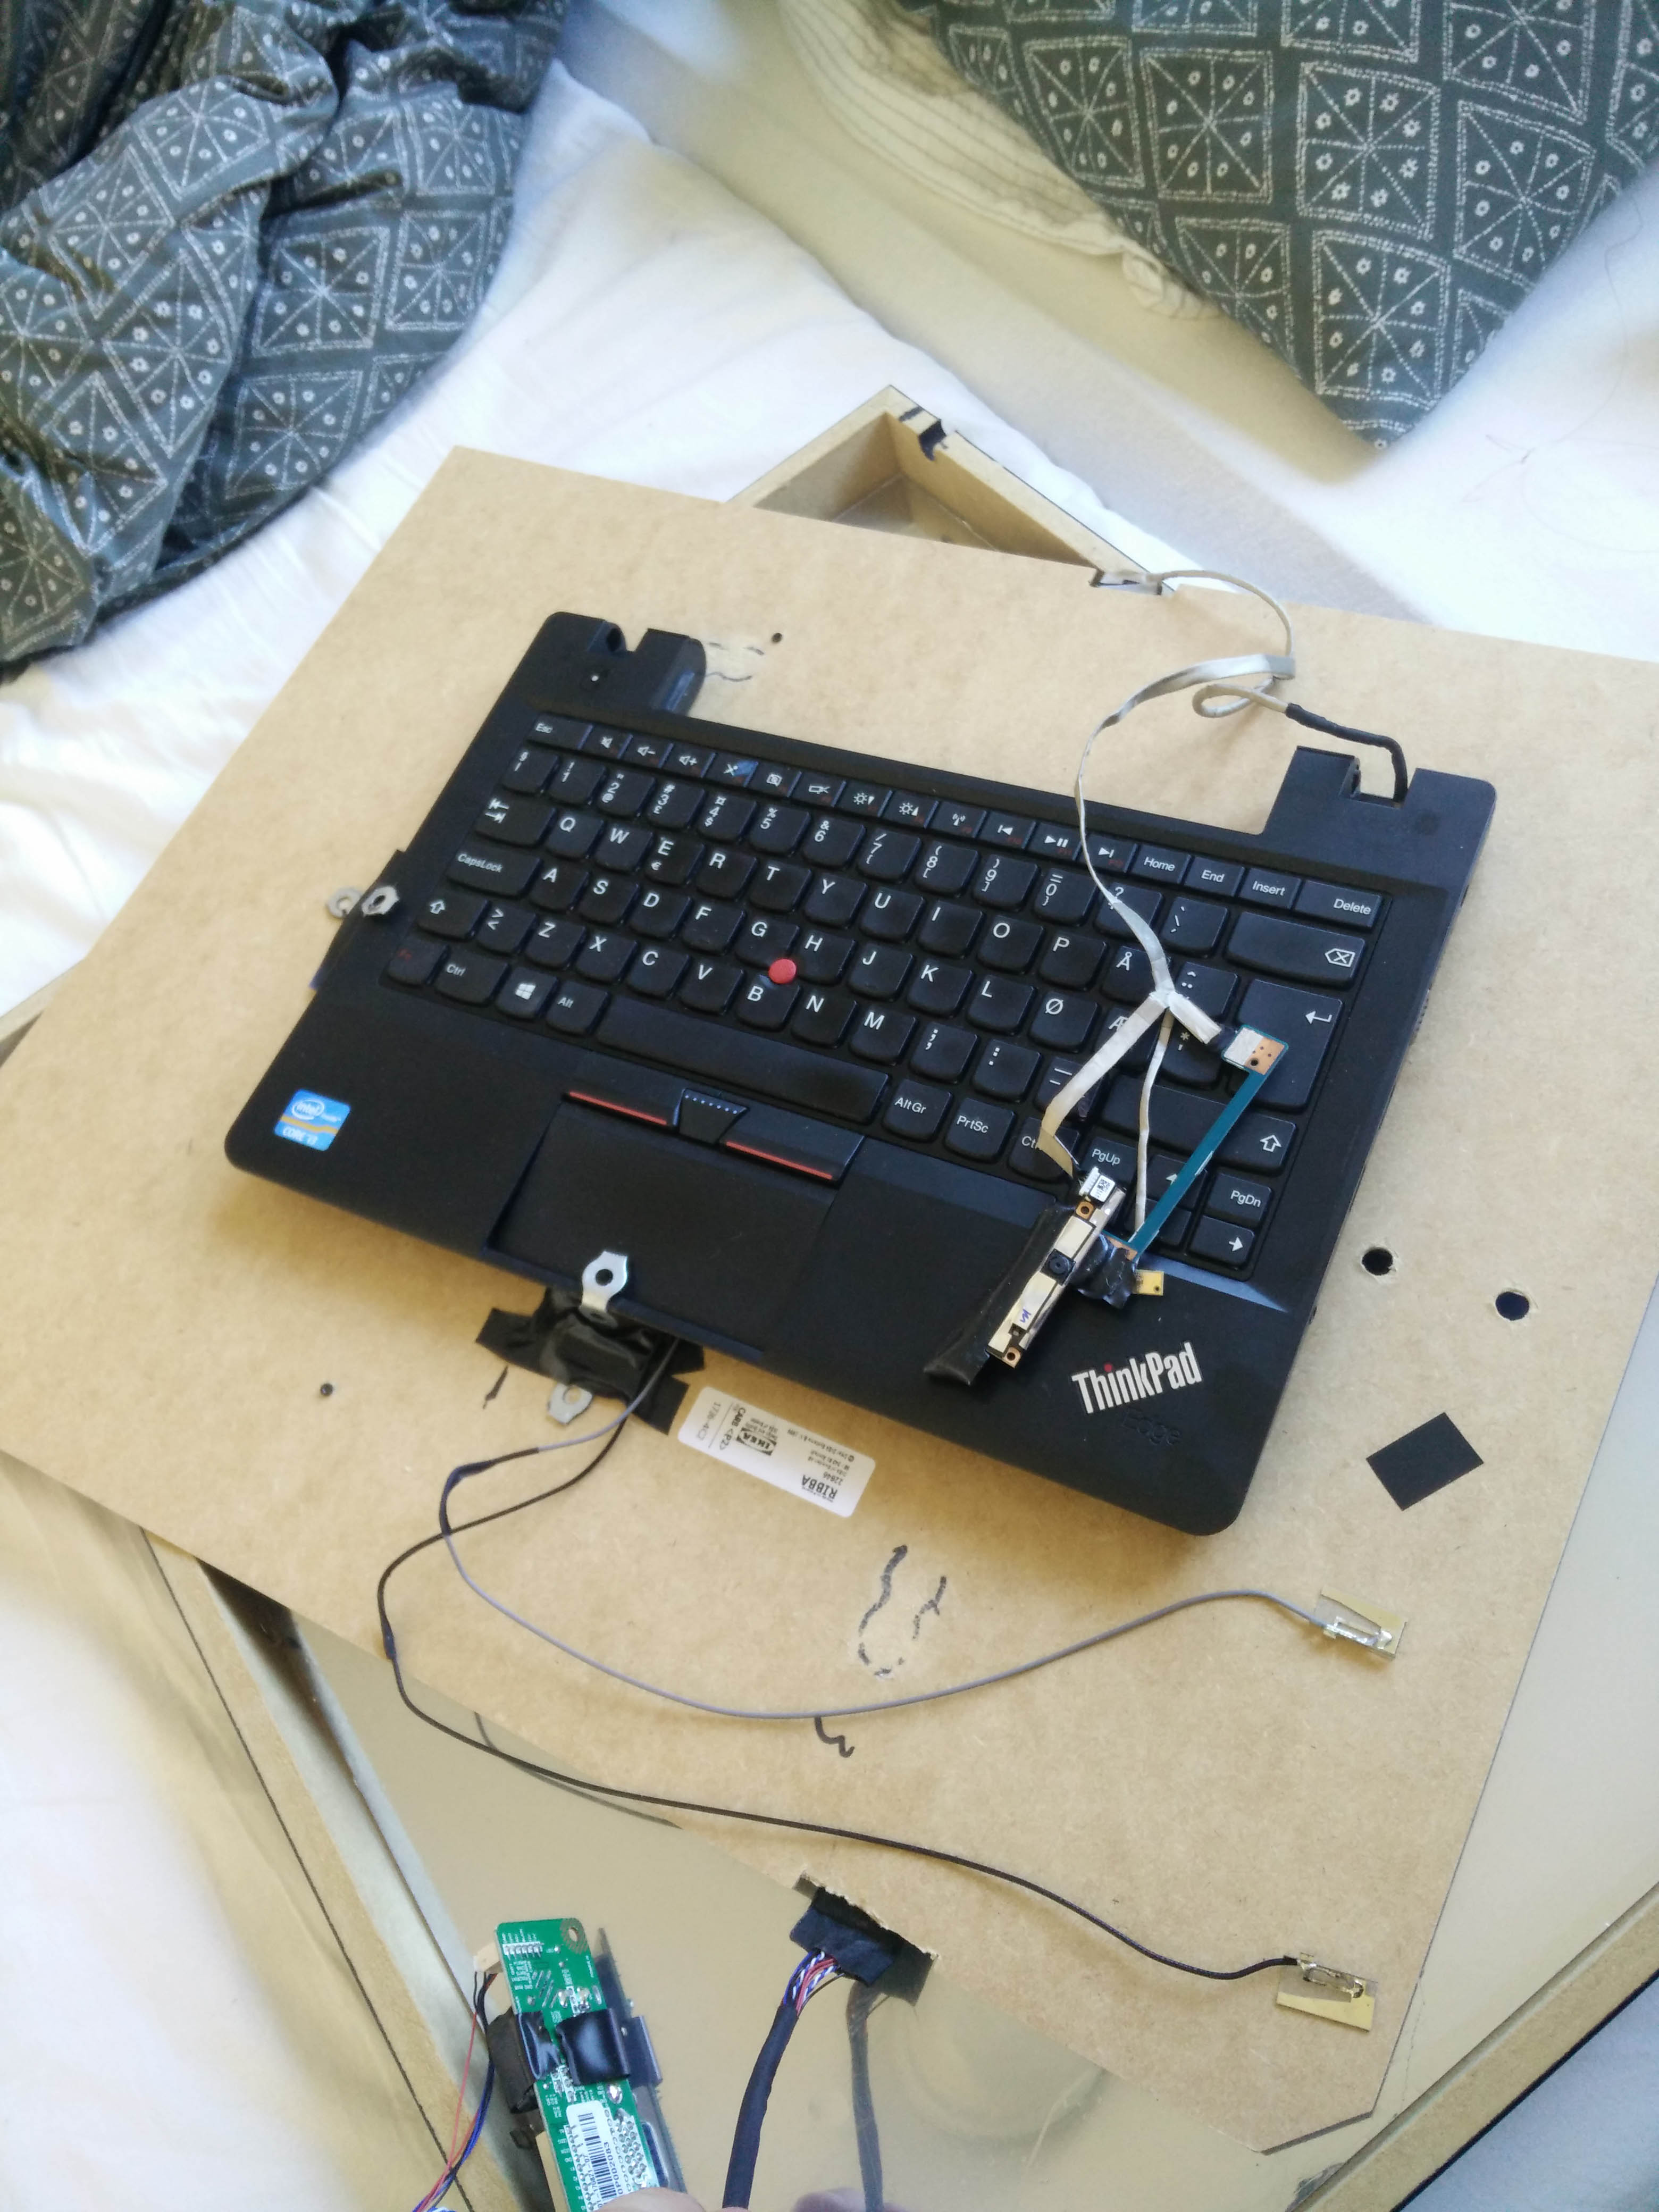
Then I poked some holes in the board which was going to hold the panels, so that I could stick some screews through and glue them on. That would help support the weight of the panels as i figured glue doesn’t easily stick to this surface. I then proceeded to glue the panels directly on to the board after making some scratches in it for the glue to stick to.
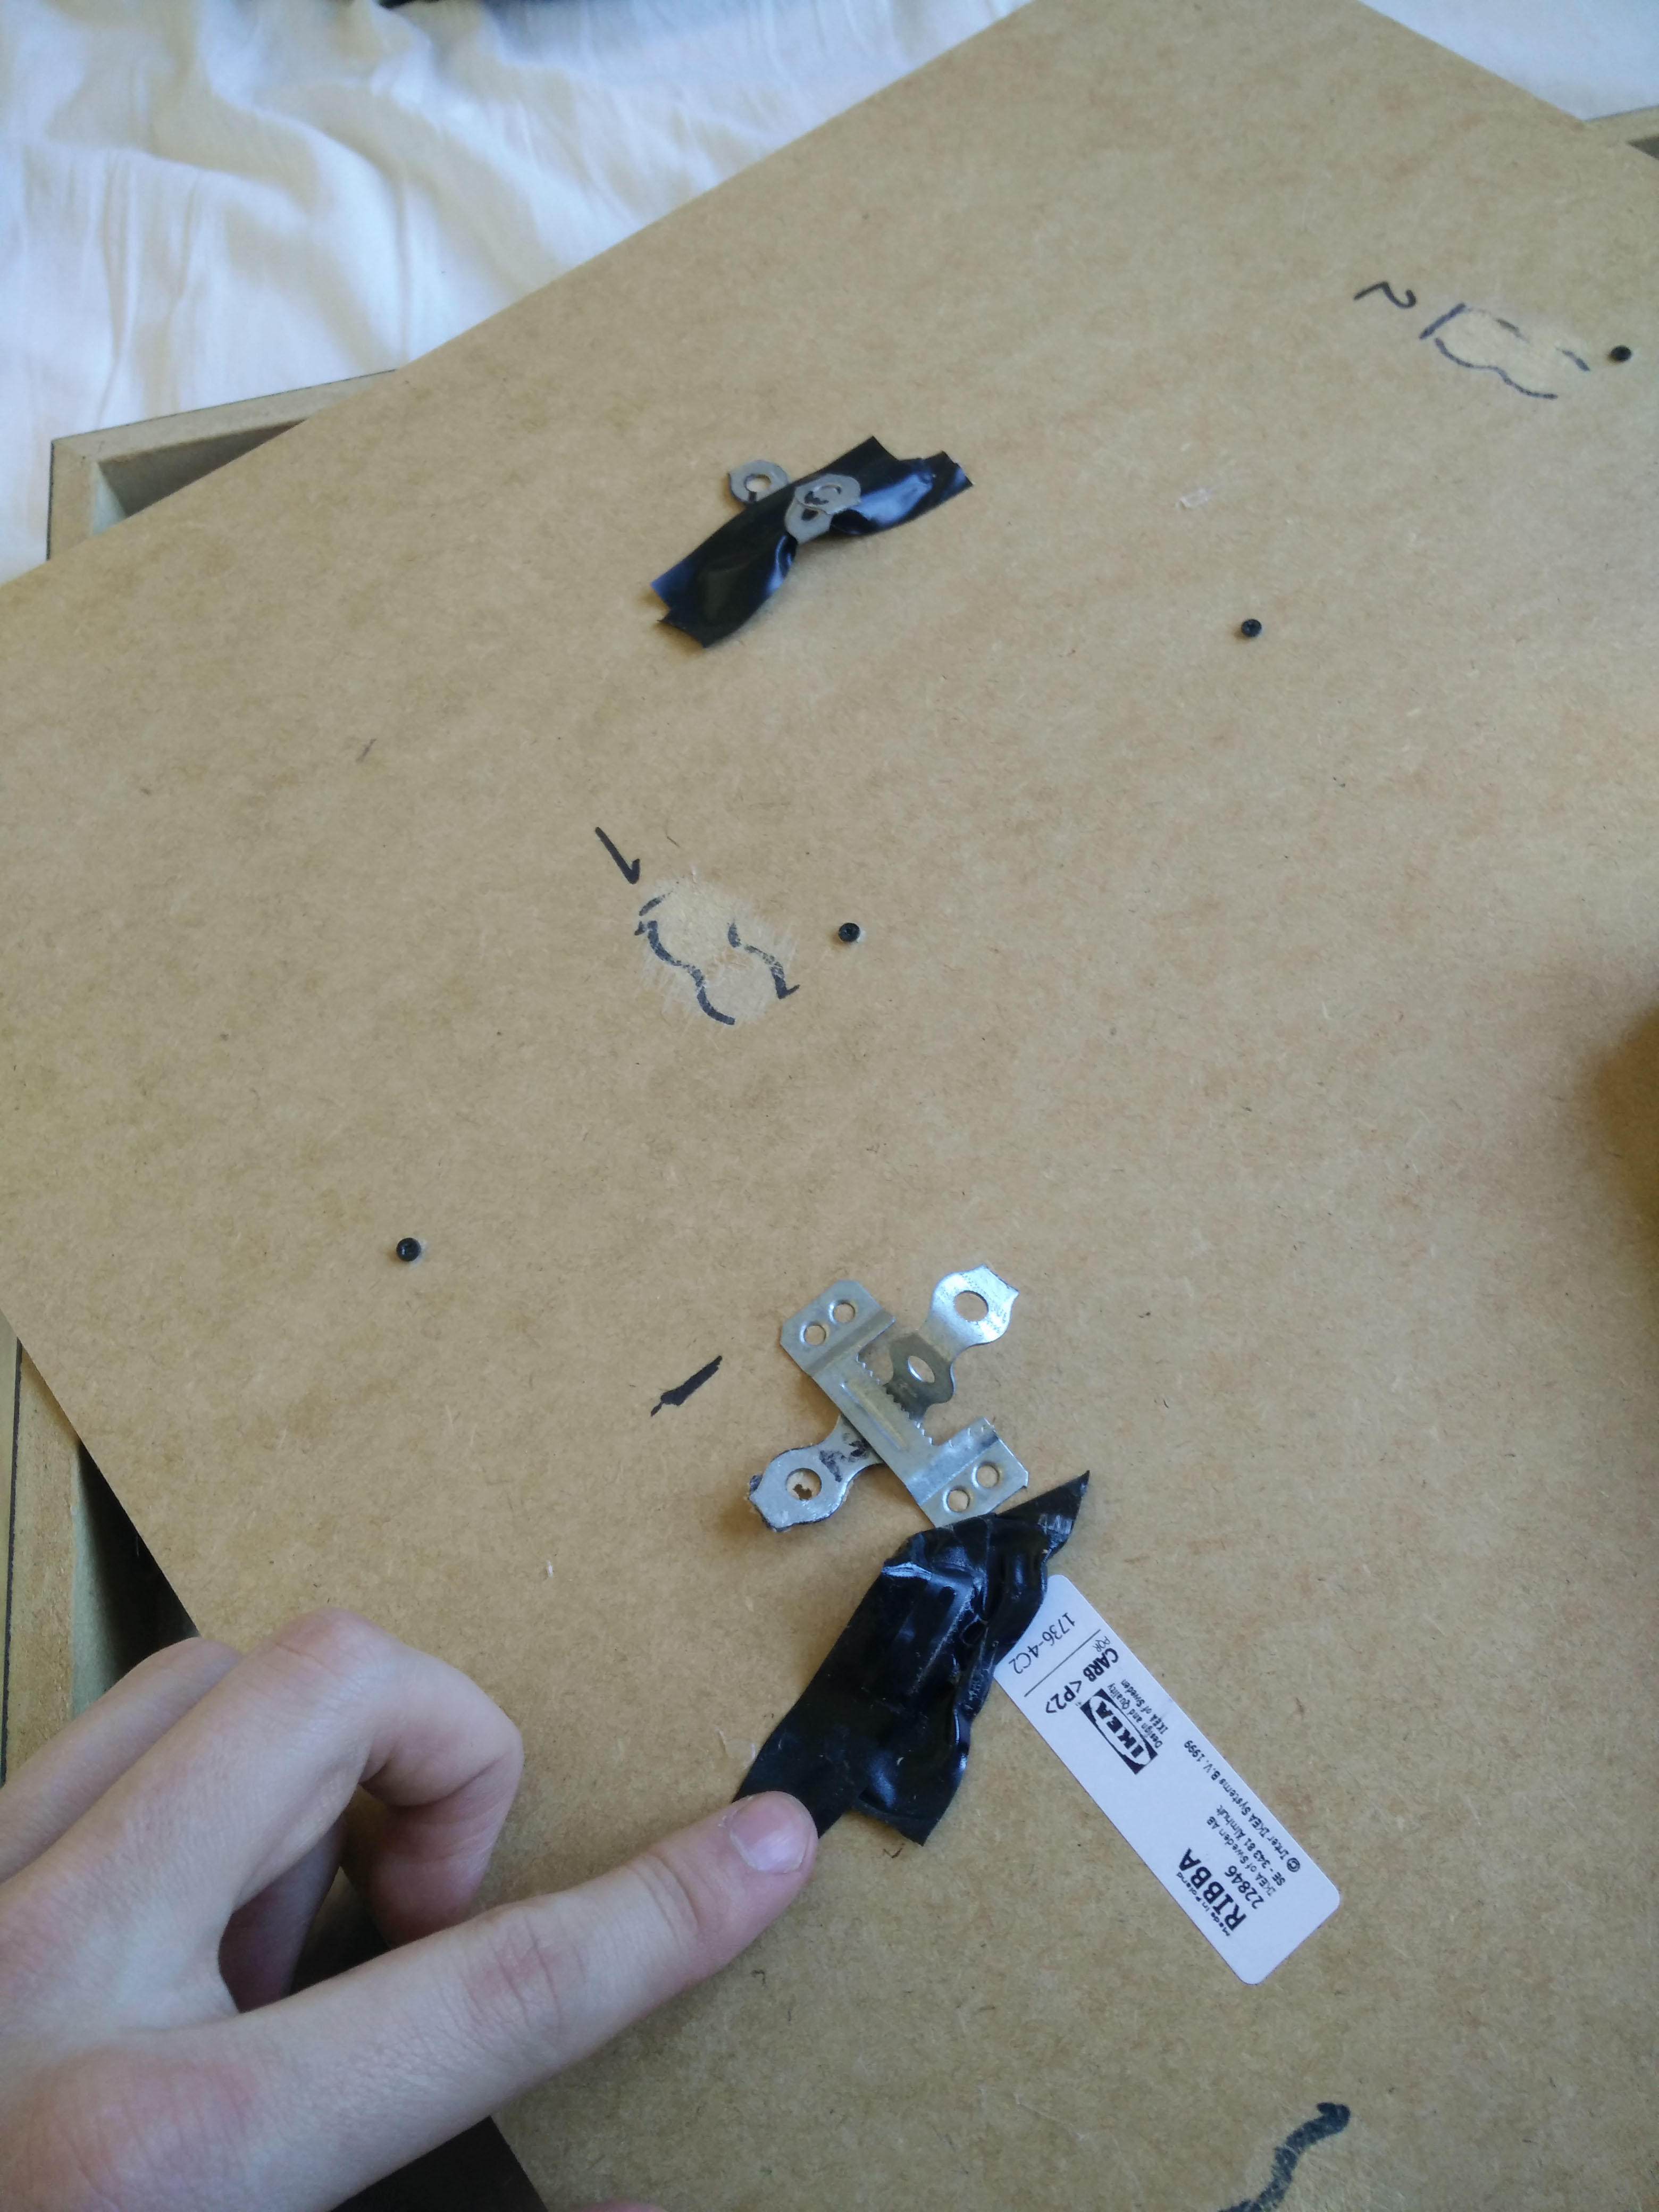
When this was done I started working on the mount for the laptop on the back of the plate. There was already two hangers on the back, so I just stuck two pieces of patent band on it to hold the pc temporarily while I got everything set up.
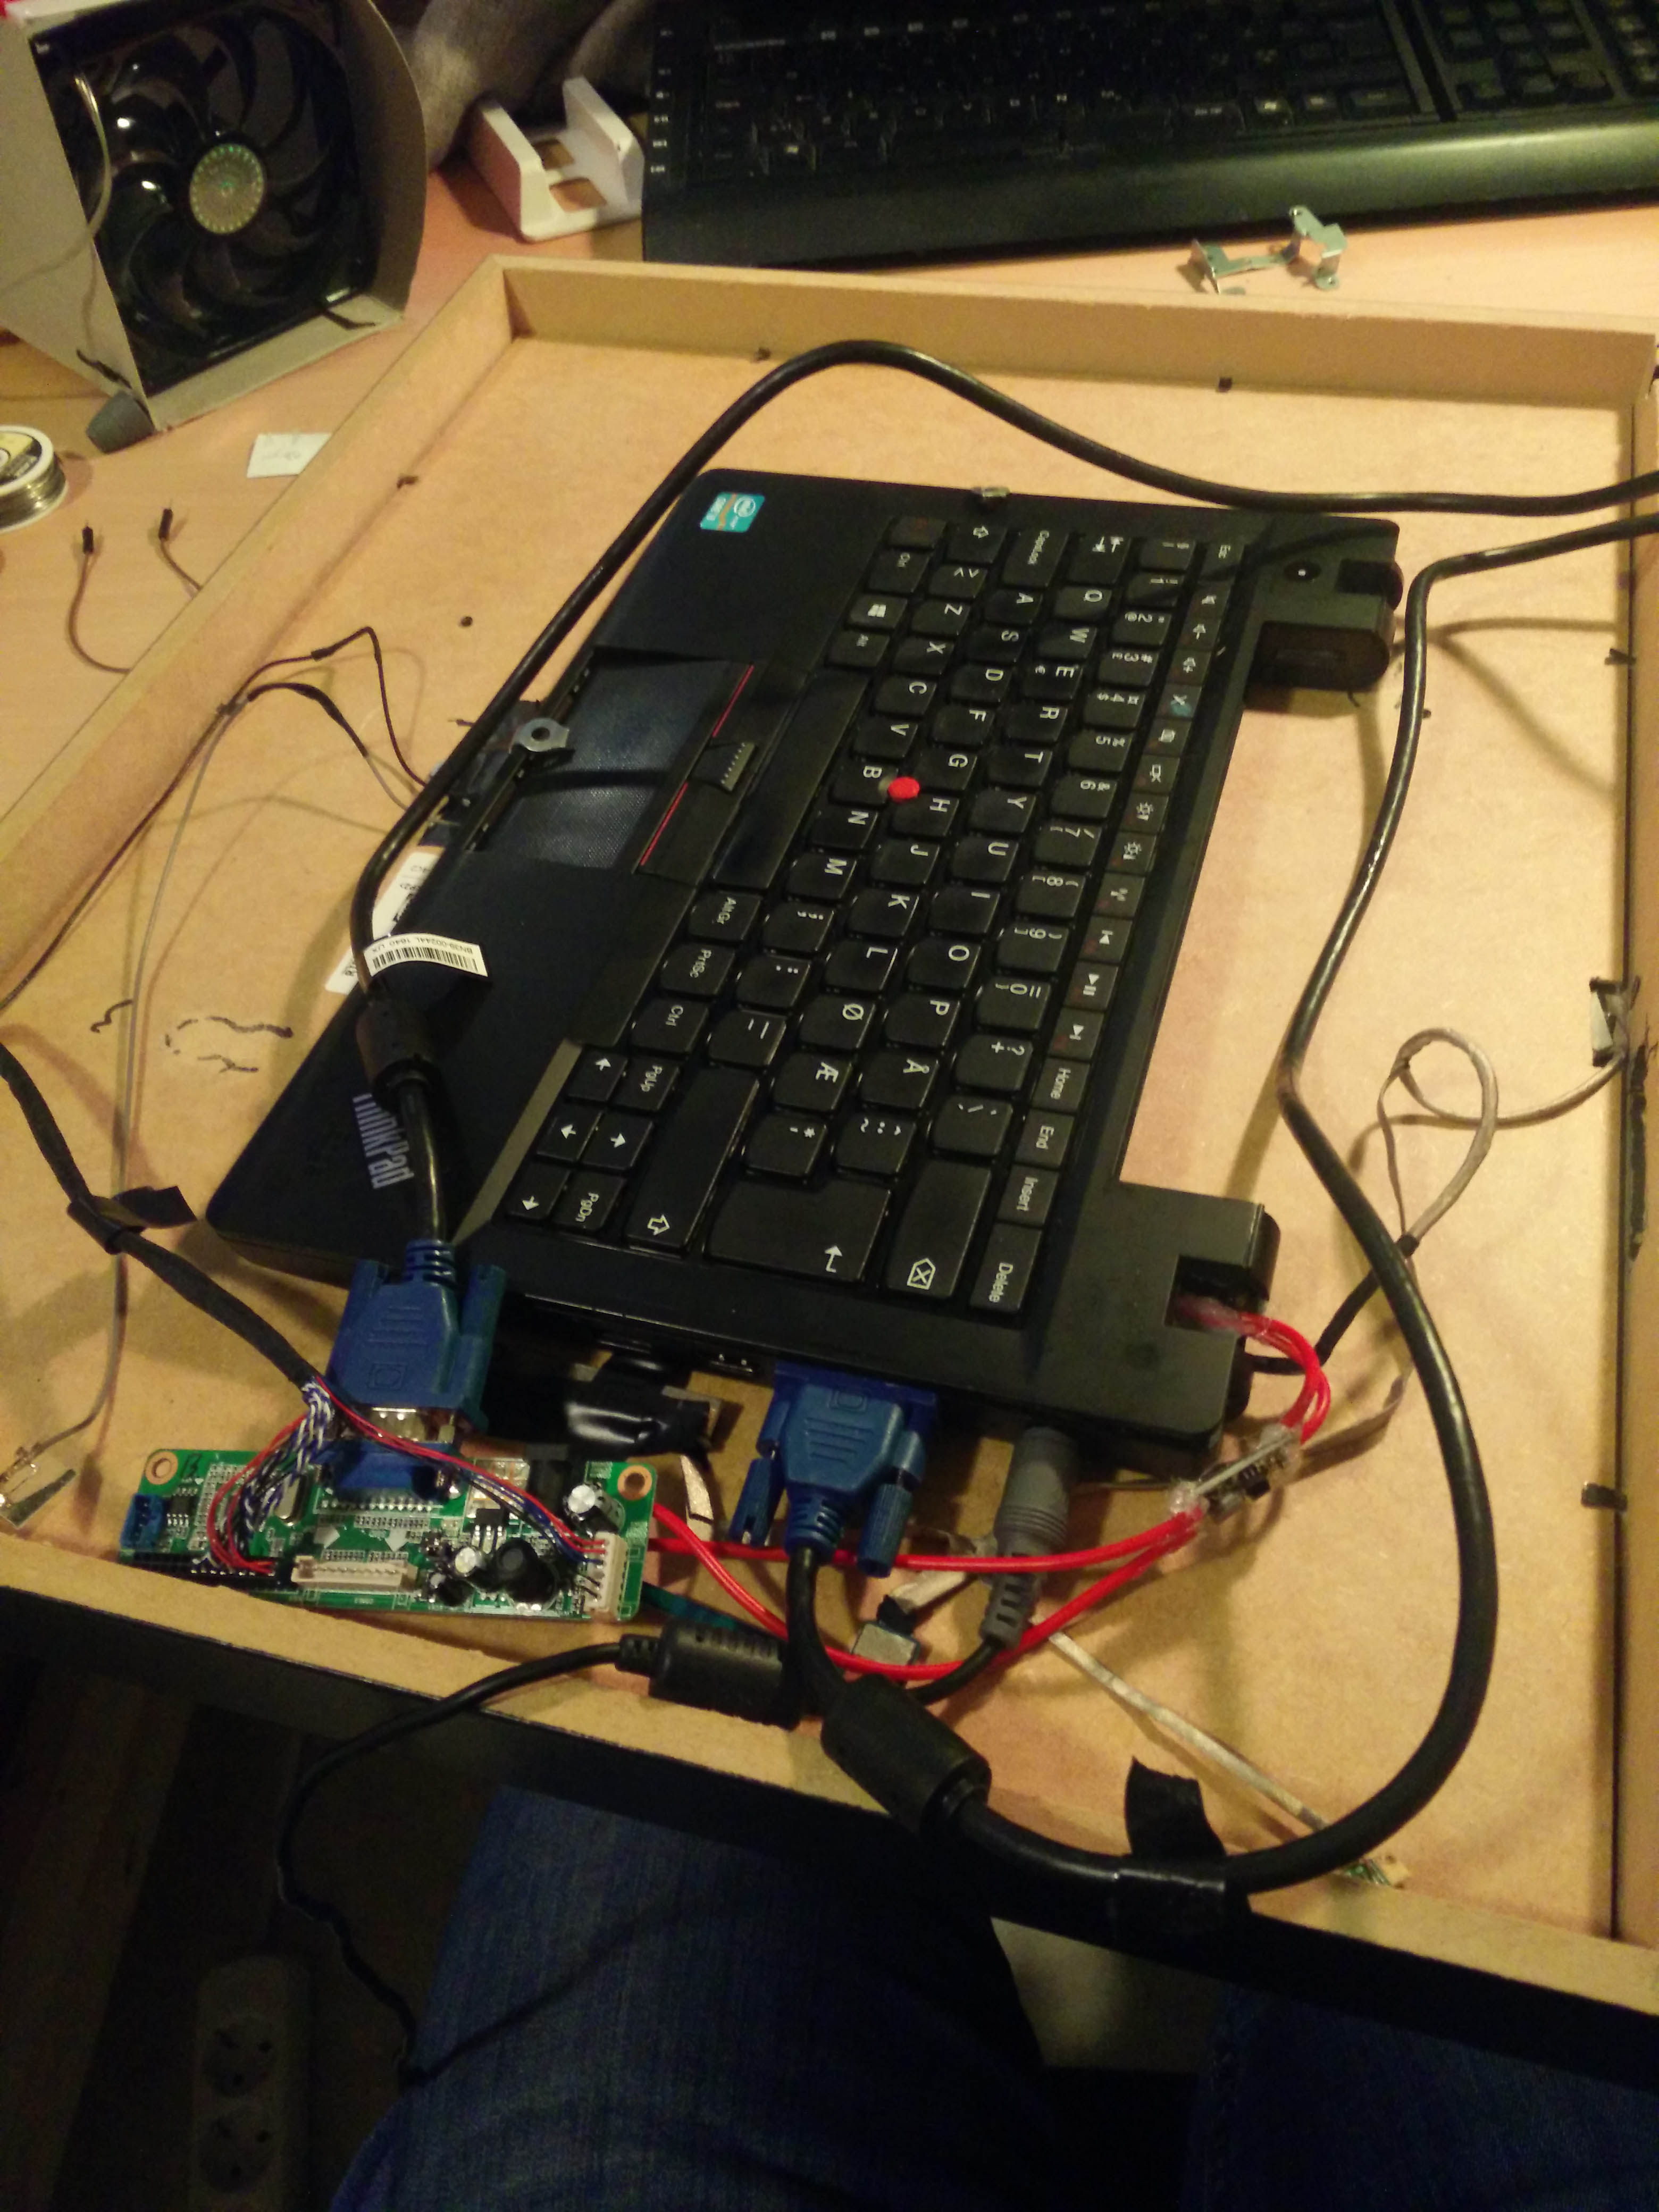
I also taped on the VGA to LVDS controller so I could test both screens. Lastly I taped the webcam and microphone from the laptop to the holes I drilled in the plate. This can be used for facial recognition and voice control later on.
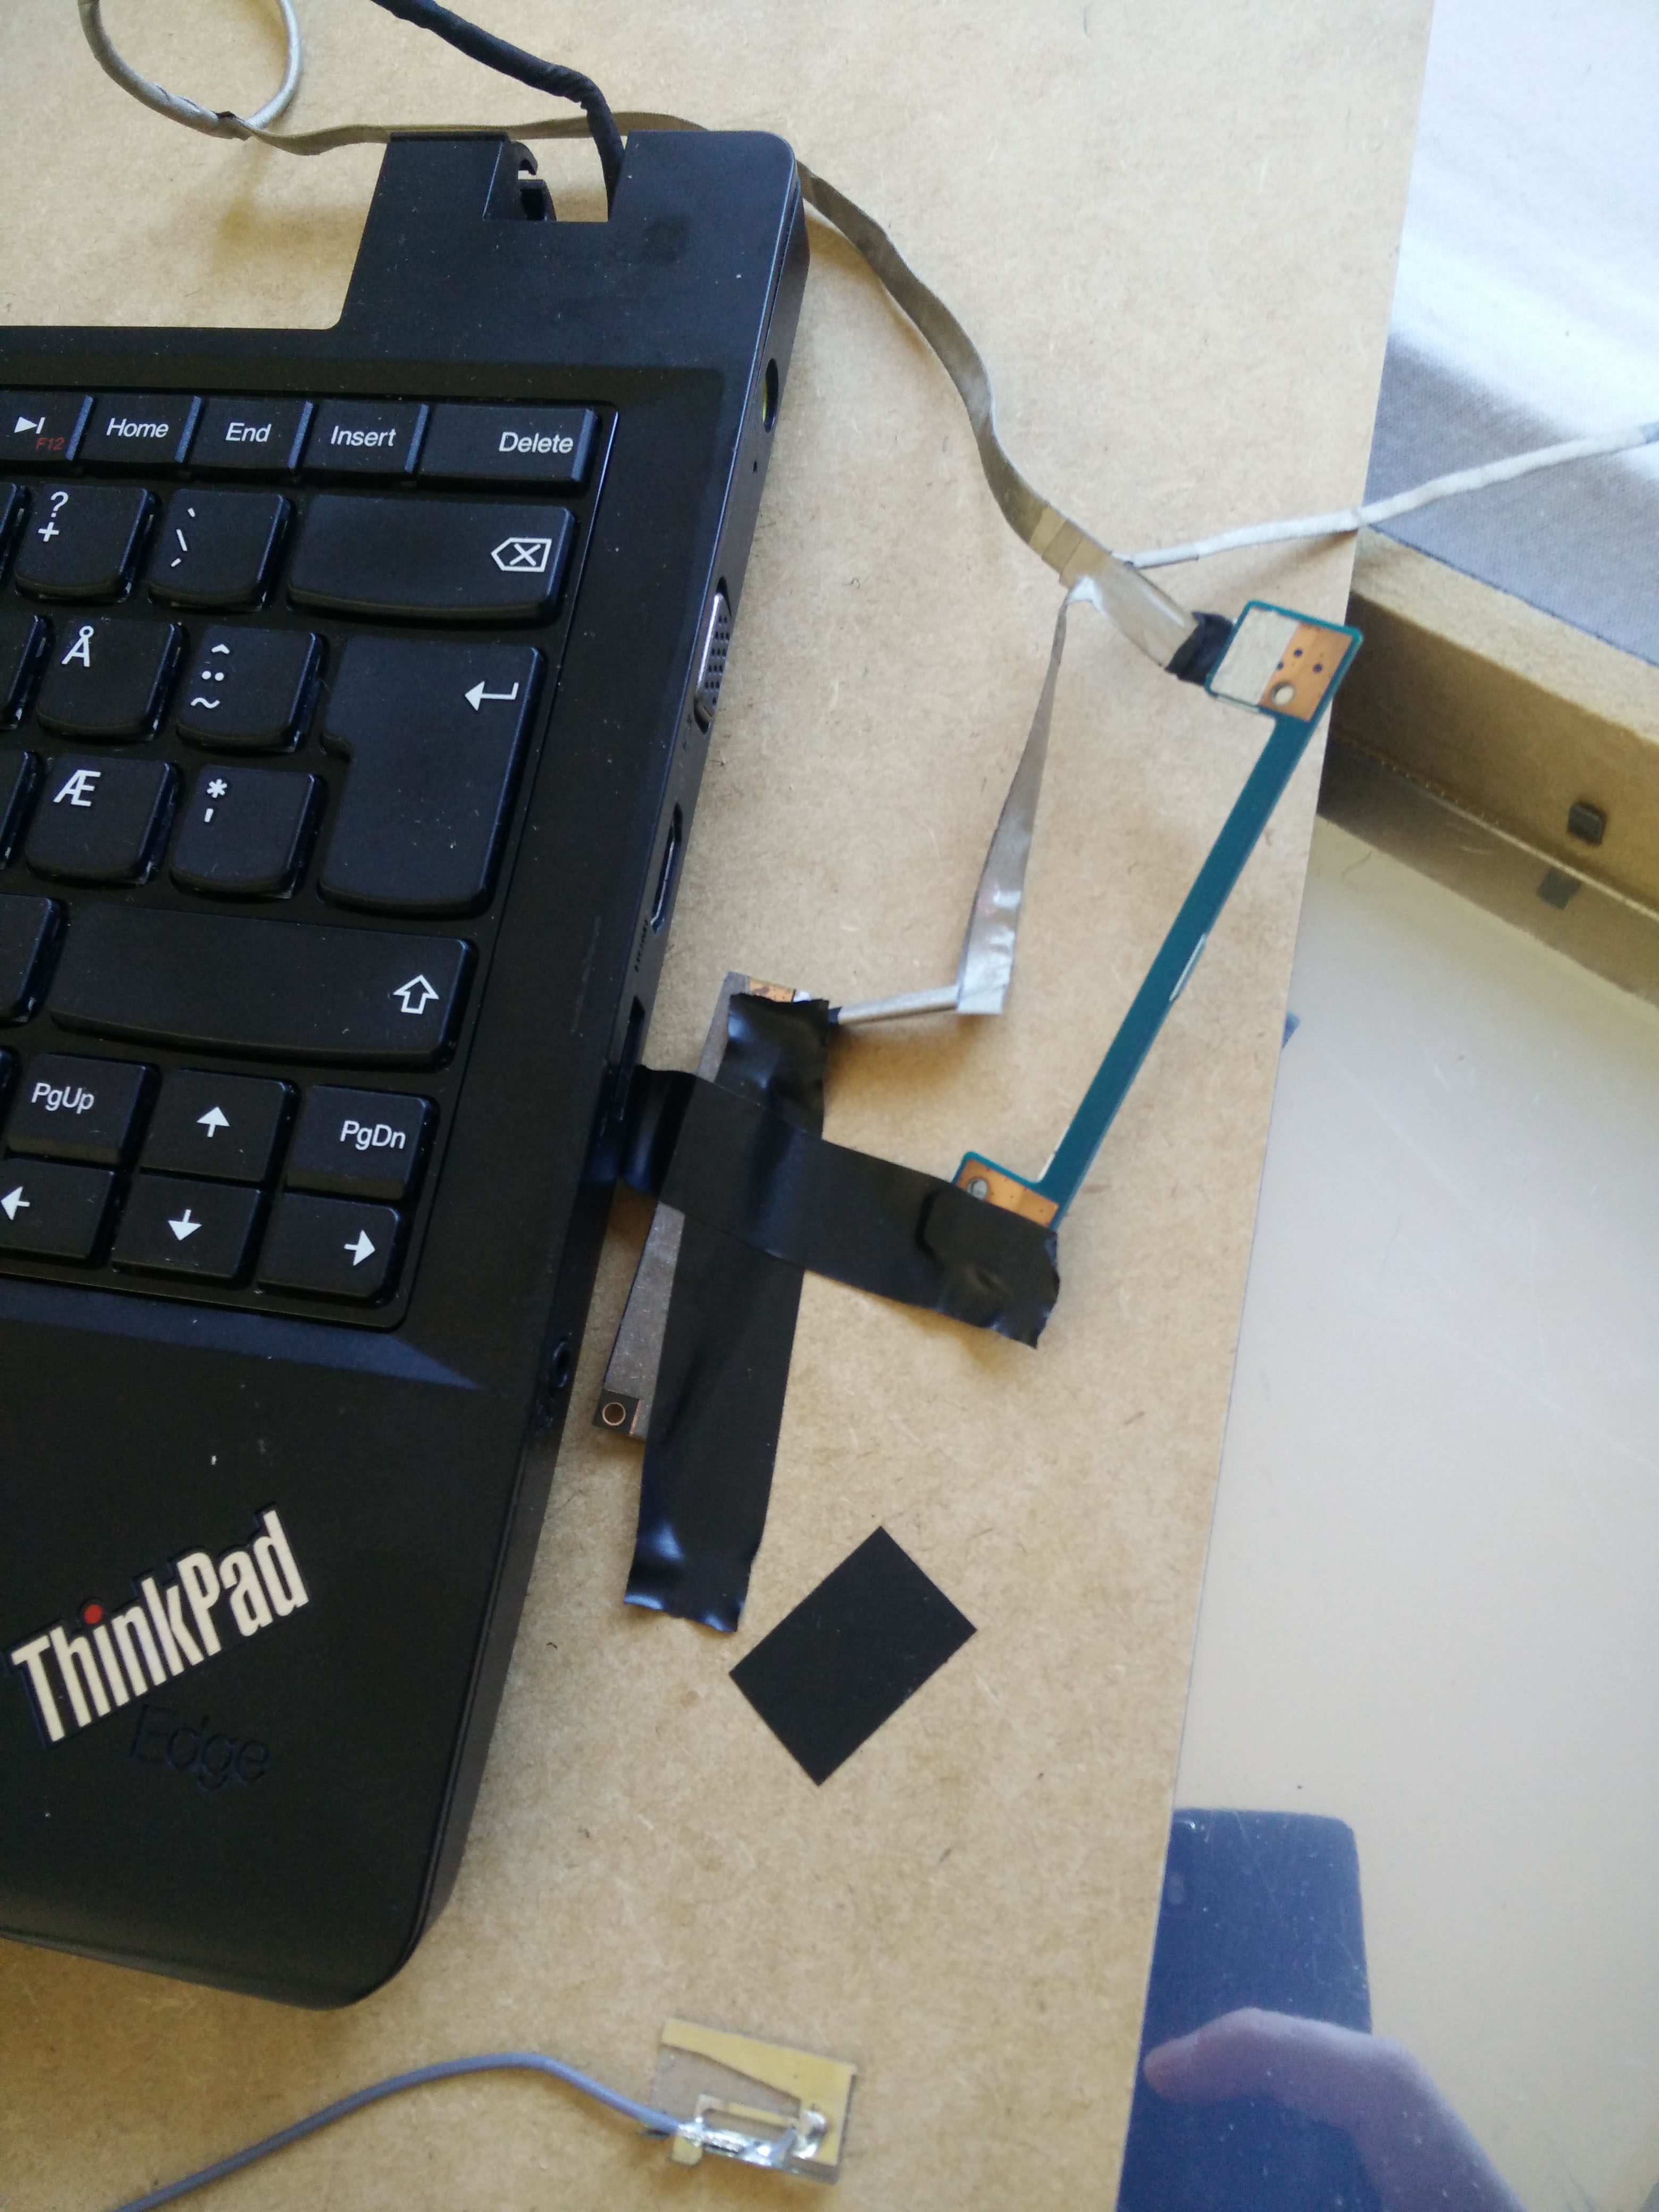
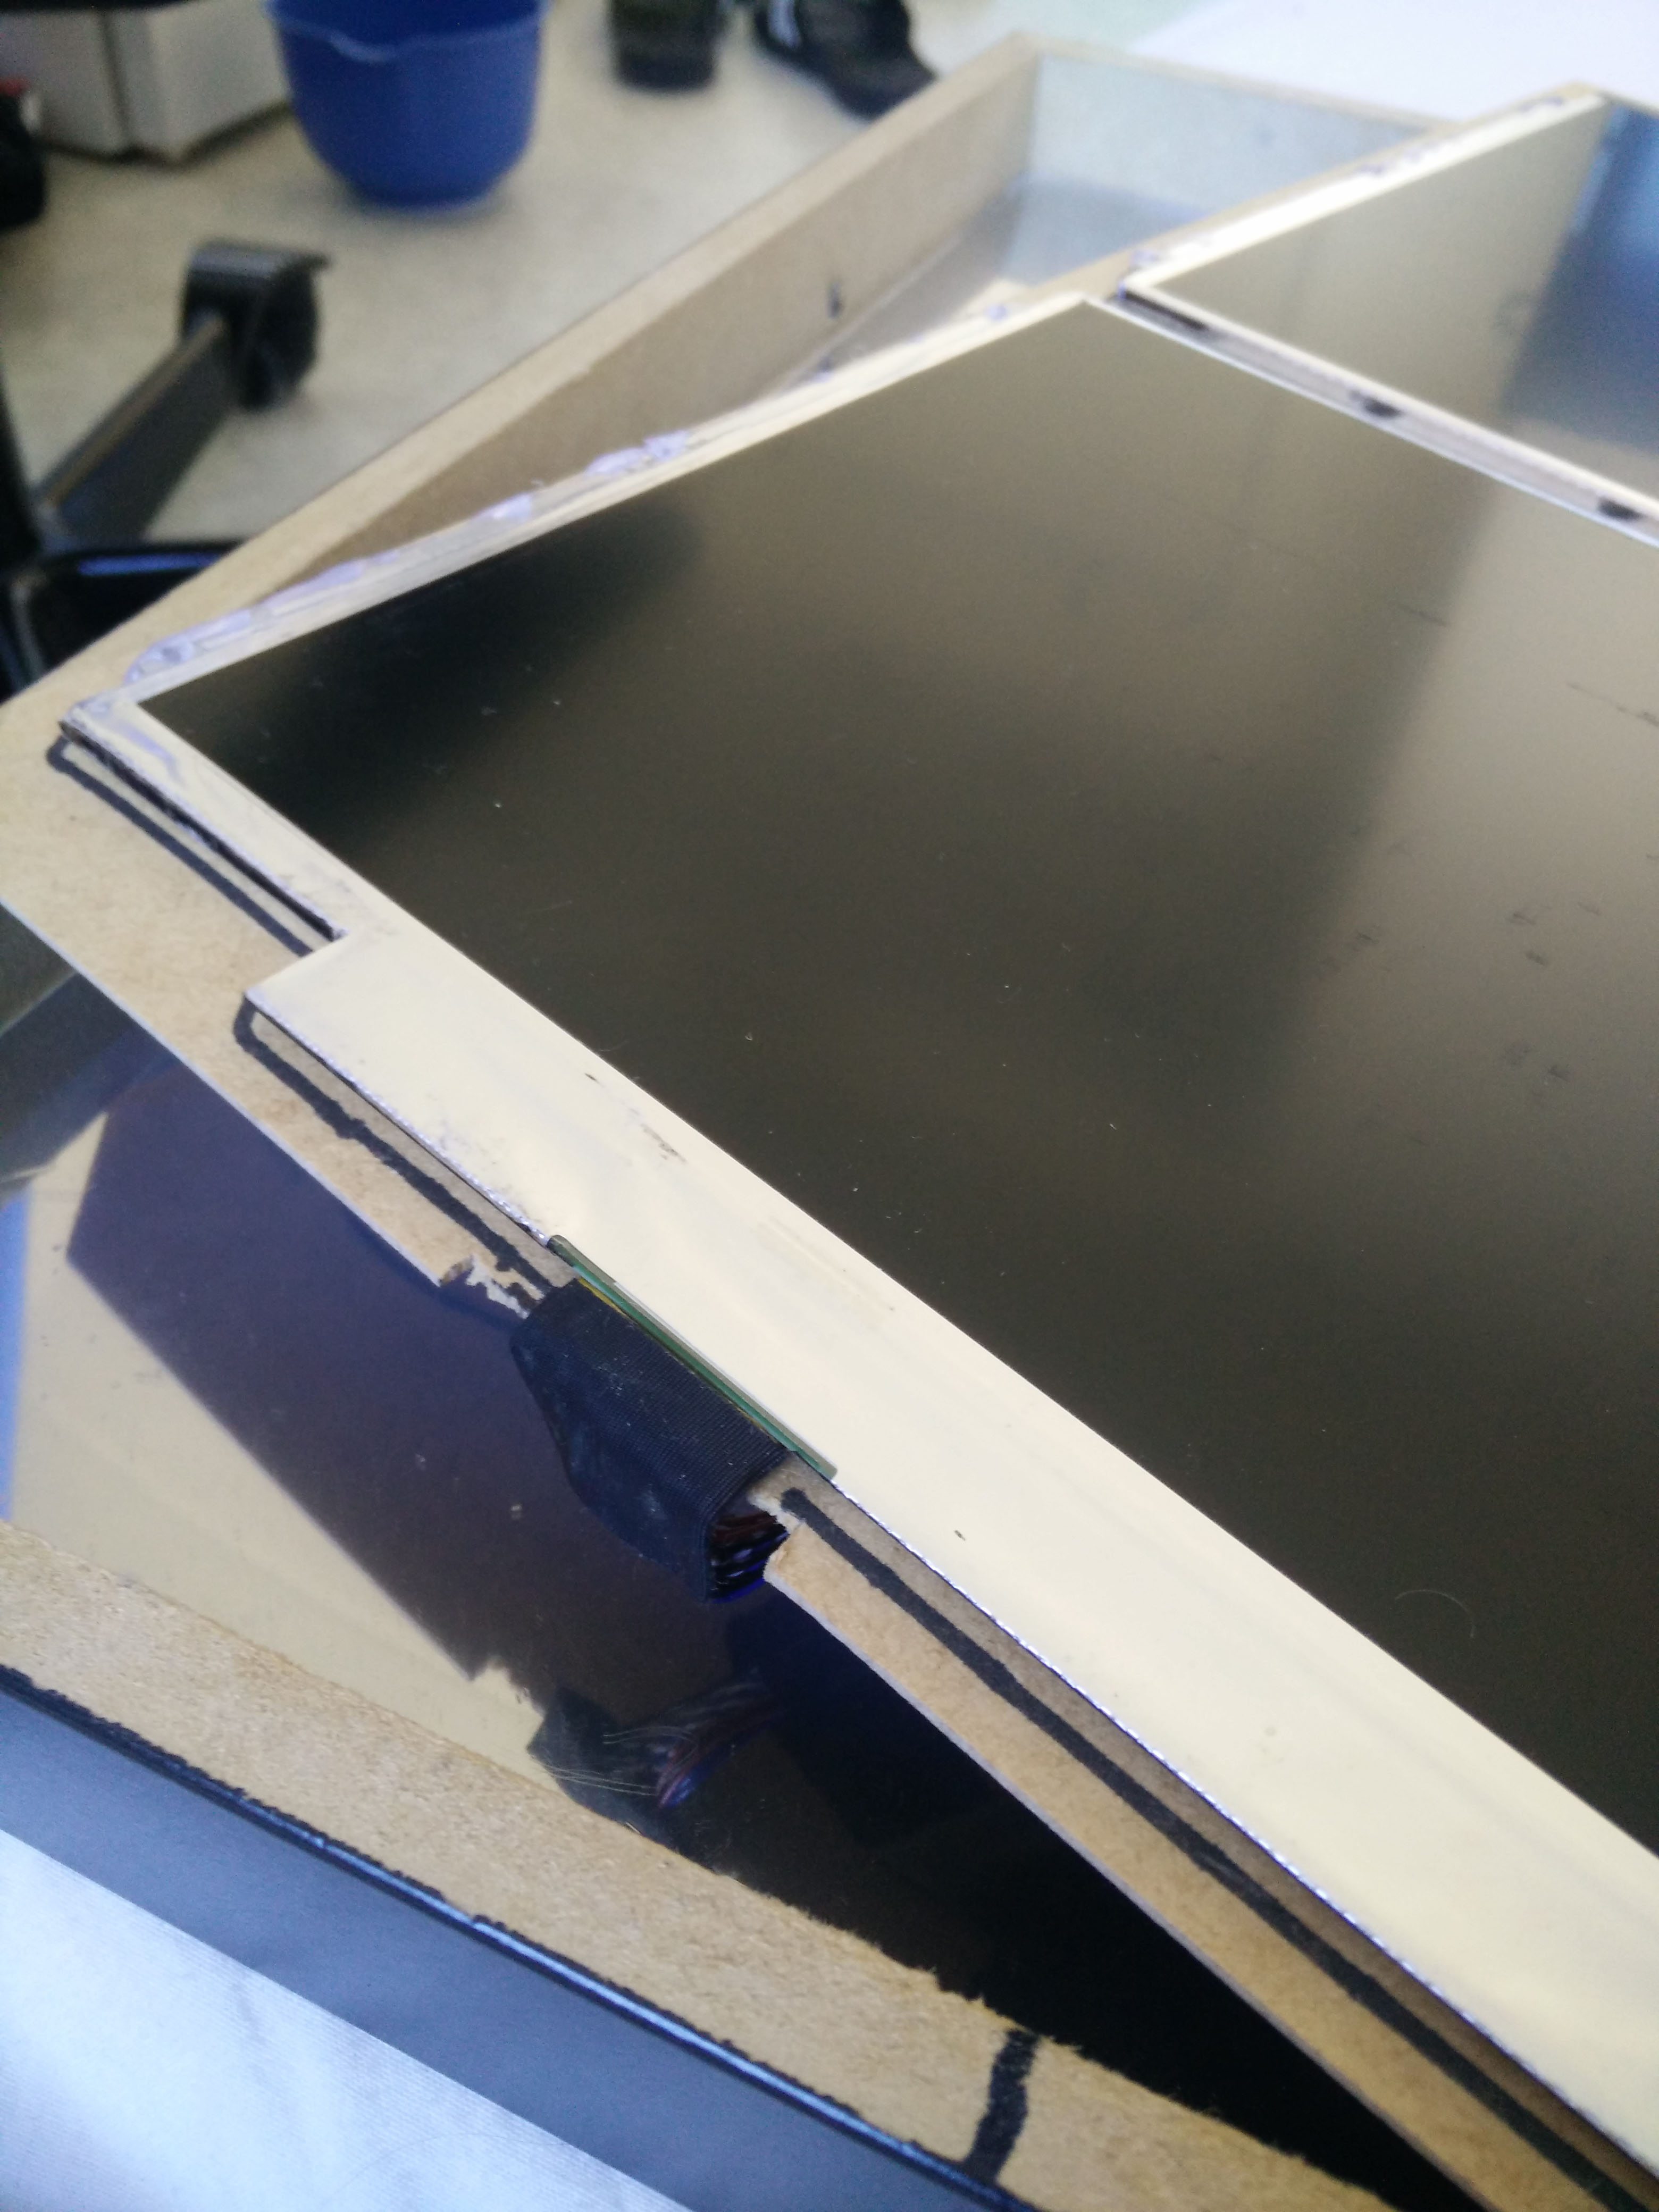
Notice how the cables which were originally going to the screen now exits the hole where the screen hinge would be.
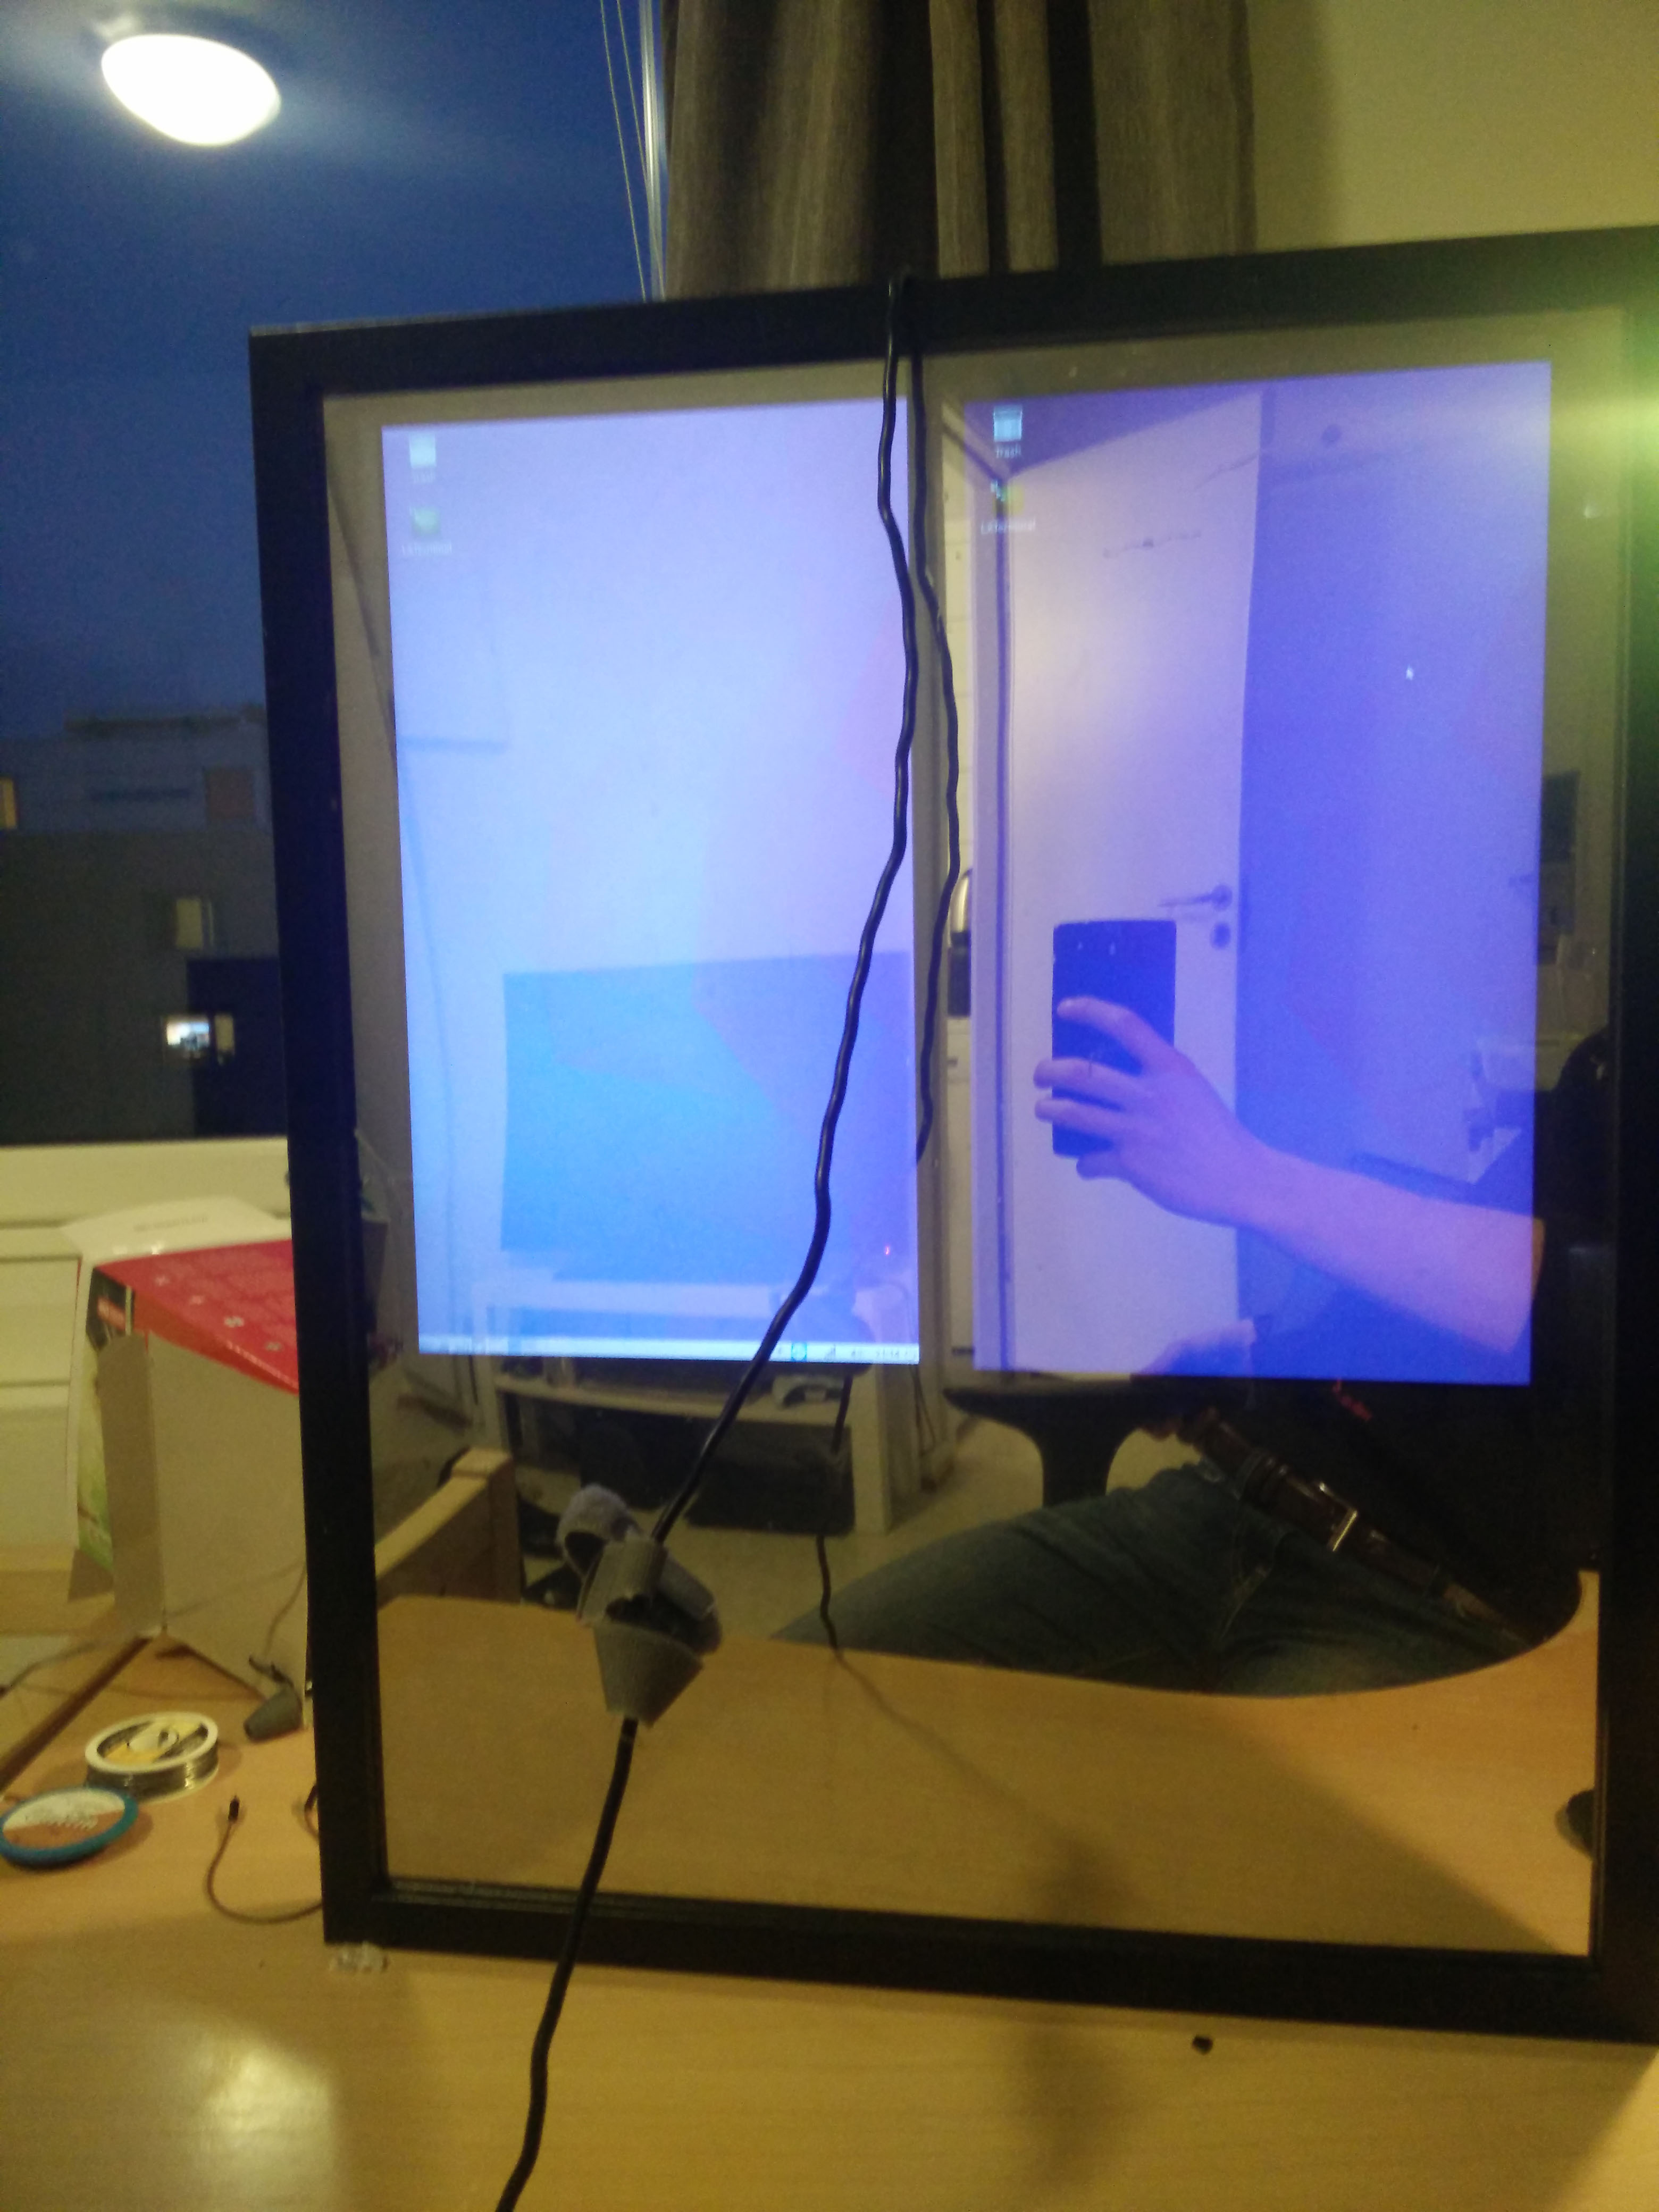
Lets get to the actual mirror part of the project. I could write 500 words on why chosing a film like this wasn’t the greatest idea but I’ll let you see for yourself.
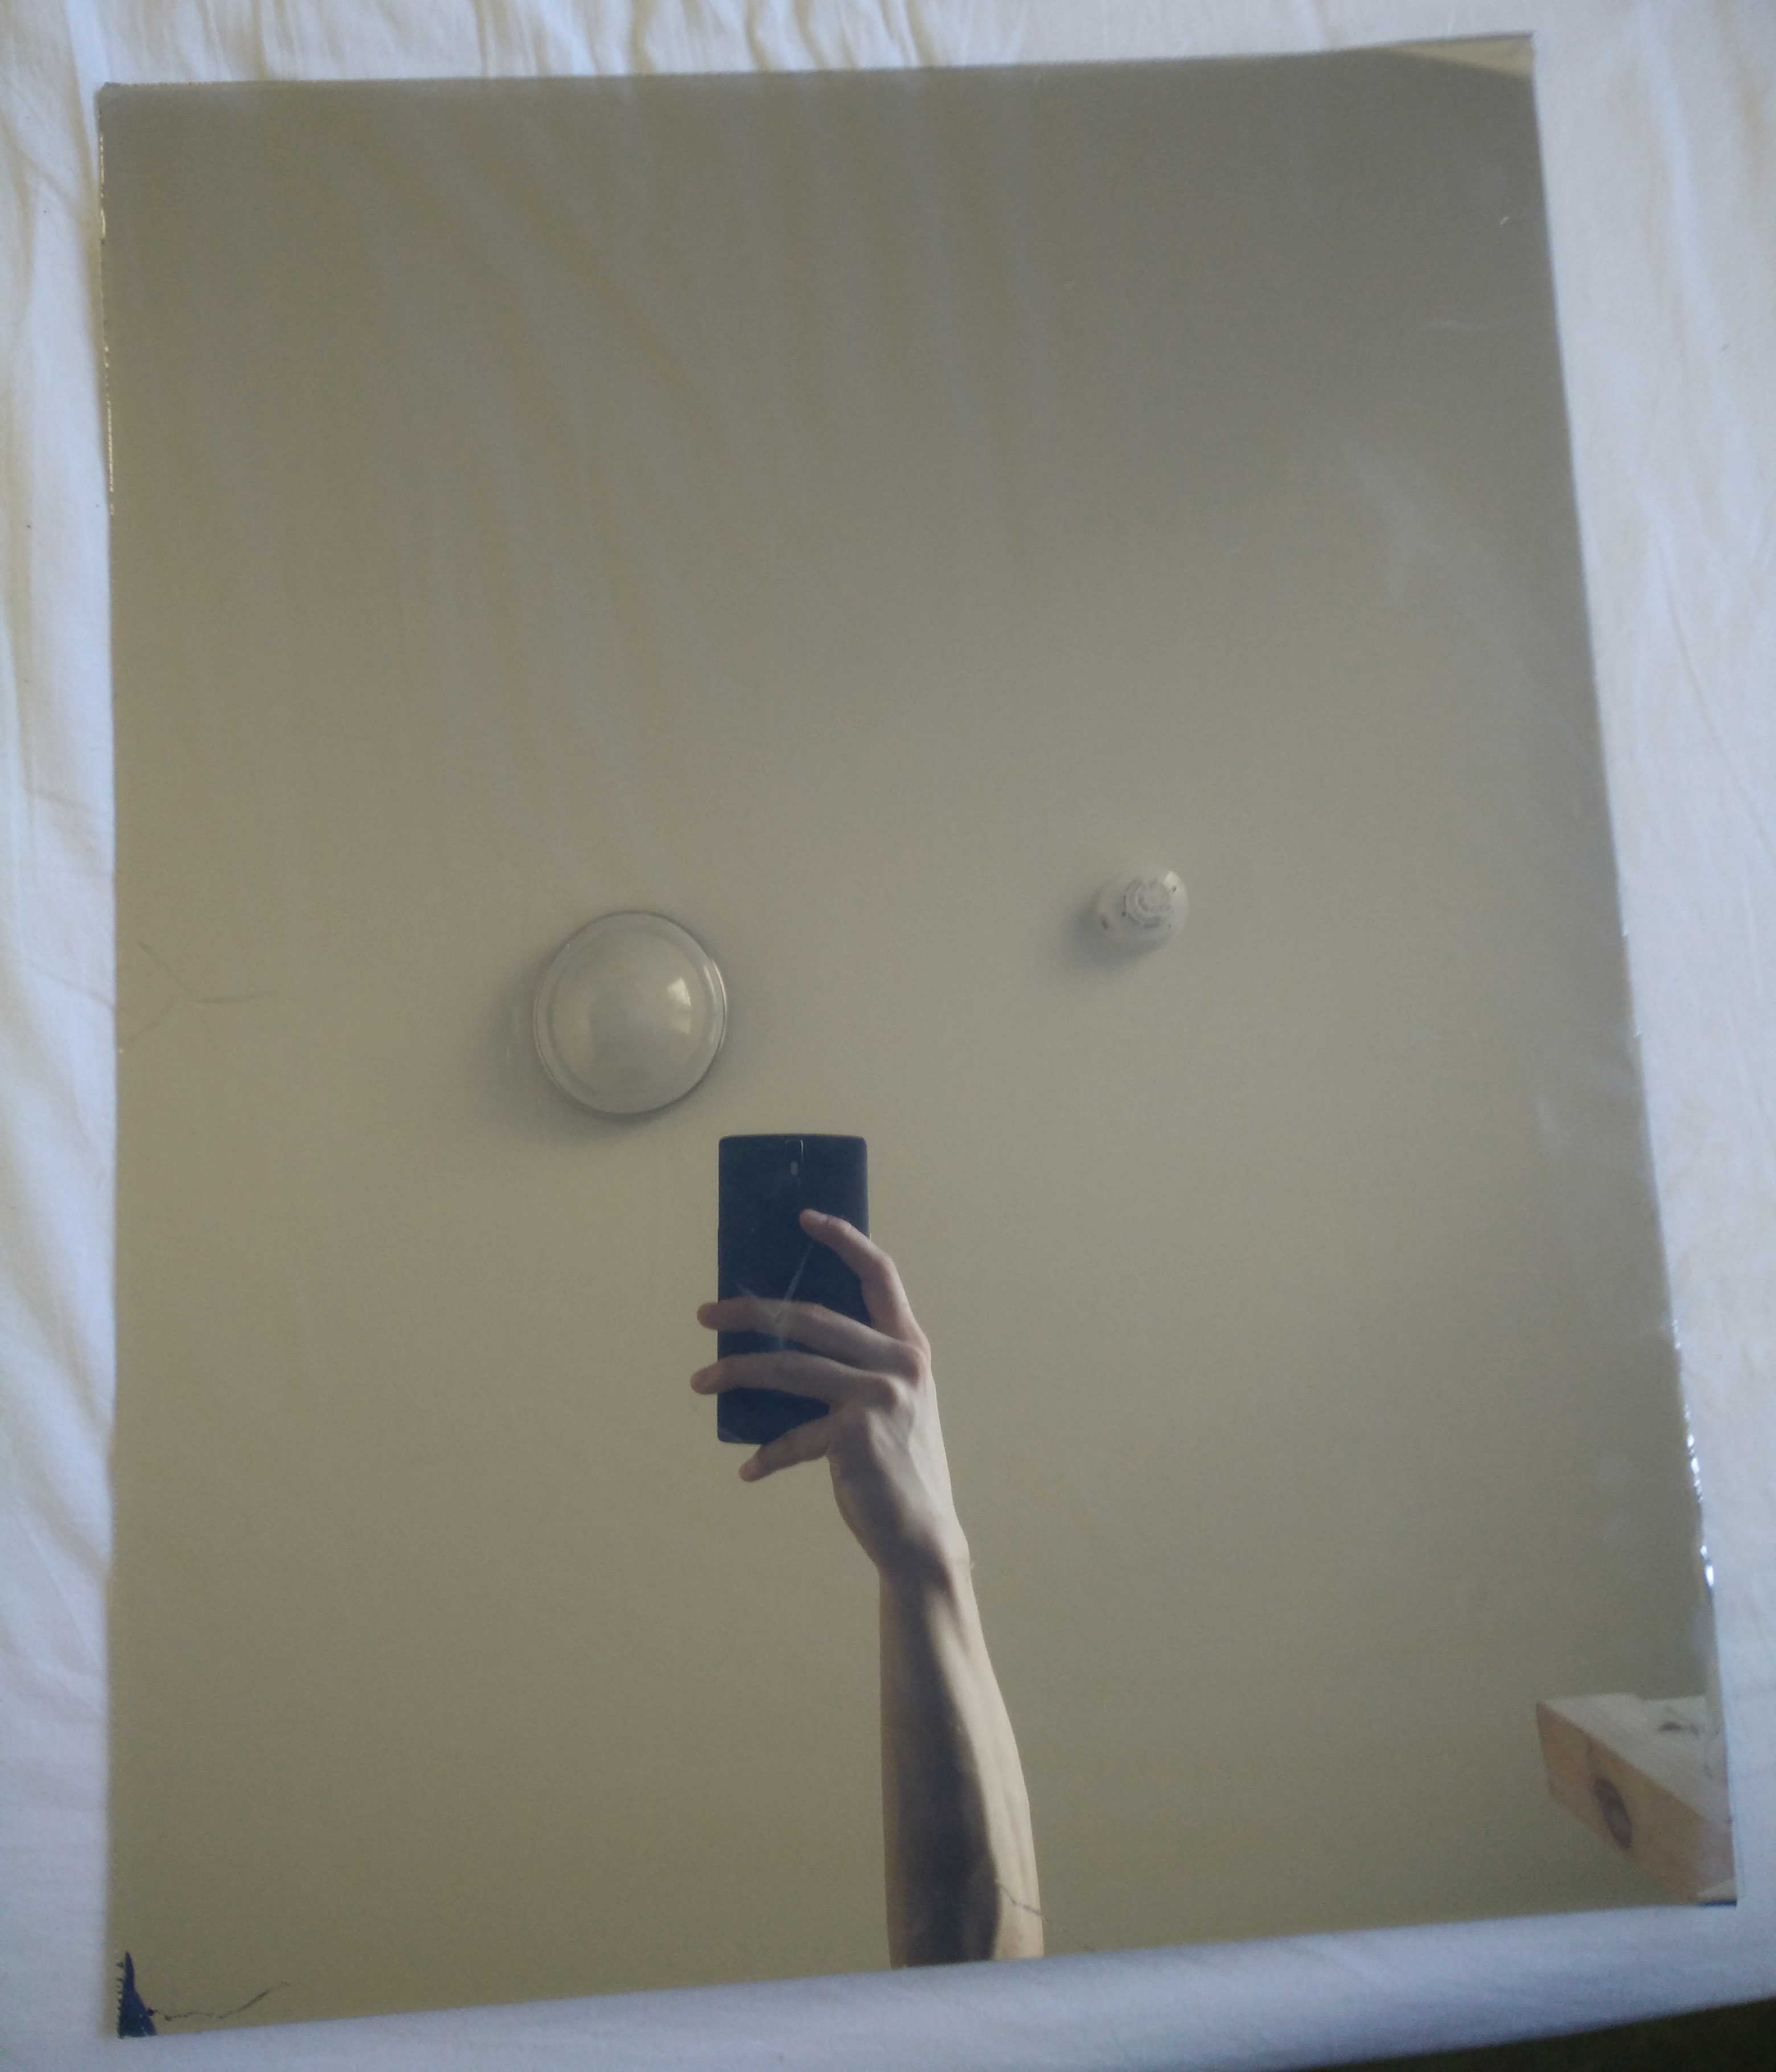
Don’t see the problem? Look at these two pictures:
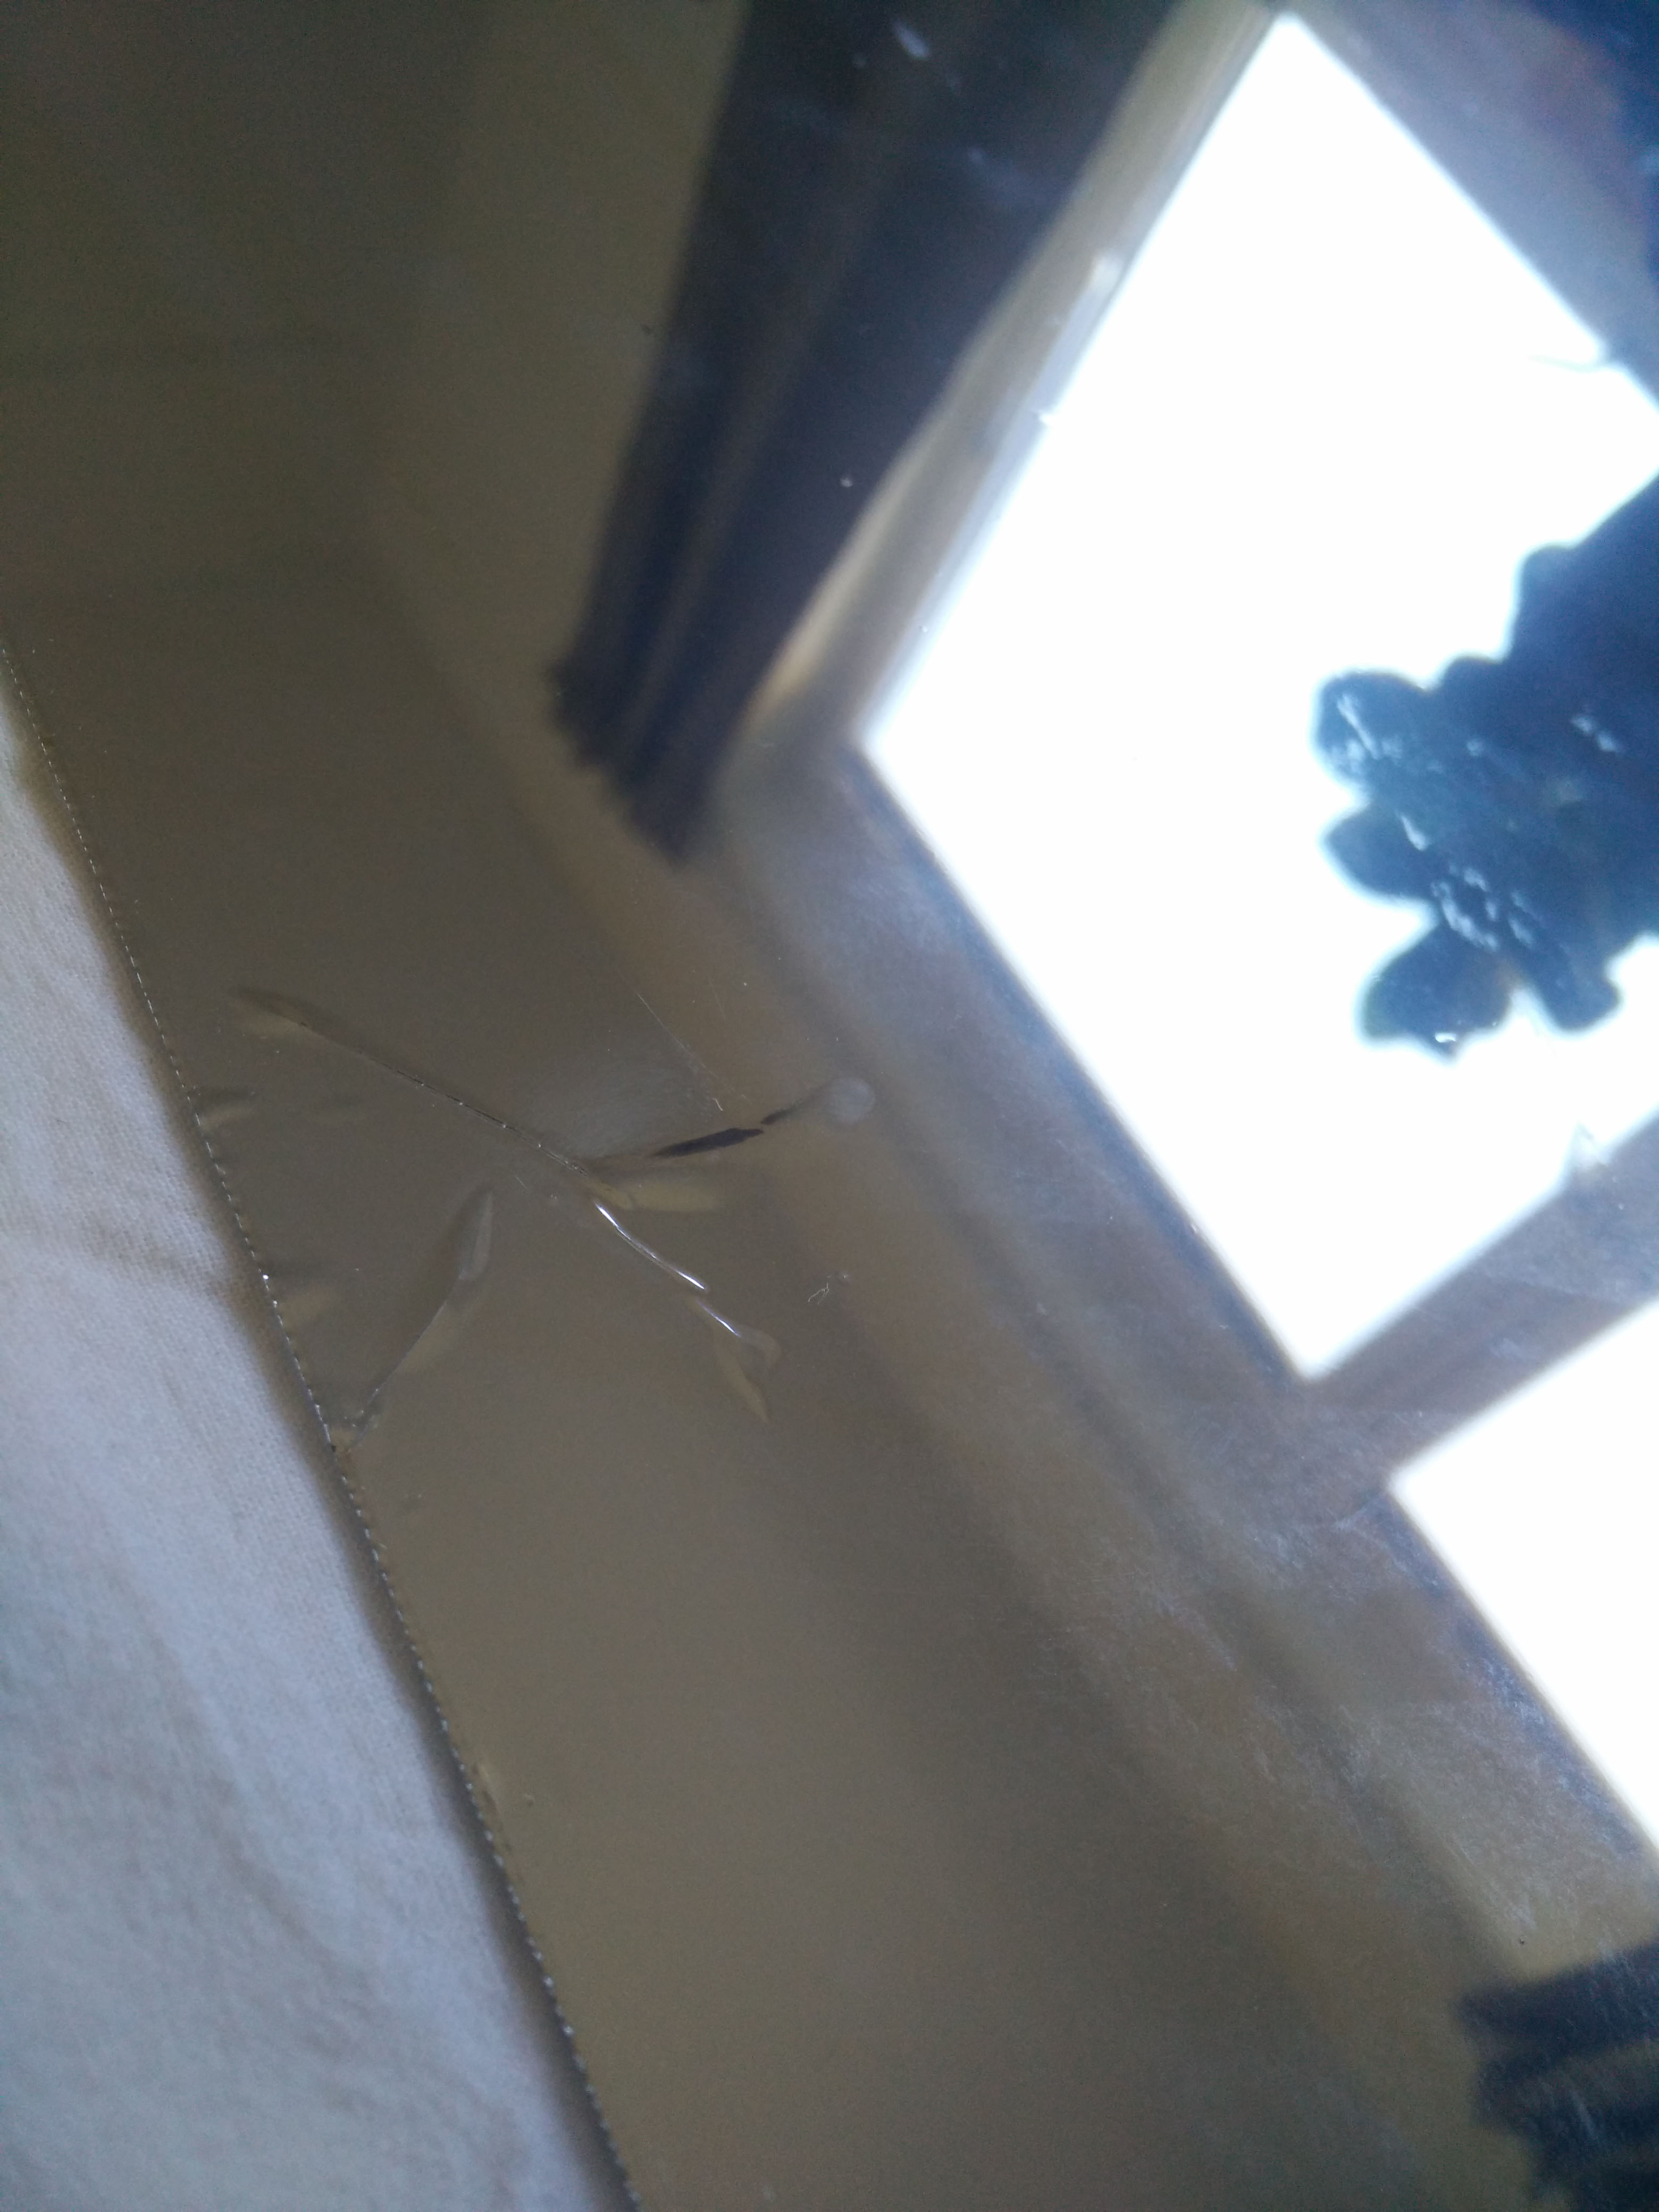
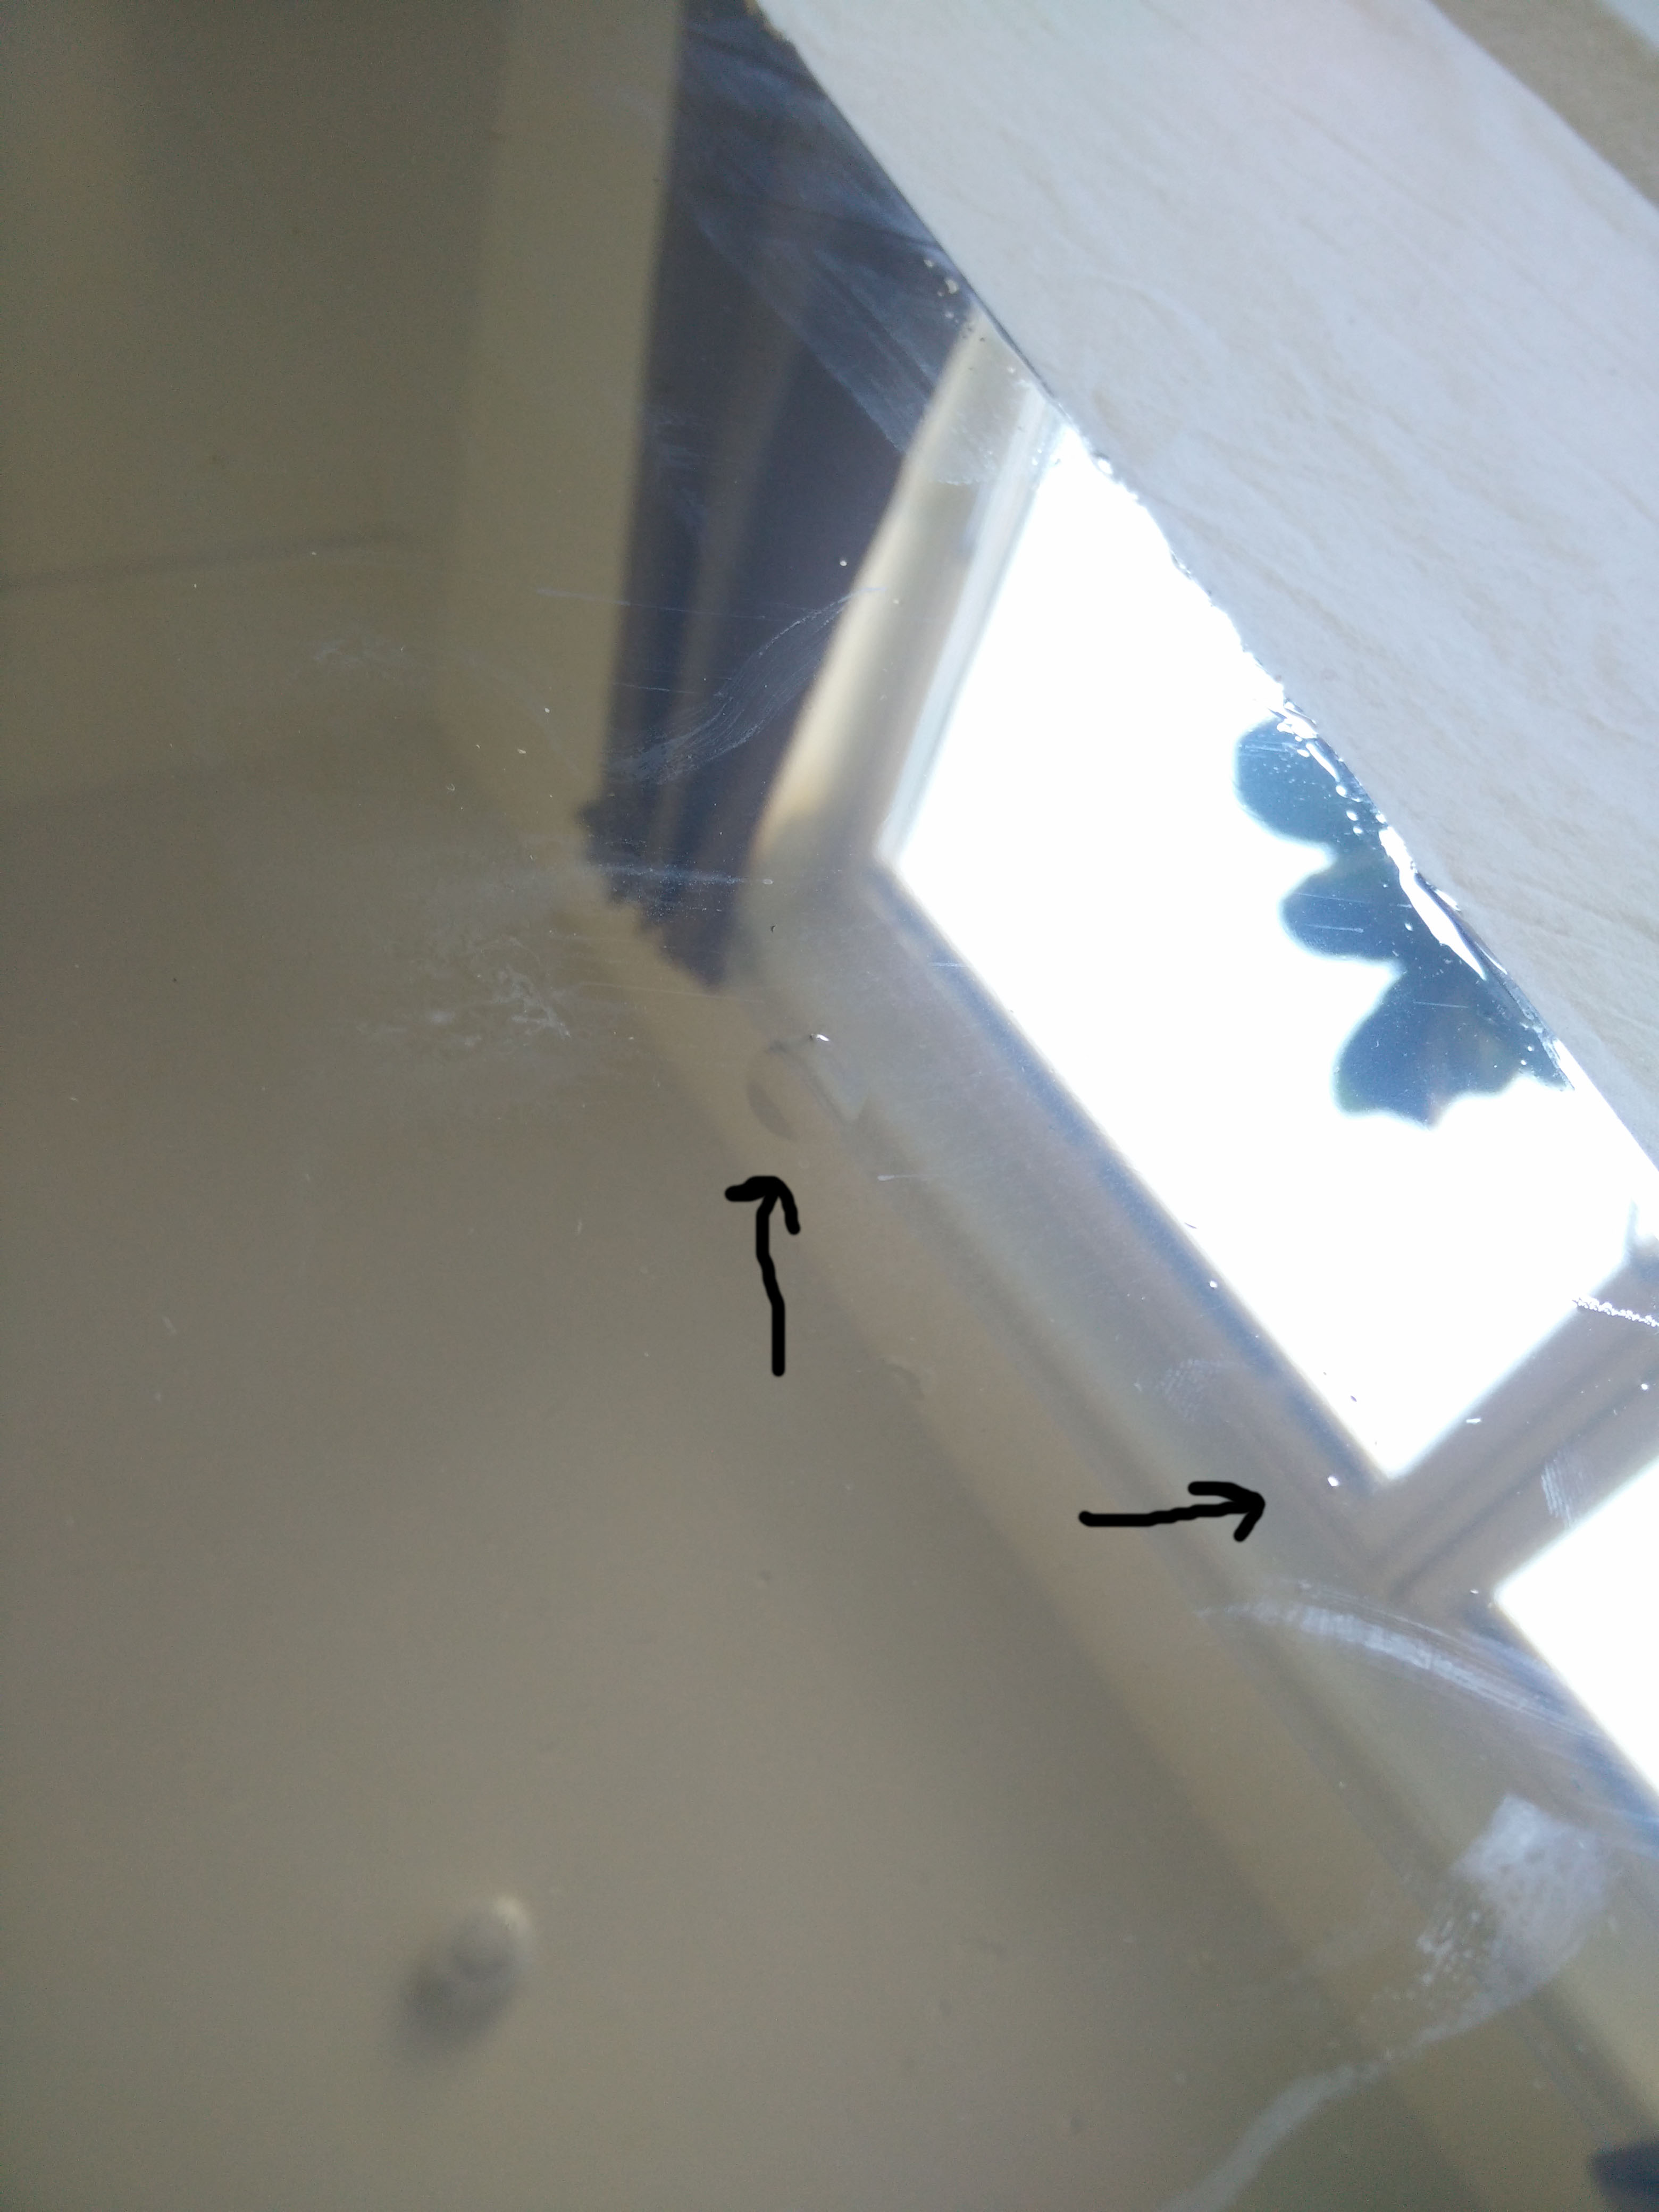
Ok, so I could have been better at applying the film, but this was my second try and I still didn’t get it. If you look closely you also see that the colors look a bit weird. And even if you are a master at applying films like these, you will probably struggle if you were to order one cheaply on eBay. Both the films I ordered were shipped in just a plastic bag, even though i explicitly asked for a sturdy packaging the second time. This means that the roll have been crumbled under all the other mail during shipping, so the film as a lot of small marks which you just cant remove. Guess I just have bad luck. But there’s more, follow on and I will show you later in the build log.
Alright, so now we are almost done with the hardware, just one last thing: We needed a 12v powersupply for the LVDS connector, right? It’s a hassle to have two powersupplies for one mirror, right?
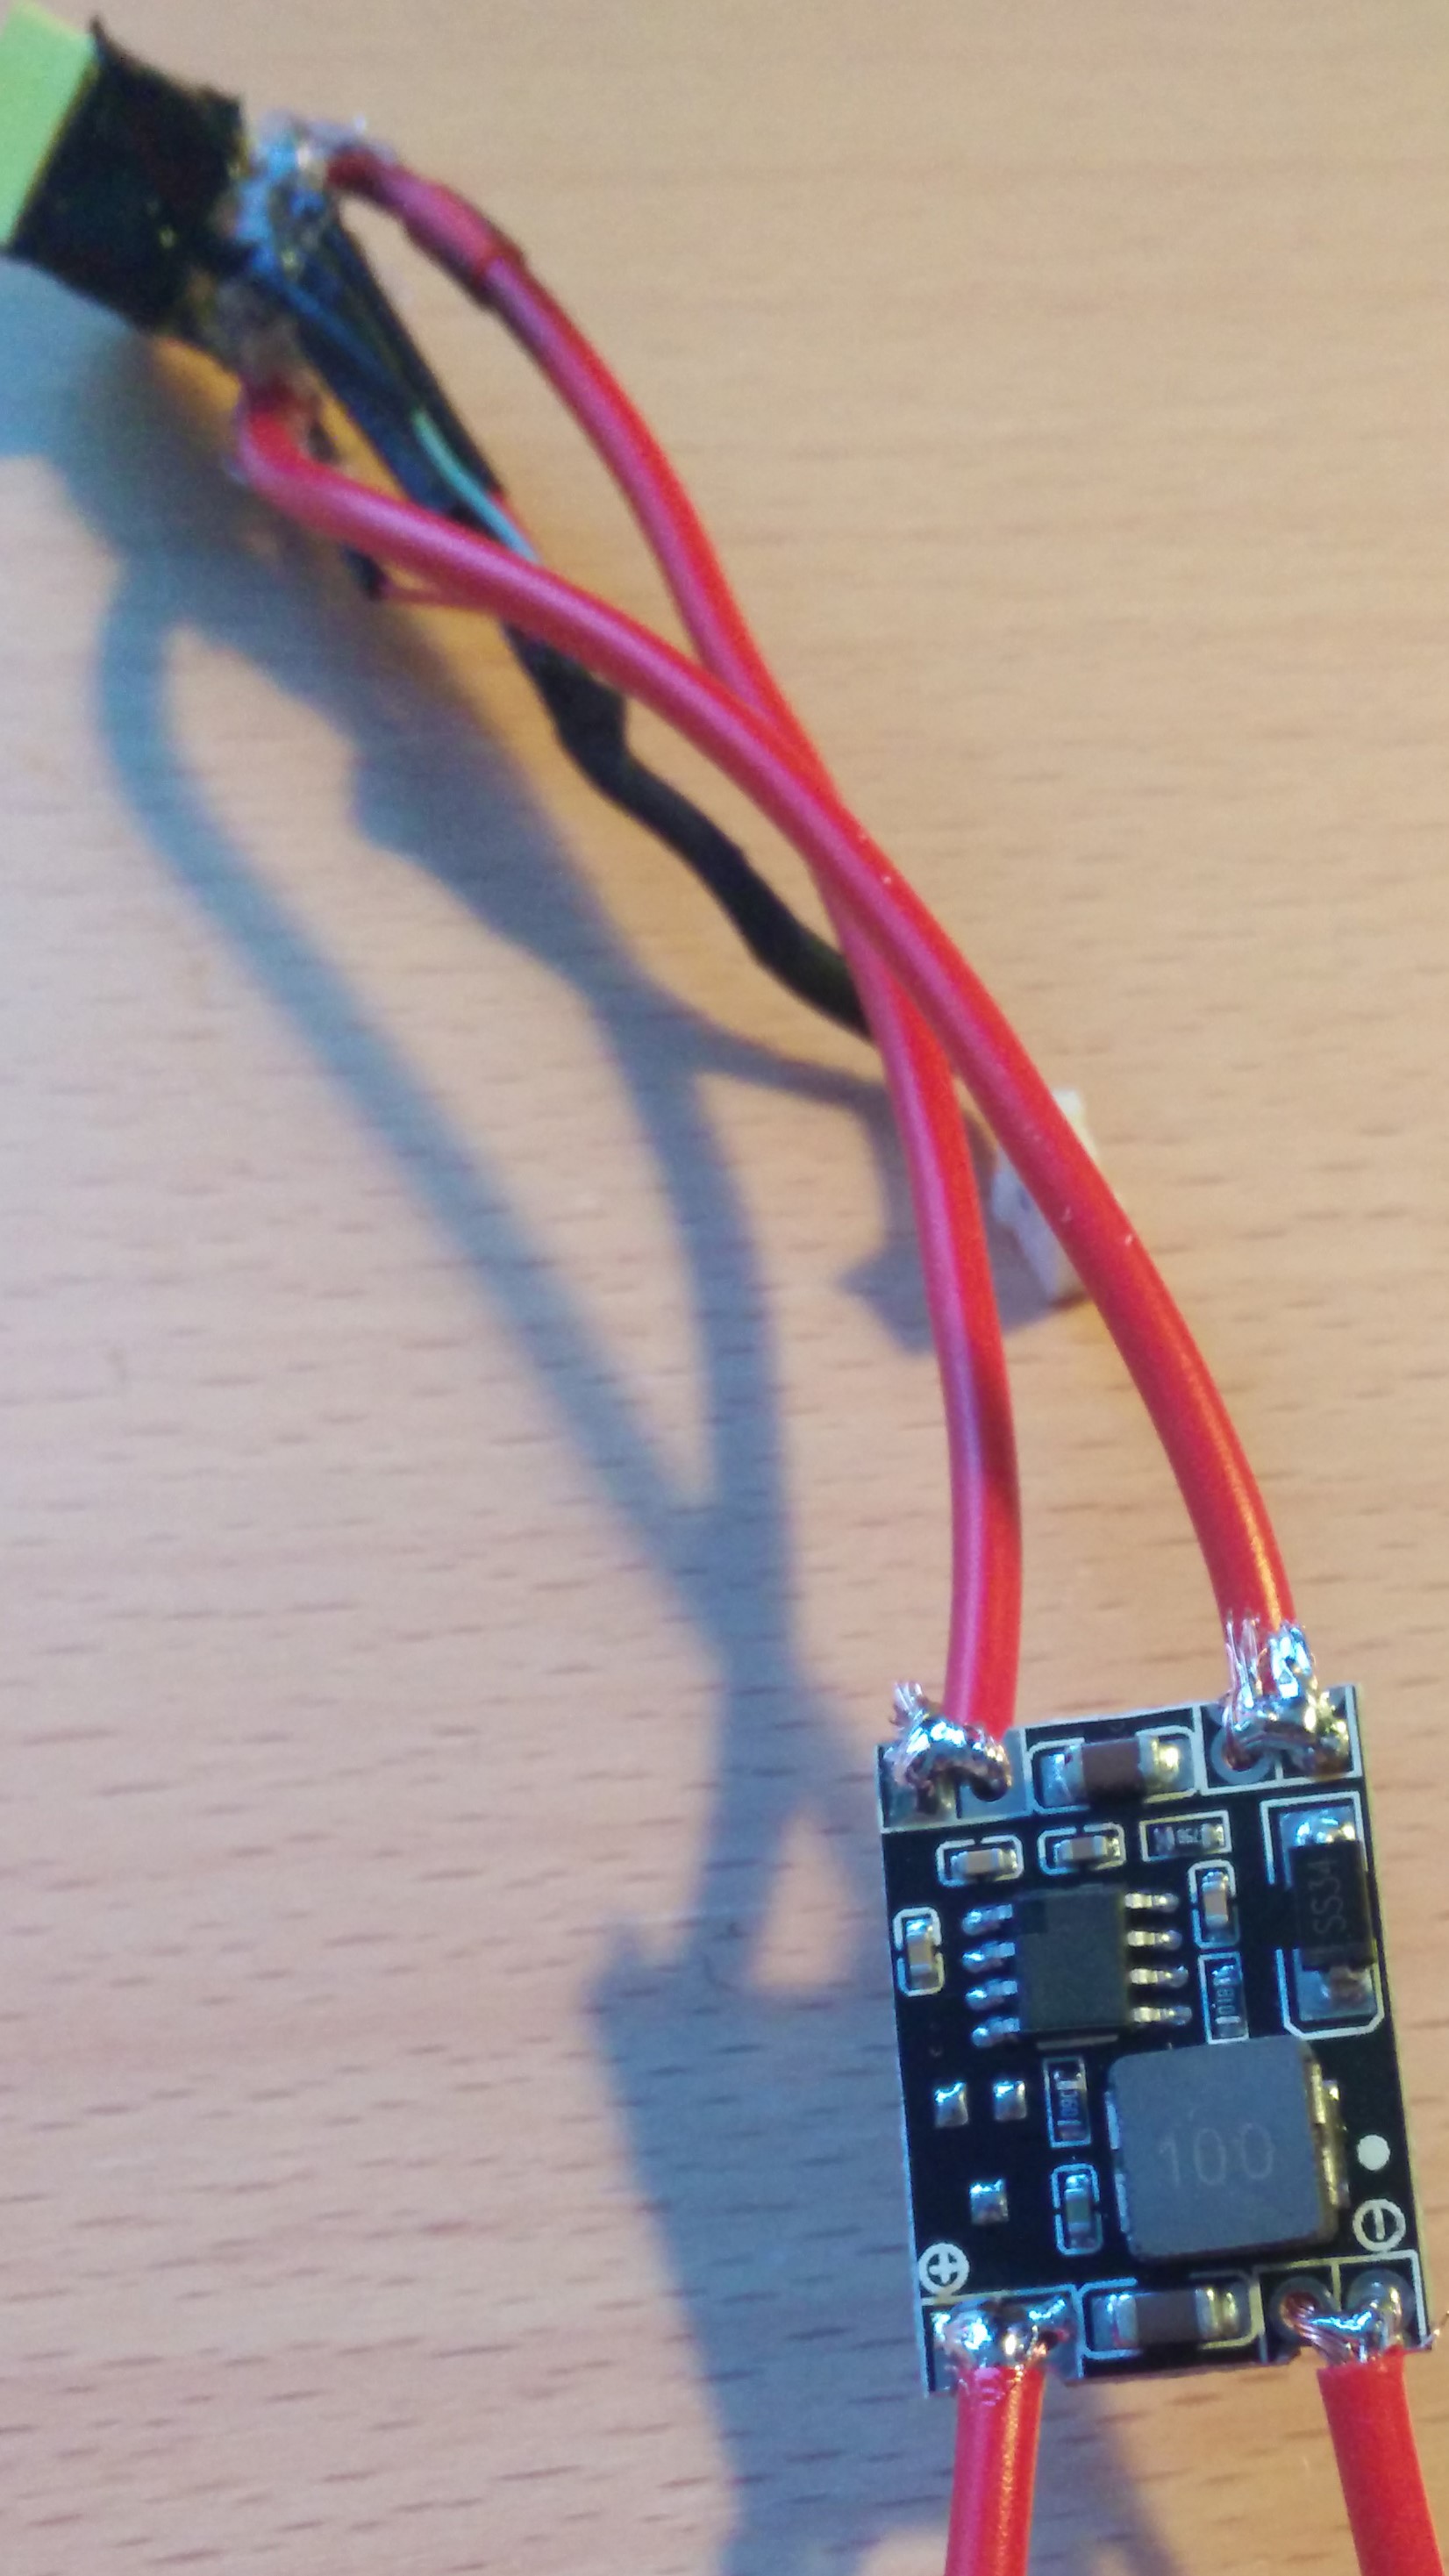
This is what we will use the Voltage buck converter for. This little board reduces any input voltage in the range 14-26V to around 12V, which is exactly what we want. That way we can hook it up to the powersupply for the laptop and use it’s power. I guess we could have hooked the LVDS directly to the 12v powerrail on the laptop, but as I have no experience in doing that, i figured that would be a bit dangerous, especially when I don’t even know if the laptop could handle the power draw.
So lets get started.
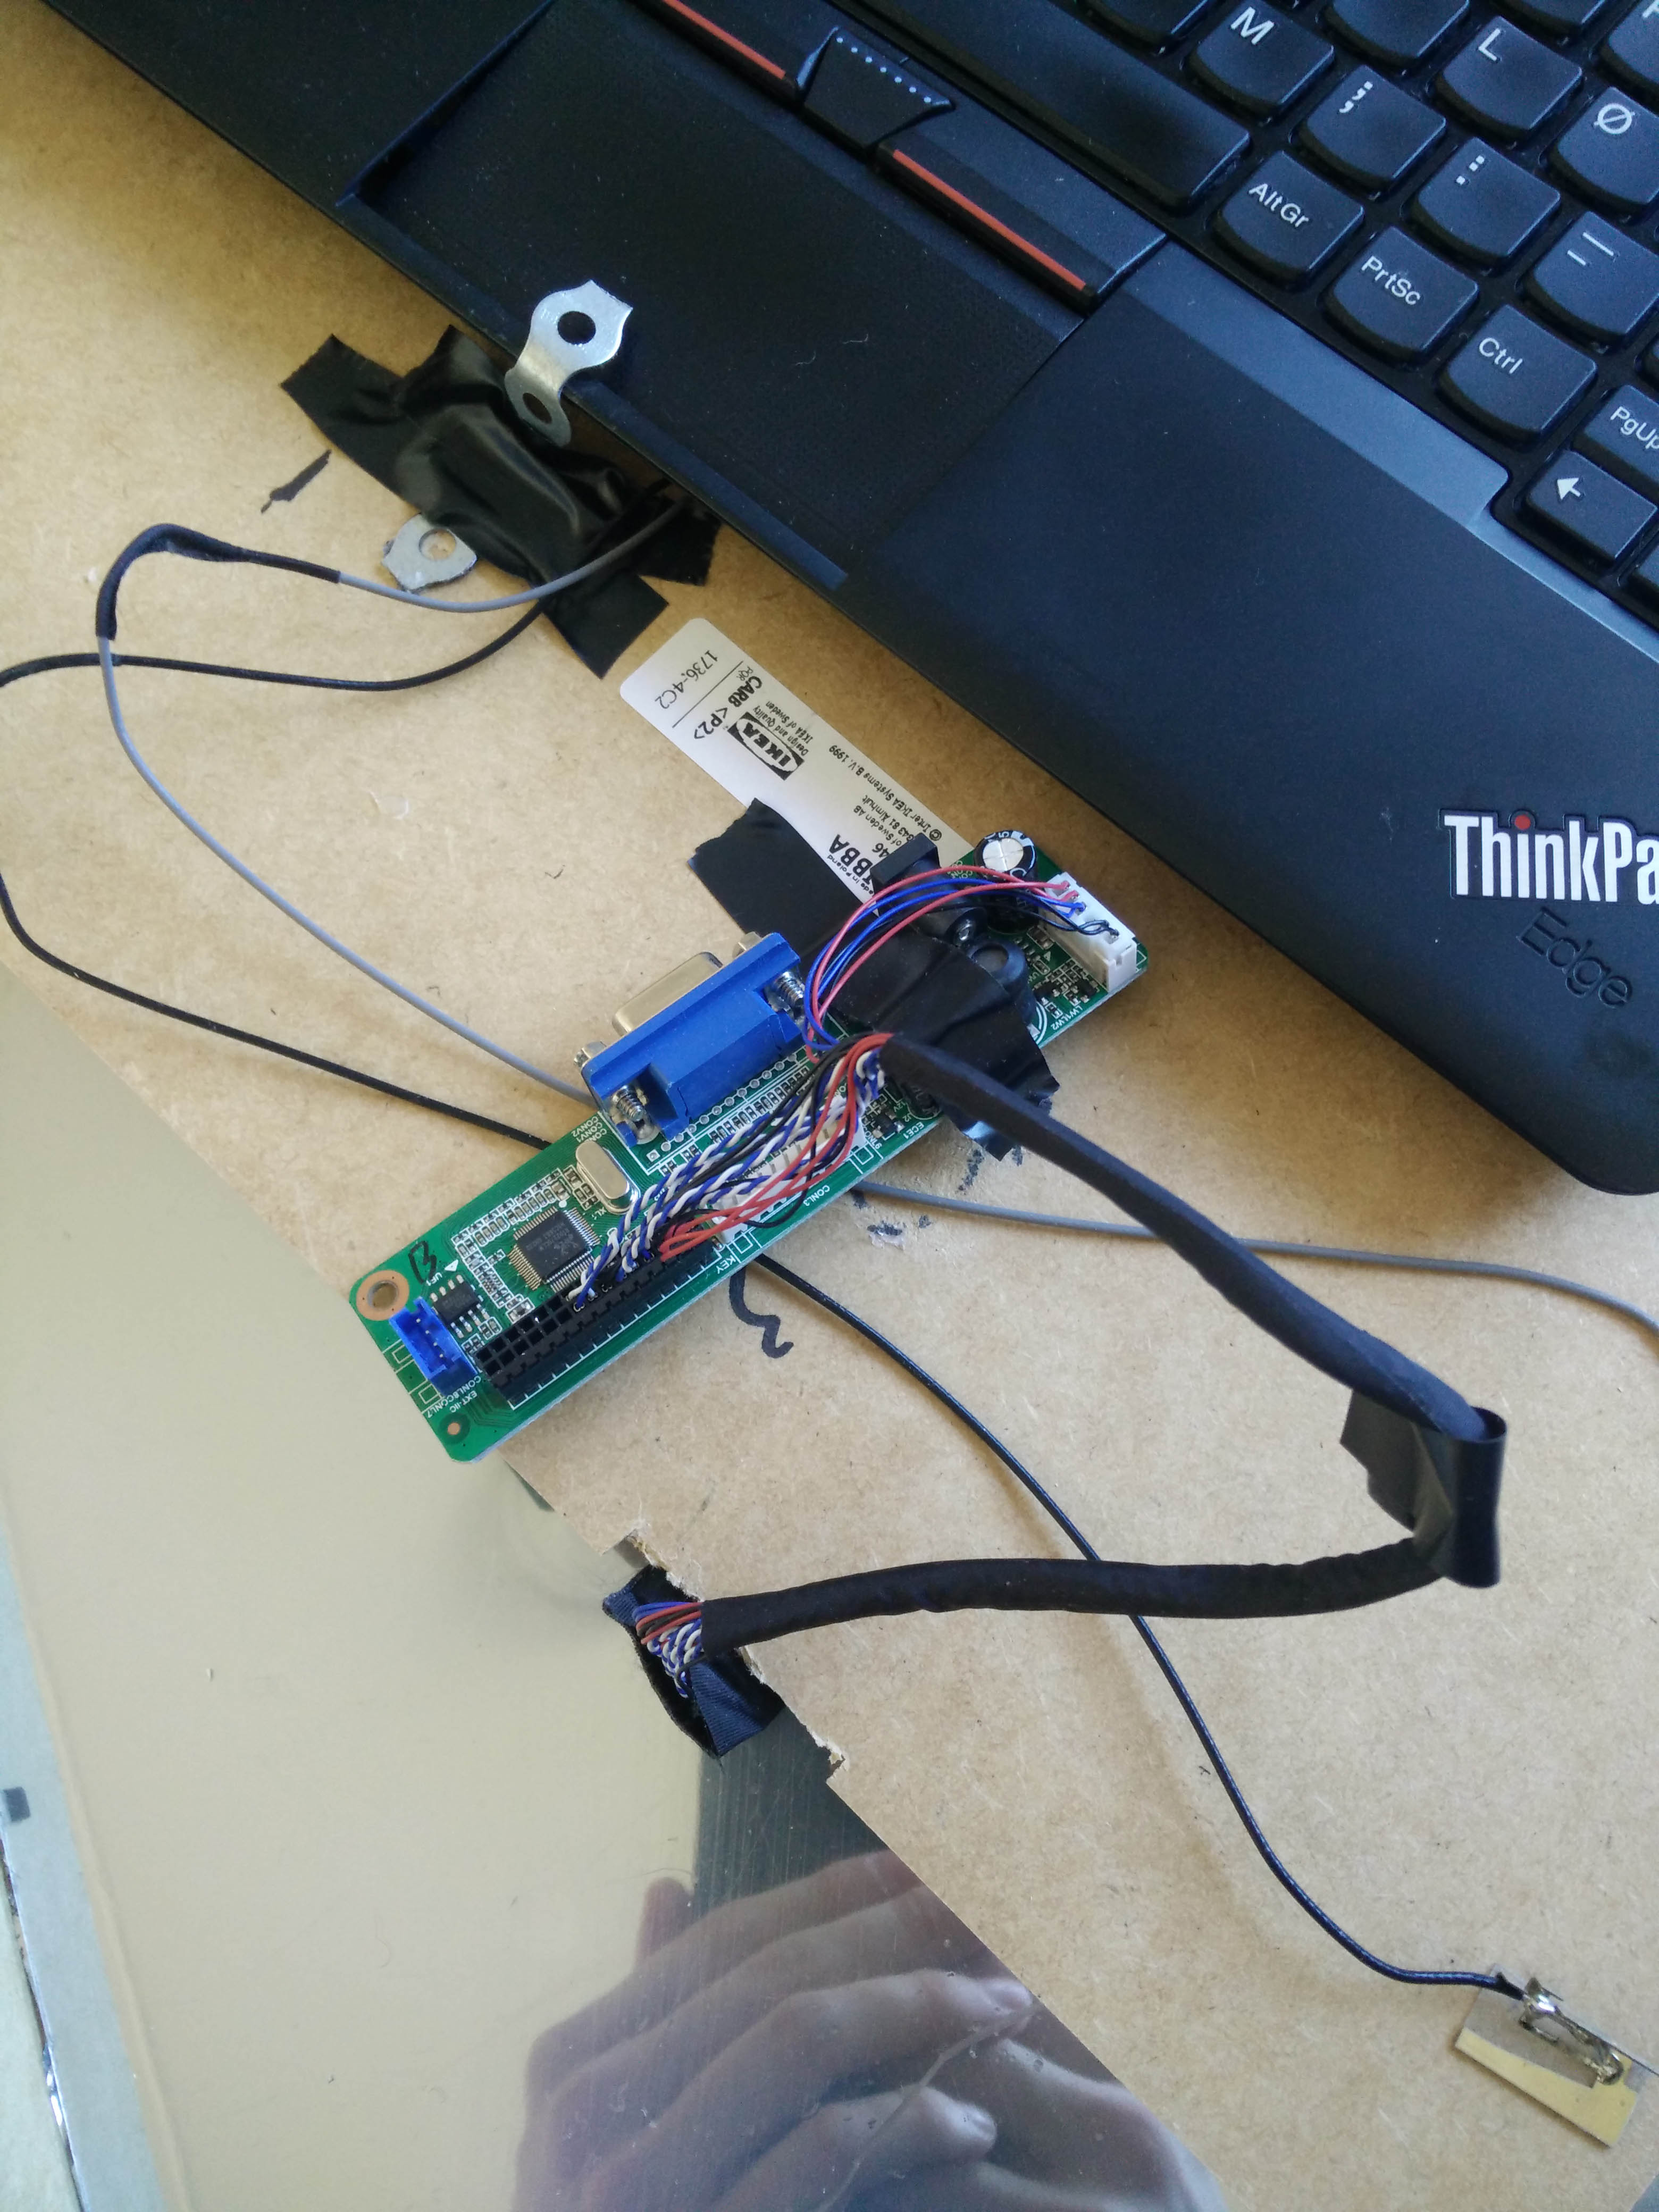
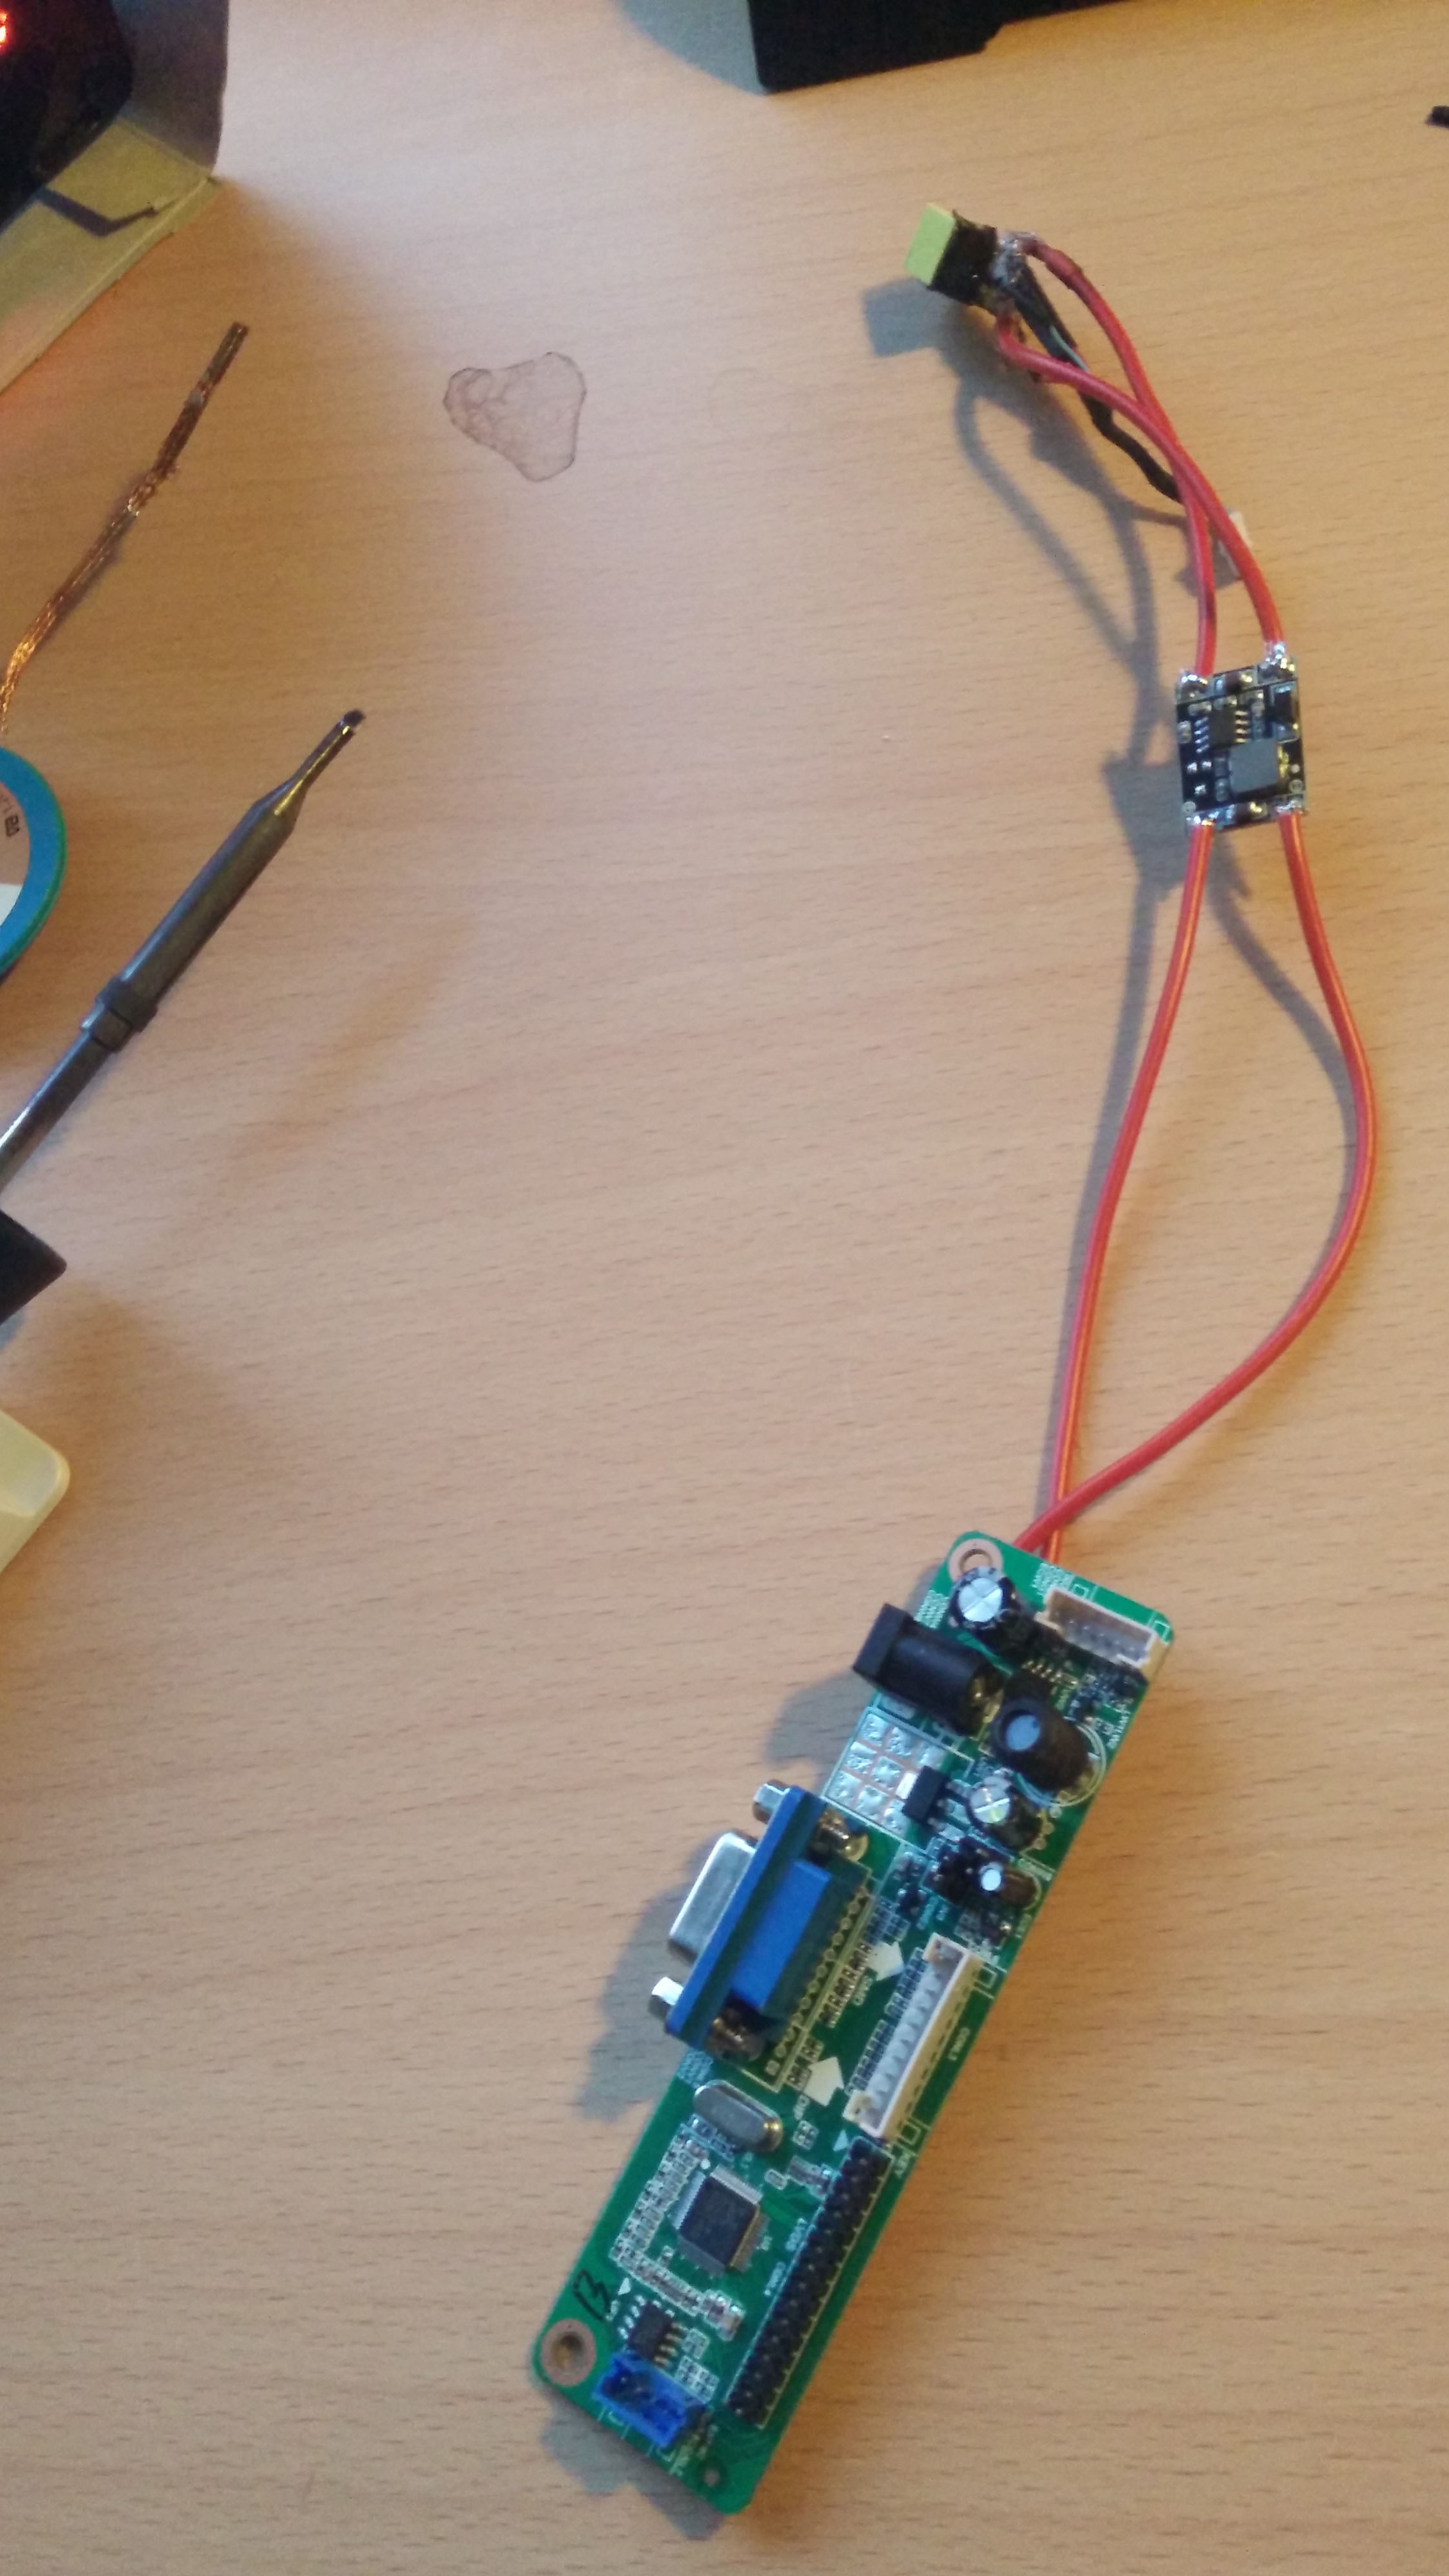
I opened the laptop and unscrewed and pulled out the power connector. Then I soldered two wires on to the ground, and live wires. I used a multimeter to figure out which was which. I also soldered two wires to the back of the LVDS. It looked something like this:
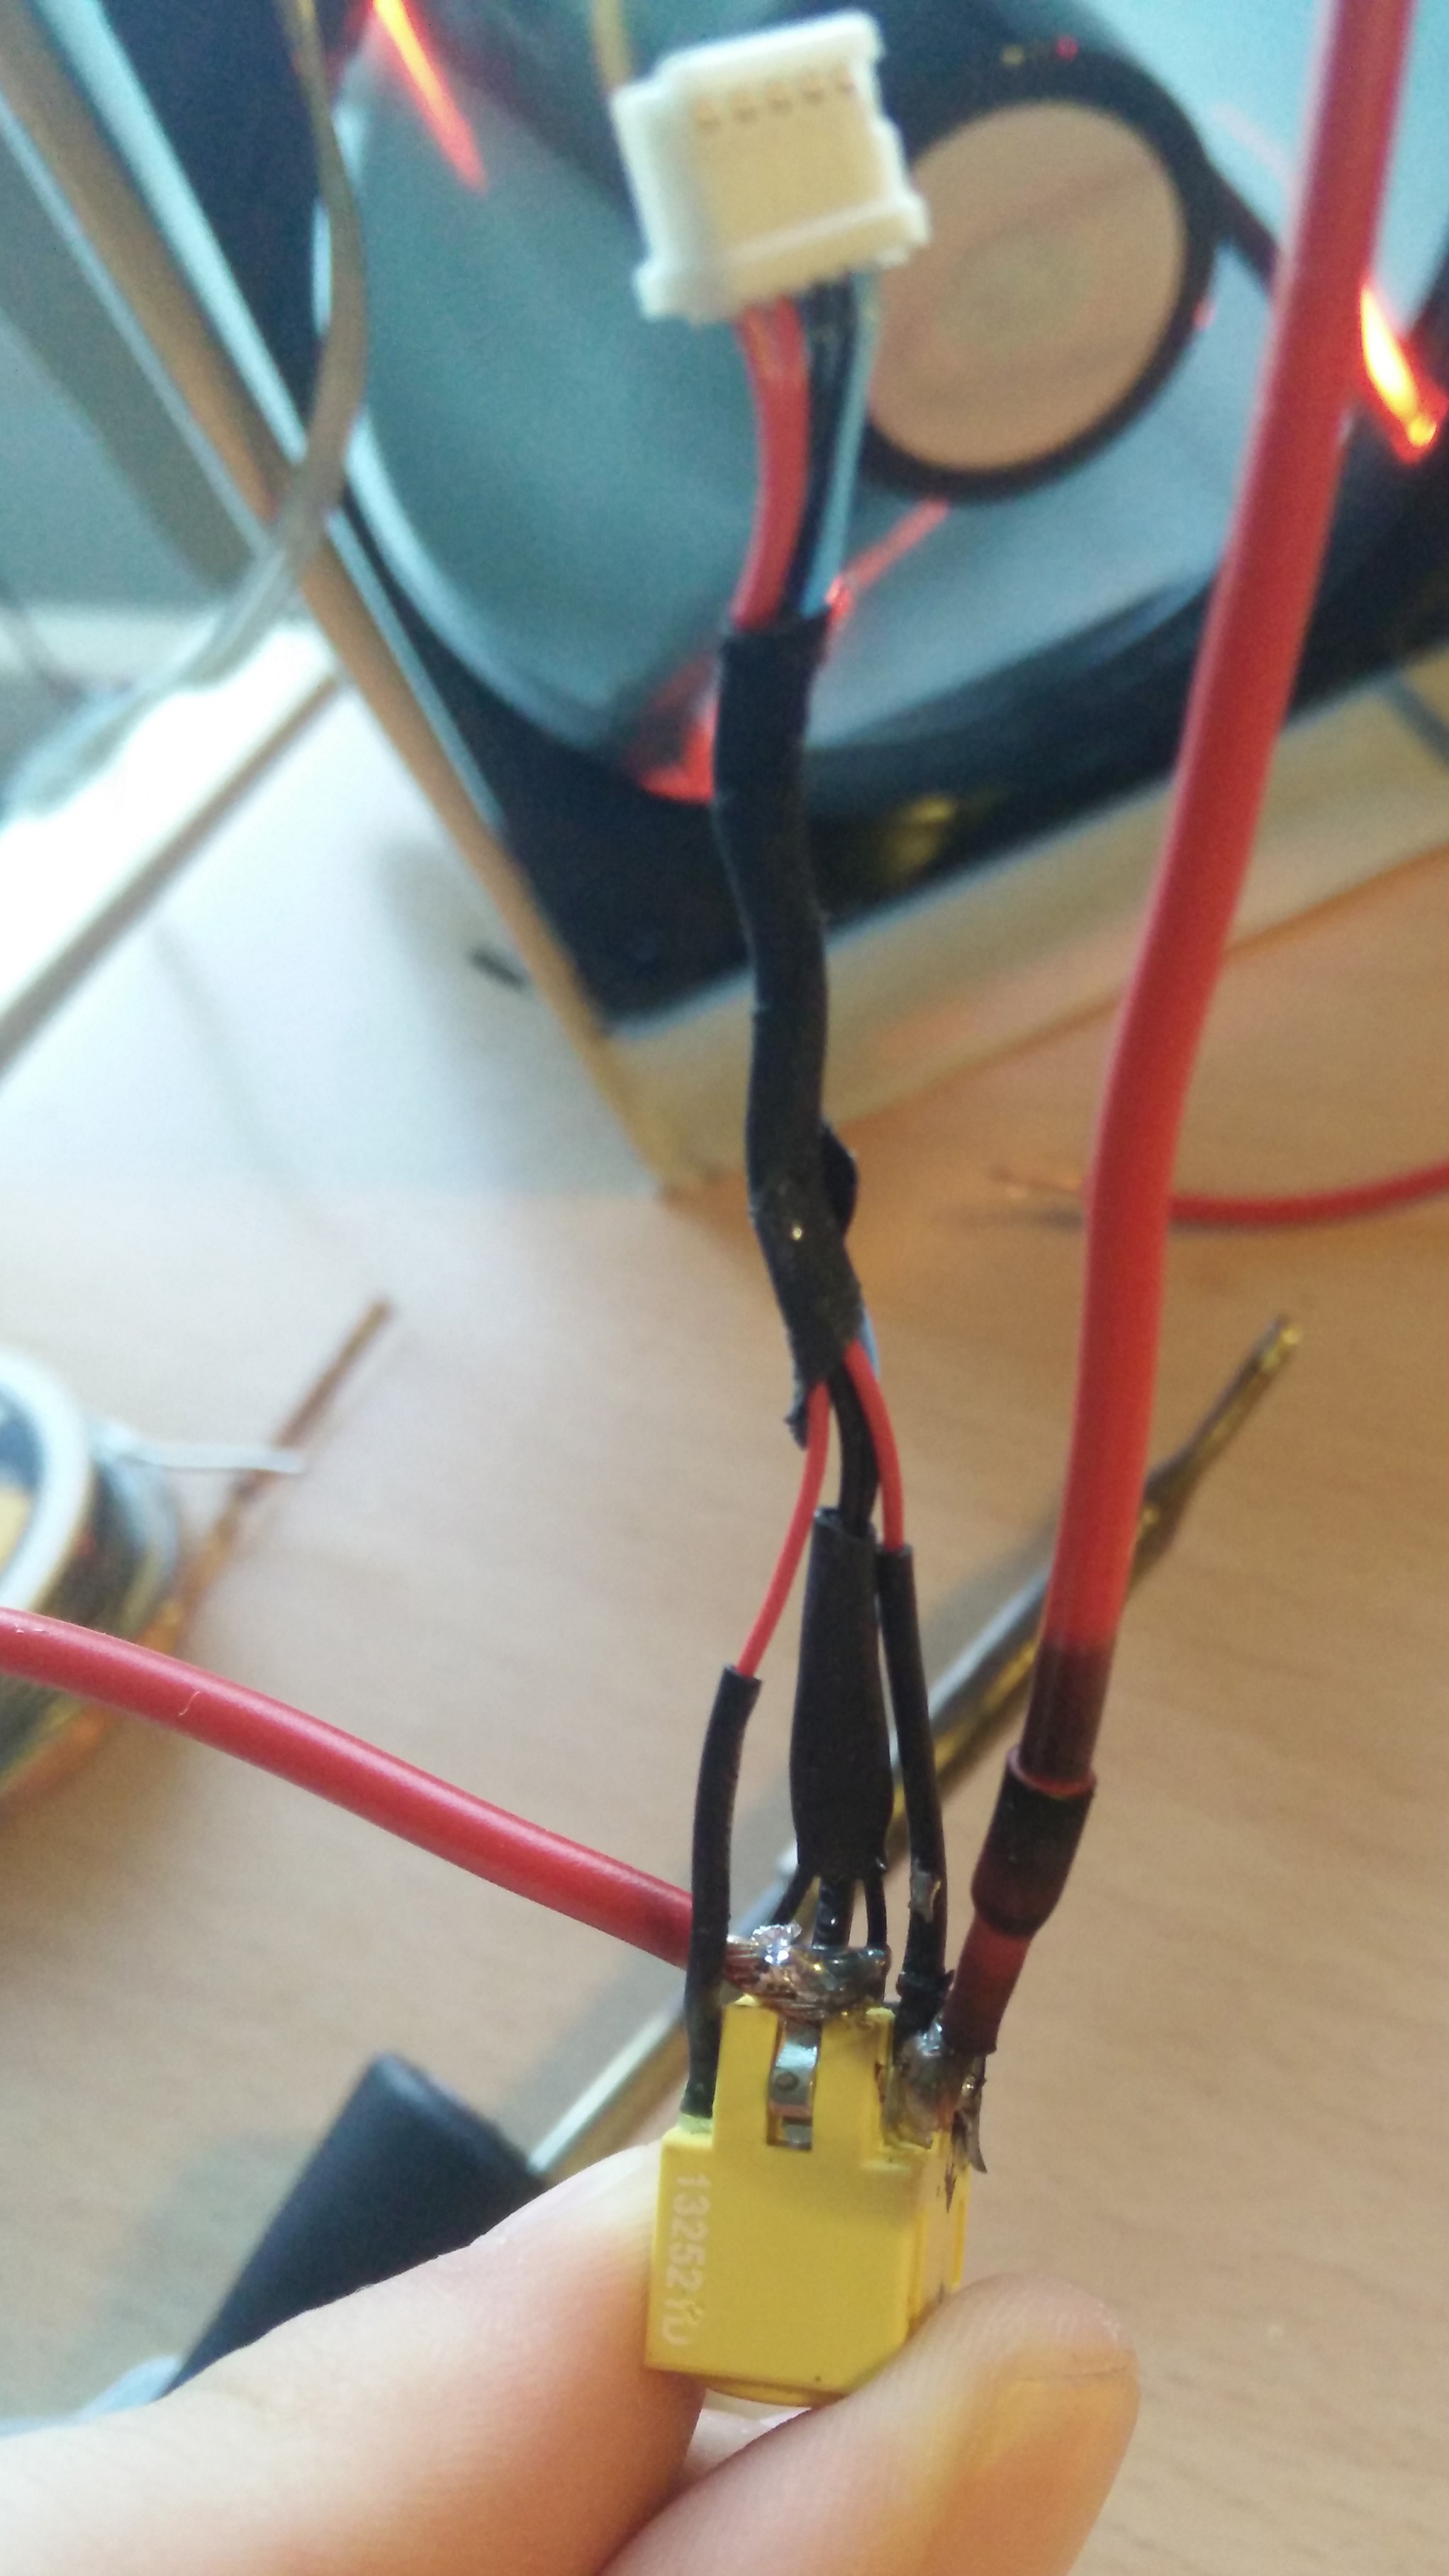
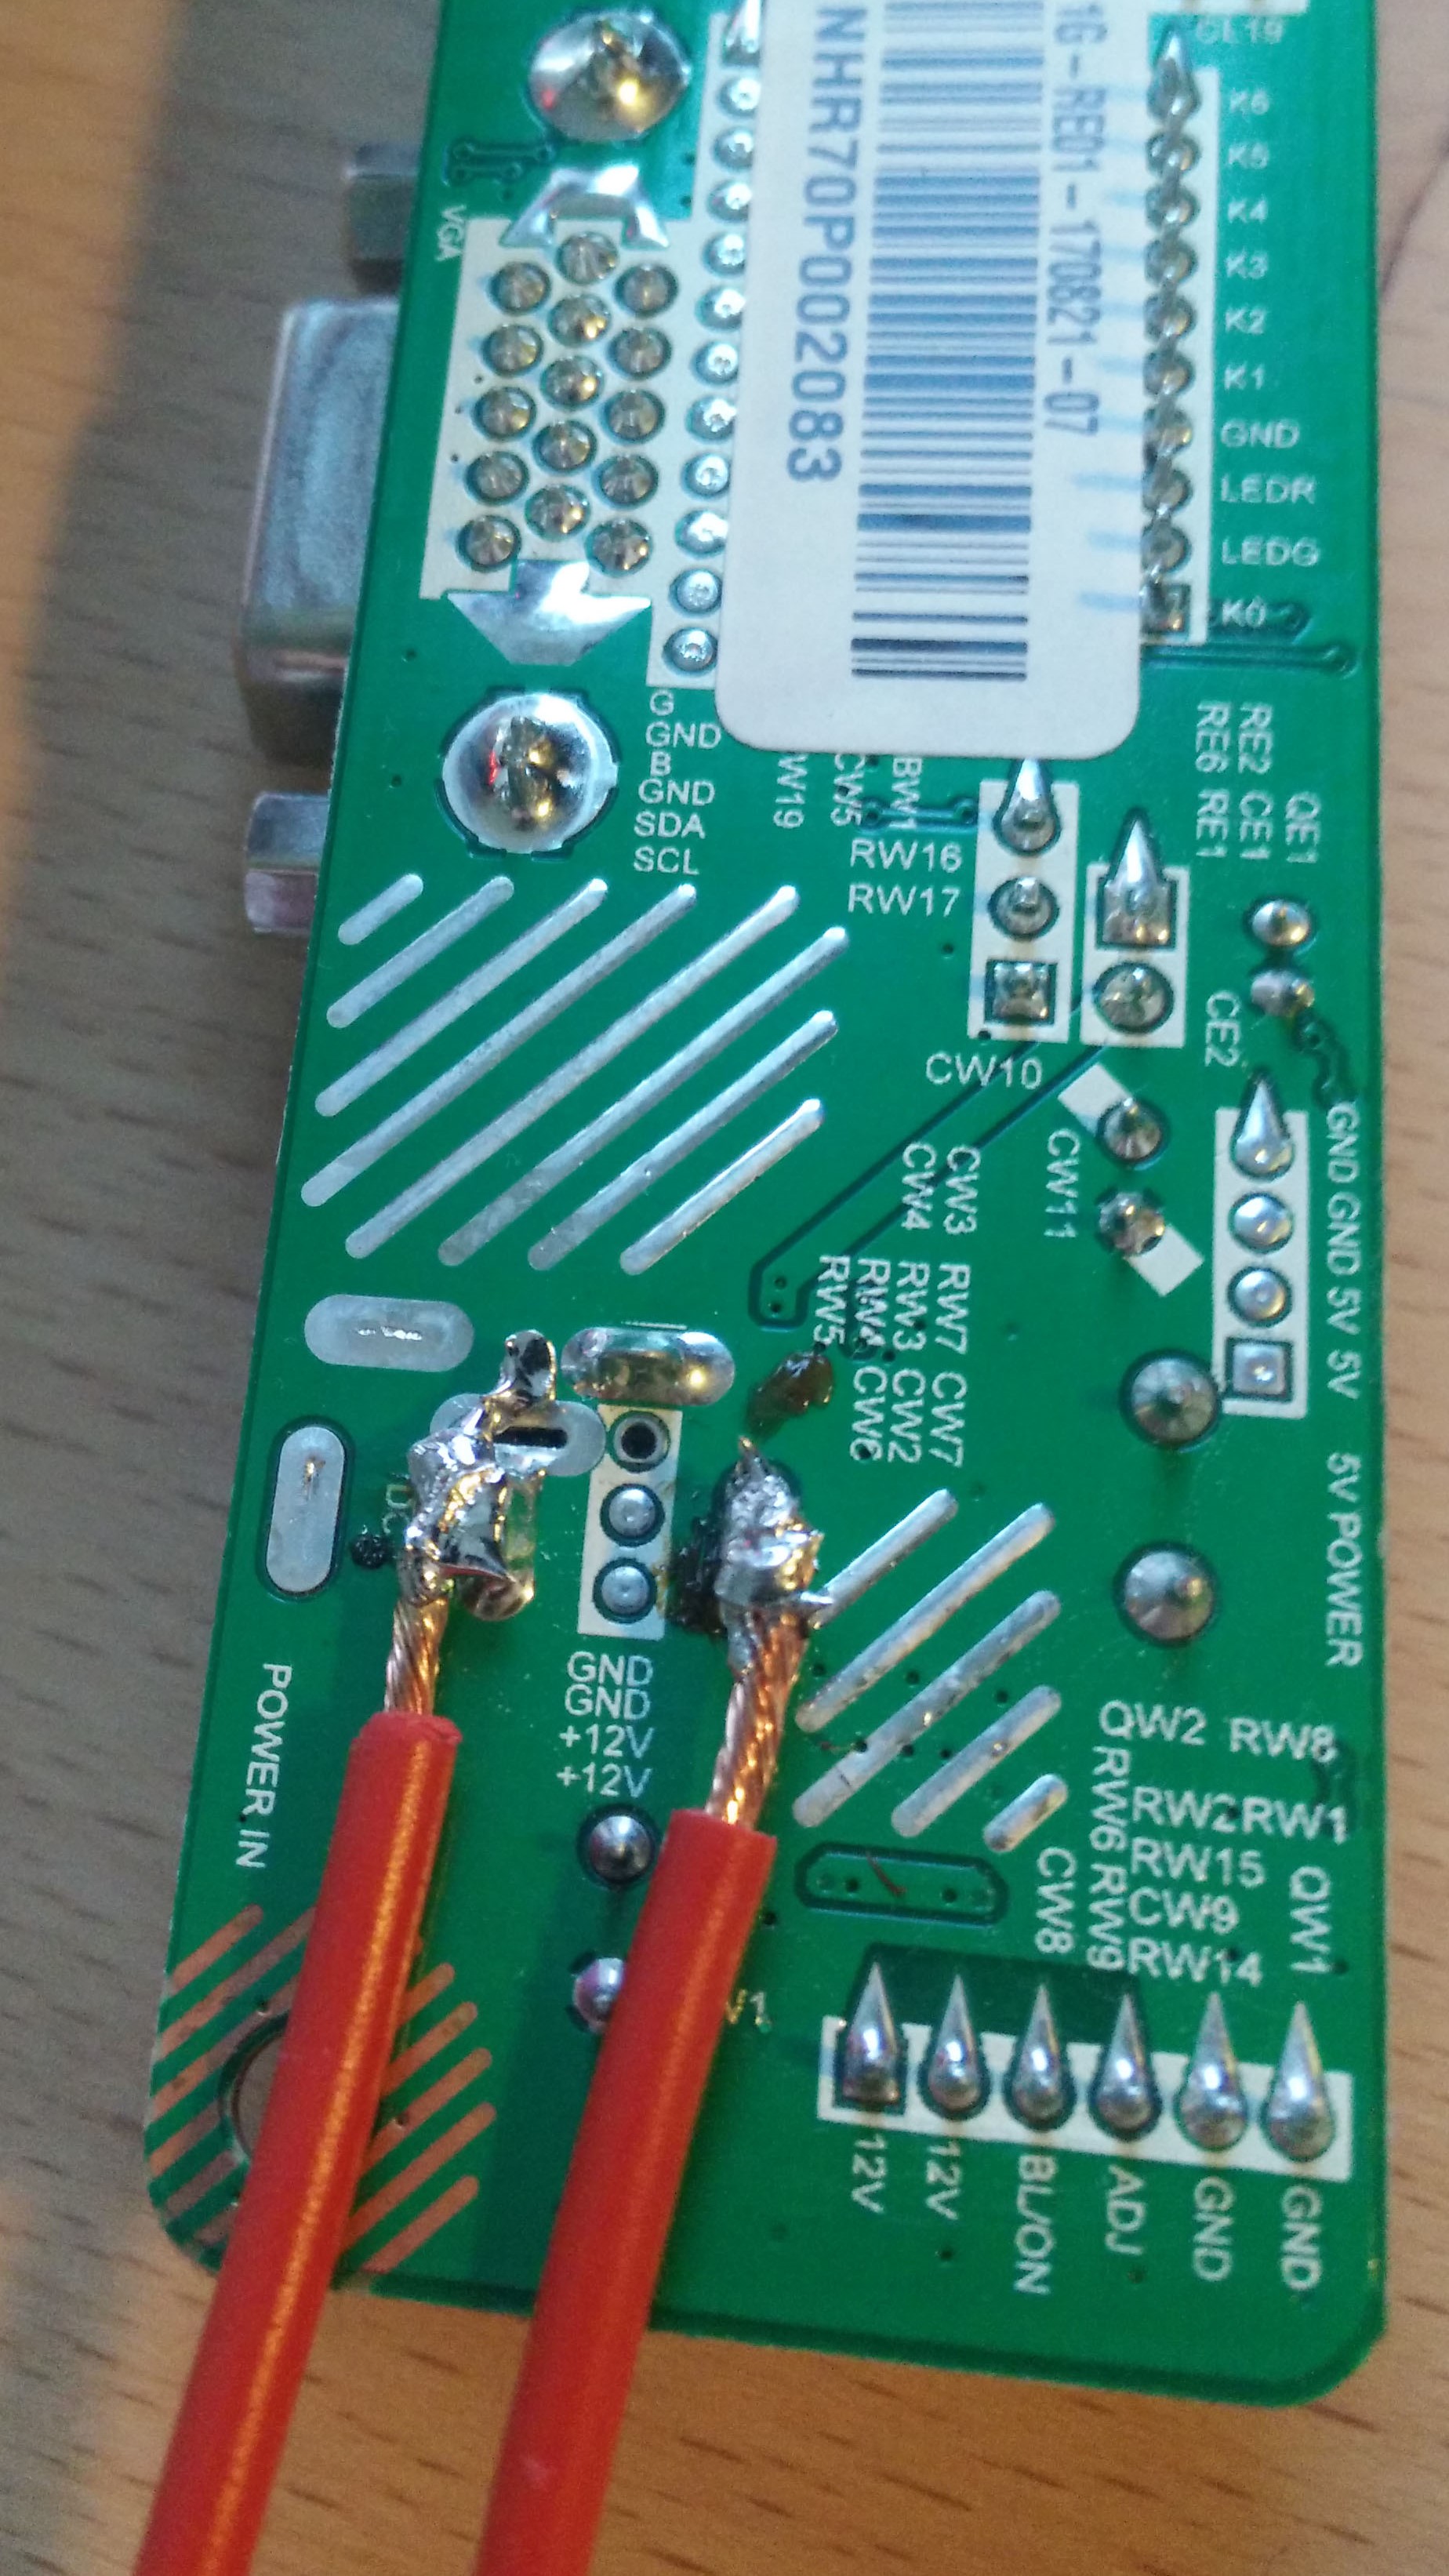
Excuse my horrible soldering. To my defence I slabbed alot of hotglue on there to isolate the wires better.
The next step was to solder these two pieces on to the buck converter.
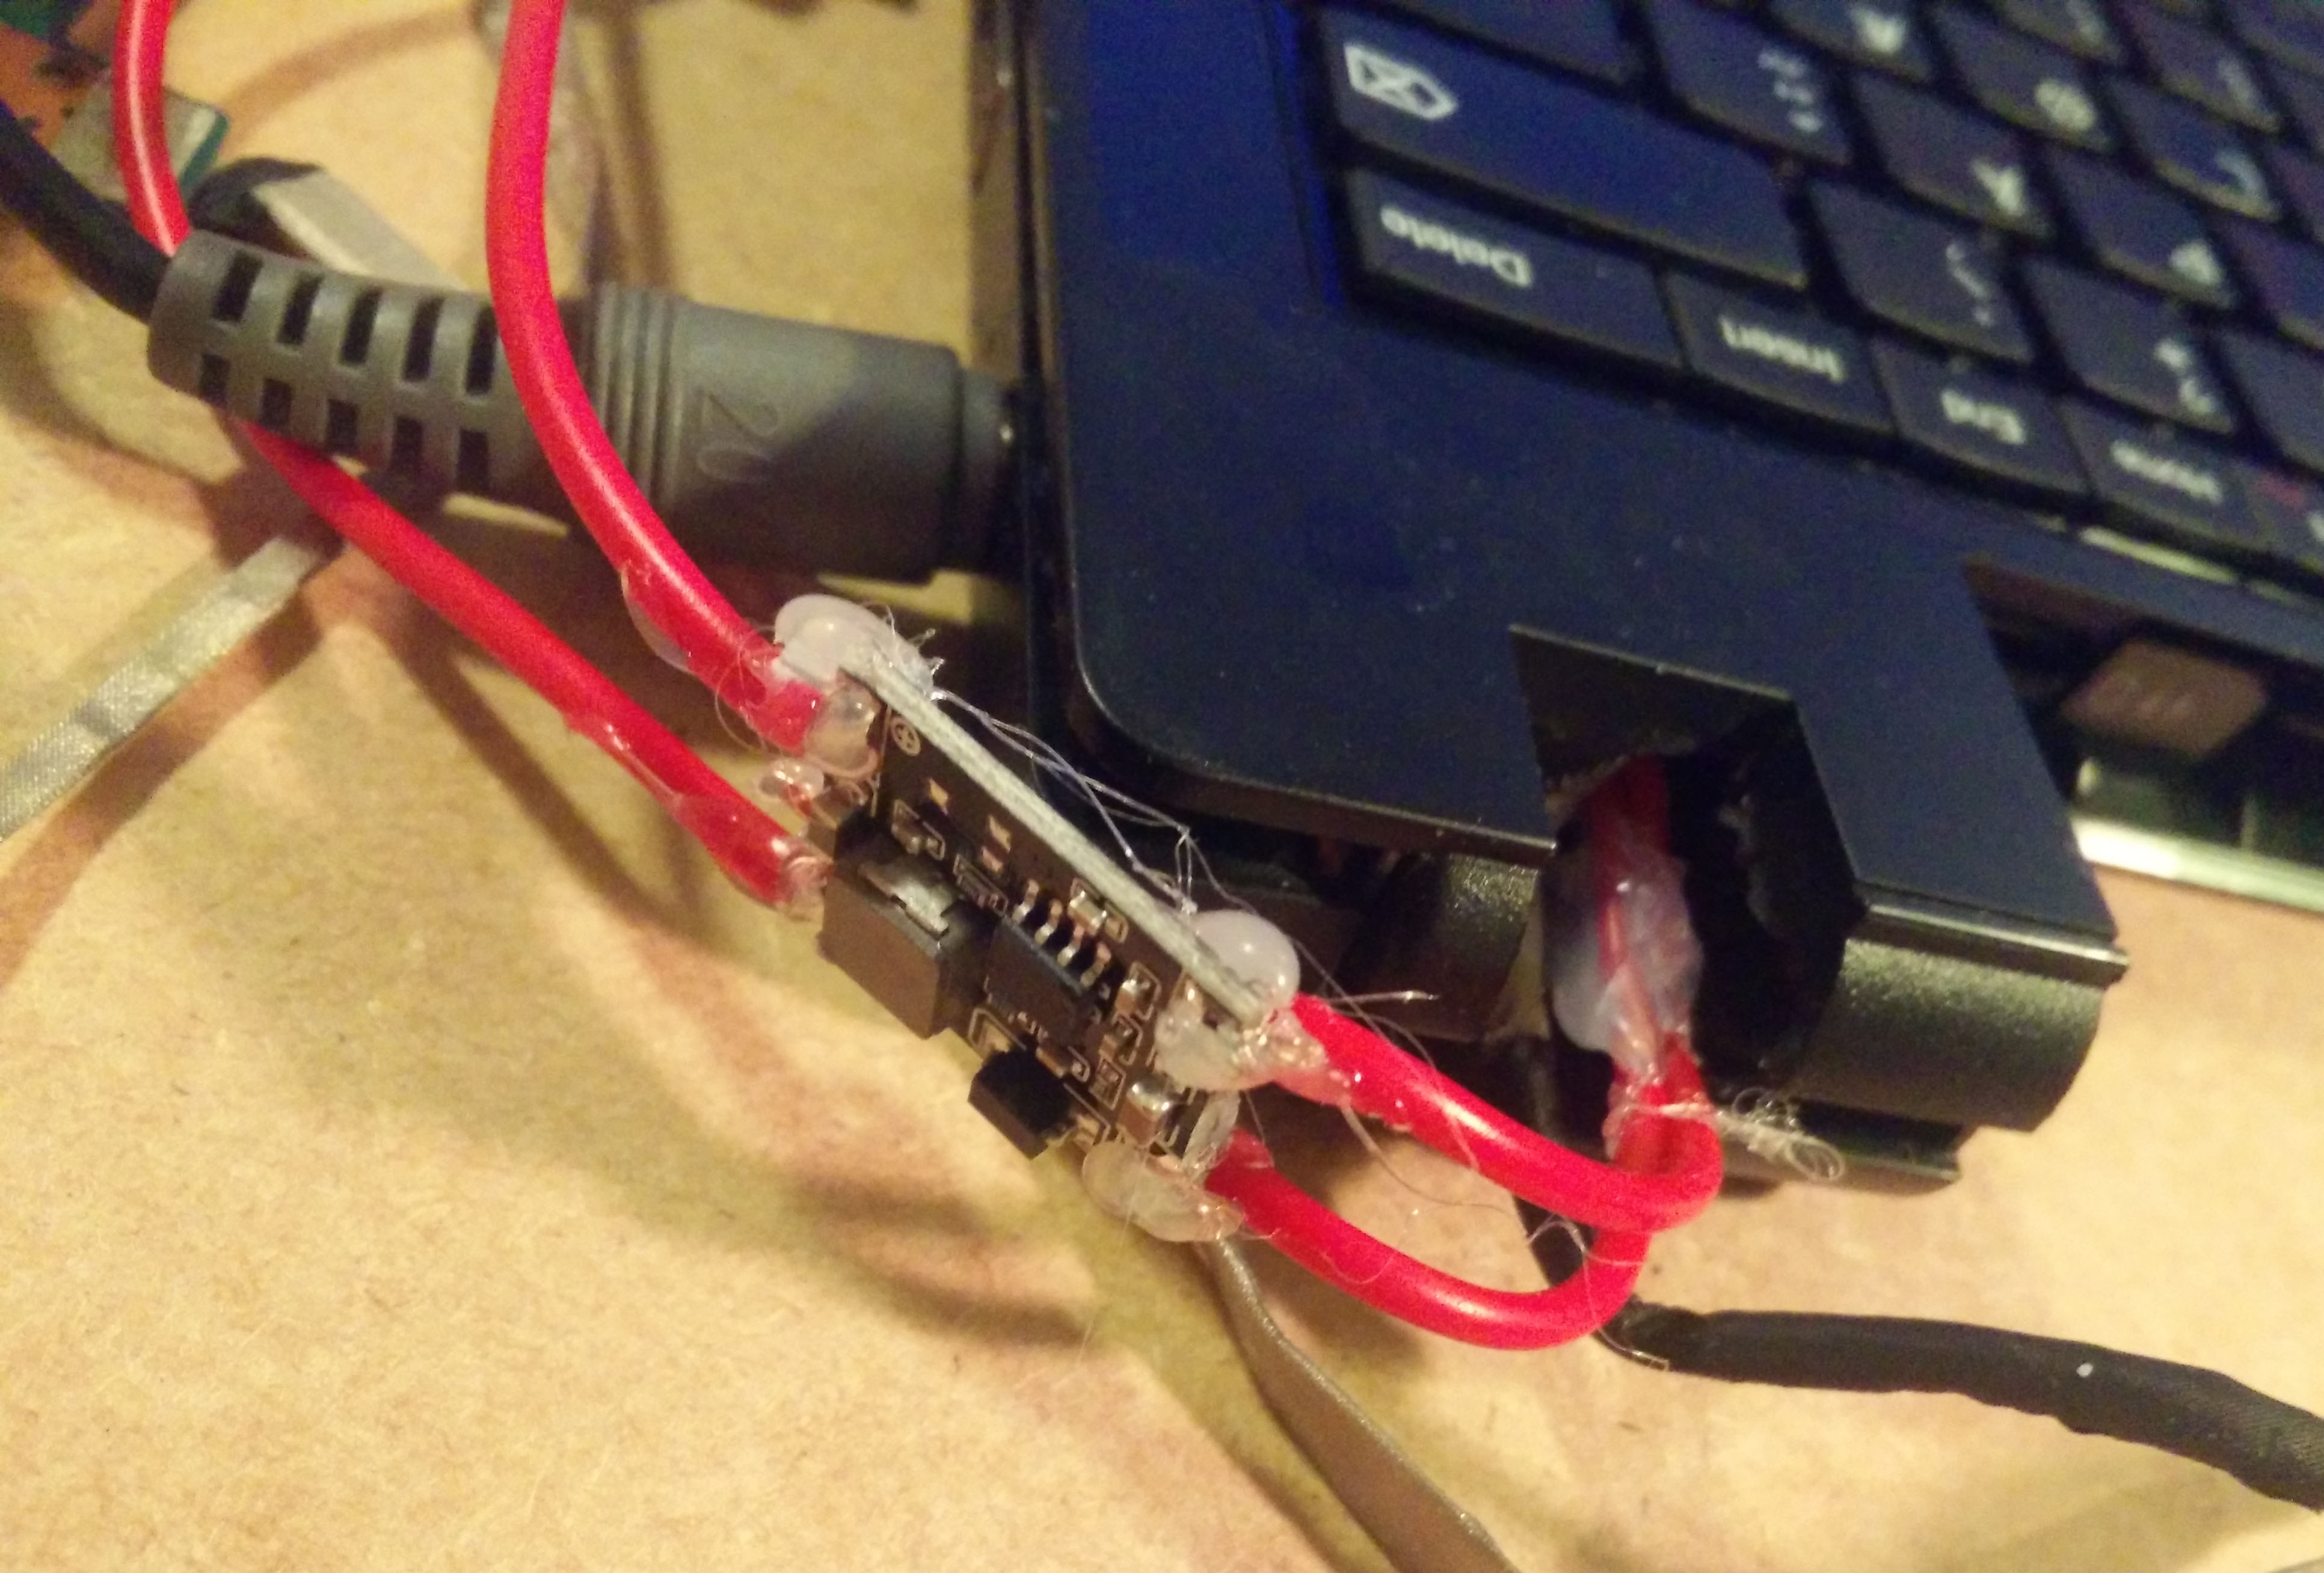
After this I glued the laptop connector back in the laptop and plugged it into the motherboard again. I just let the cables hang out of the laptop as shown in the picture below.
After this, its technically done! You just have to glue all the parts to the back of the mirror to make them stick. It would look something like this:
Software
Now it’s time for the software. I chose Lubuntu as my operating system, so I made a bootable USB with it using Etcher and installed it on the hard drive on the PC. This could perferably have been done before I disassembled the laptop, but shit happens. After it was installed, and WiFi connected, i made it available via SSH using this guide, so I could control it from my desktop.
I found the IP of the mirror in my router’s control panel, but you could also use the command ifconfig in terminal to check.
I then connected to the mirror via SSH from my desktop using Putty.
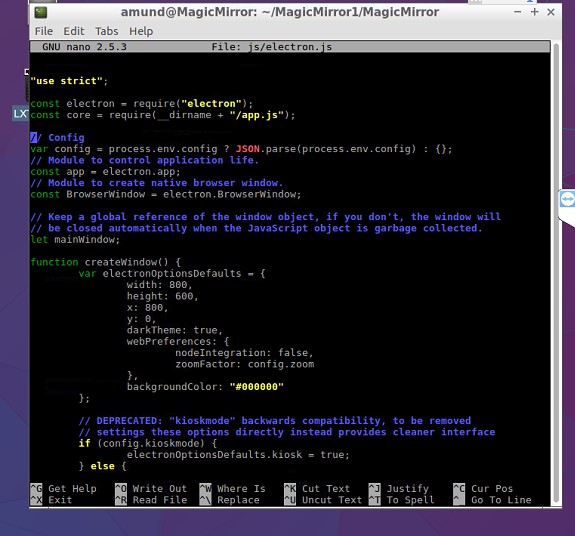
Next is the configuring of this Mirror. I used MagicMirror2 by Michael Teeuw which is an excellent software for this use. It is made for raspbian but as long as you get node.js and electron correctly configured (by googling online) you should get it to work just fine. How to install MagicMirror2, you can find here. Please use google to figure out the rest. One thing I will tell you to save you some hassle: You will have to run two separate MagicMirror instances since it can not expand over two displays(at least I couldn’t get it working). The best way is to have two installations of MagicMirror in two different folders and edit the code of the MagicMirror/js/electron.js so that it offsets the screen the same amount of pixles as your left monitor is wide. Do this under the function createWindow, and the x: value is the offset. It will look something like this:
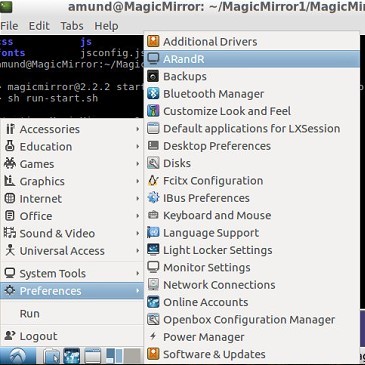
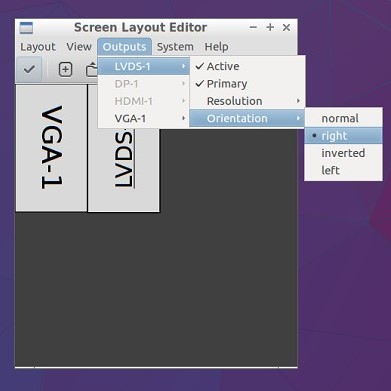
Some other good advices is to use ARandR to rotate the displays correctly, and use TeamViewer to remote control your mirror, I found this very easy to do.
Here is where to find ARandR:
And here is the glorius masterpiece up and running with a couple of different modules:
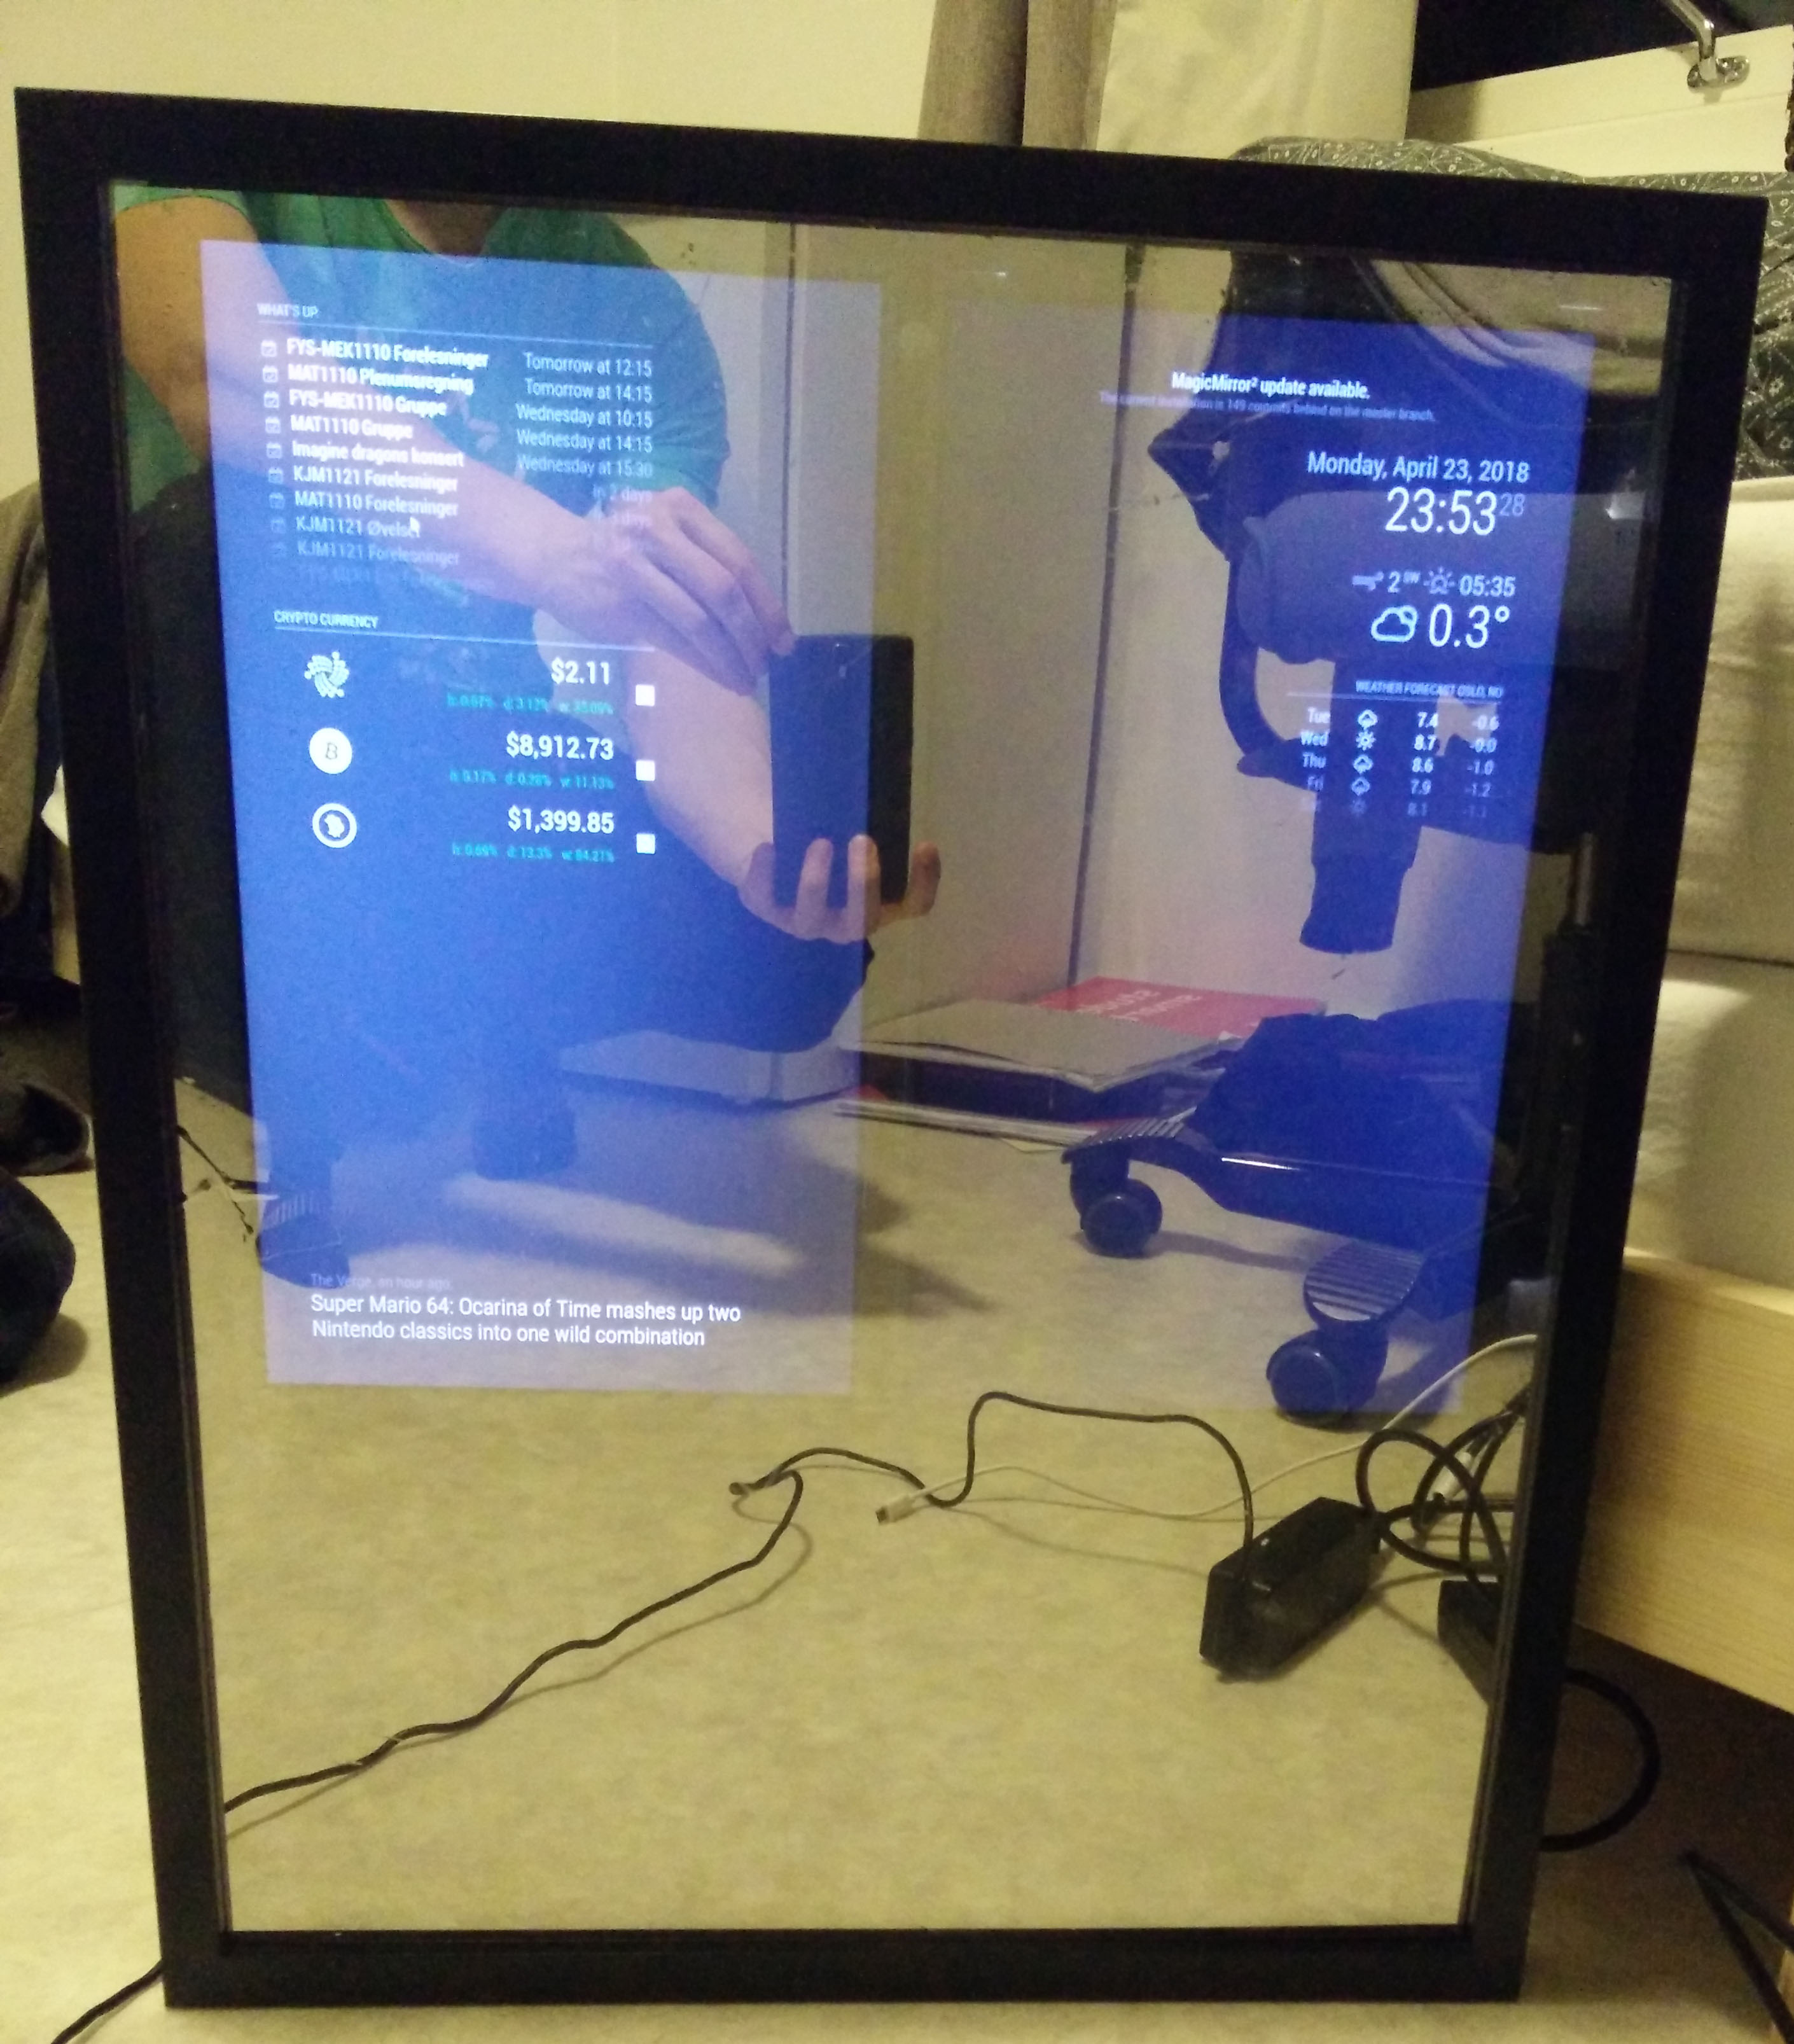
Here are some more closeups, sorry for the bad camera.
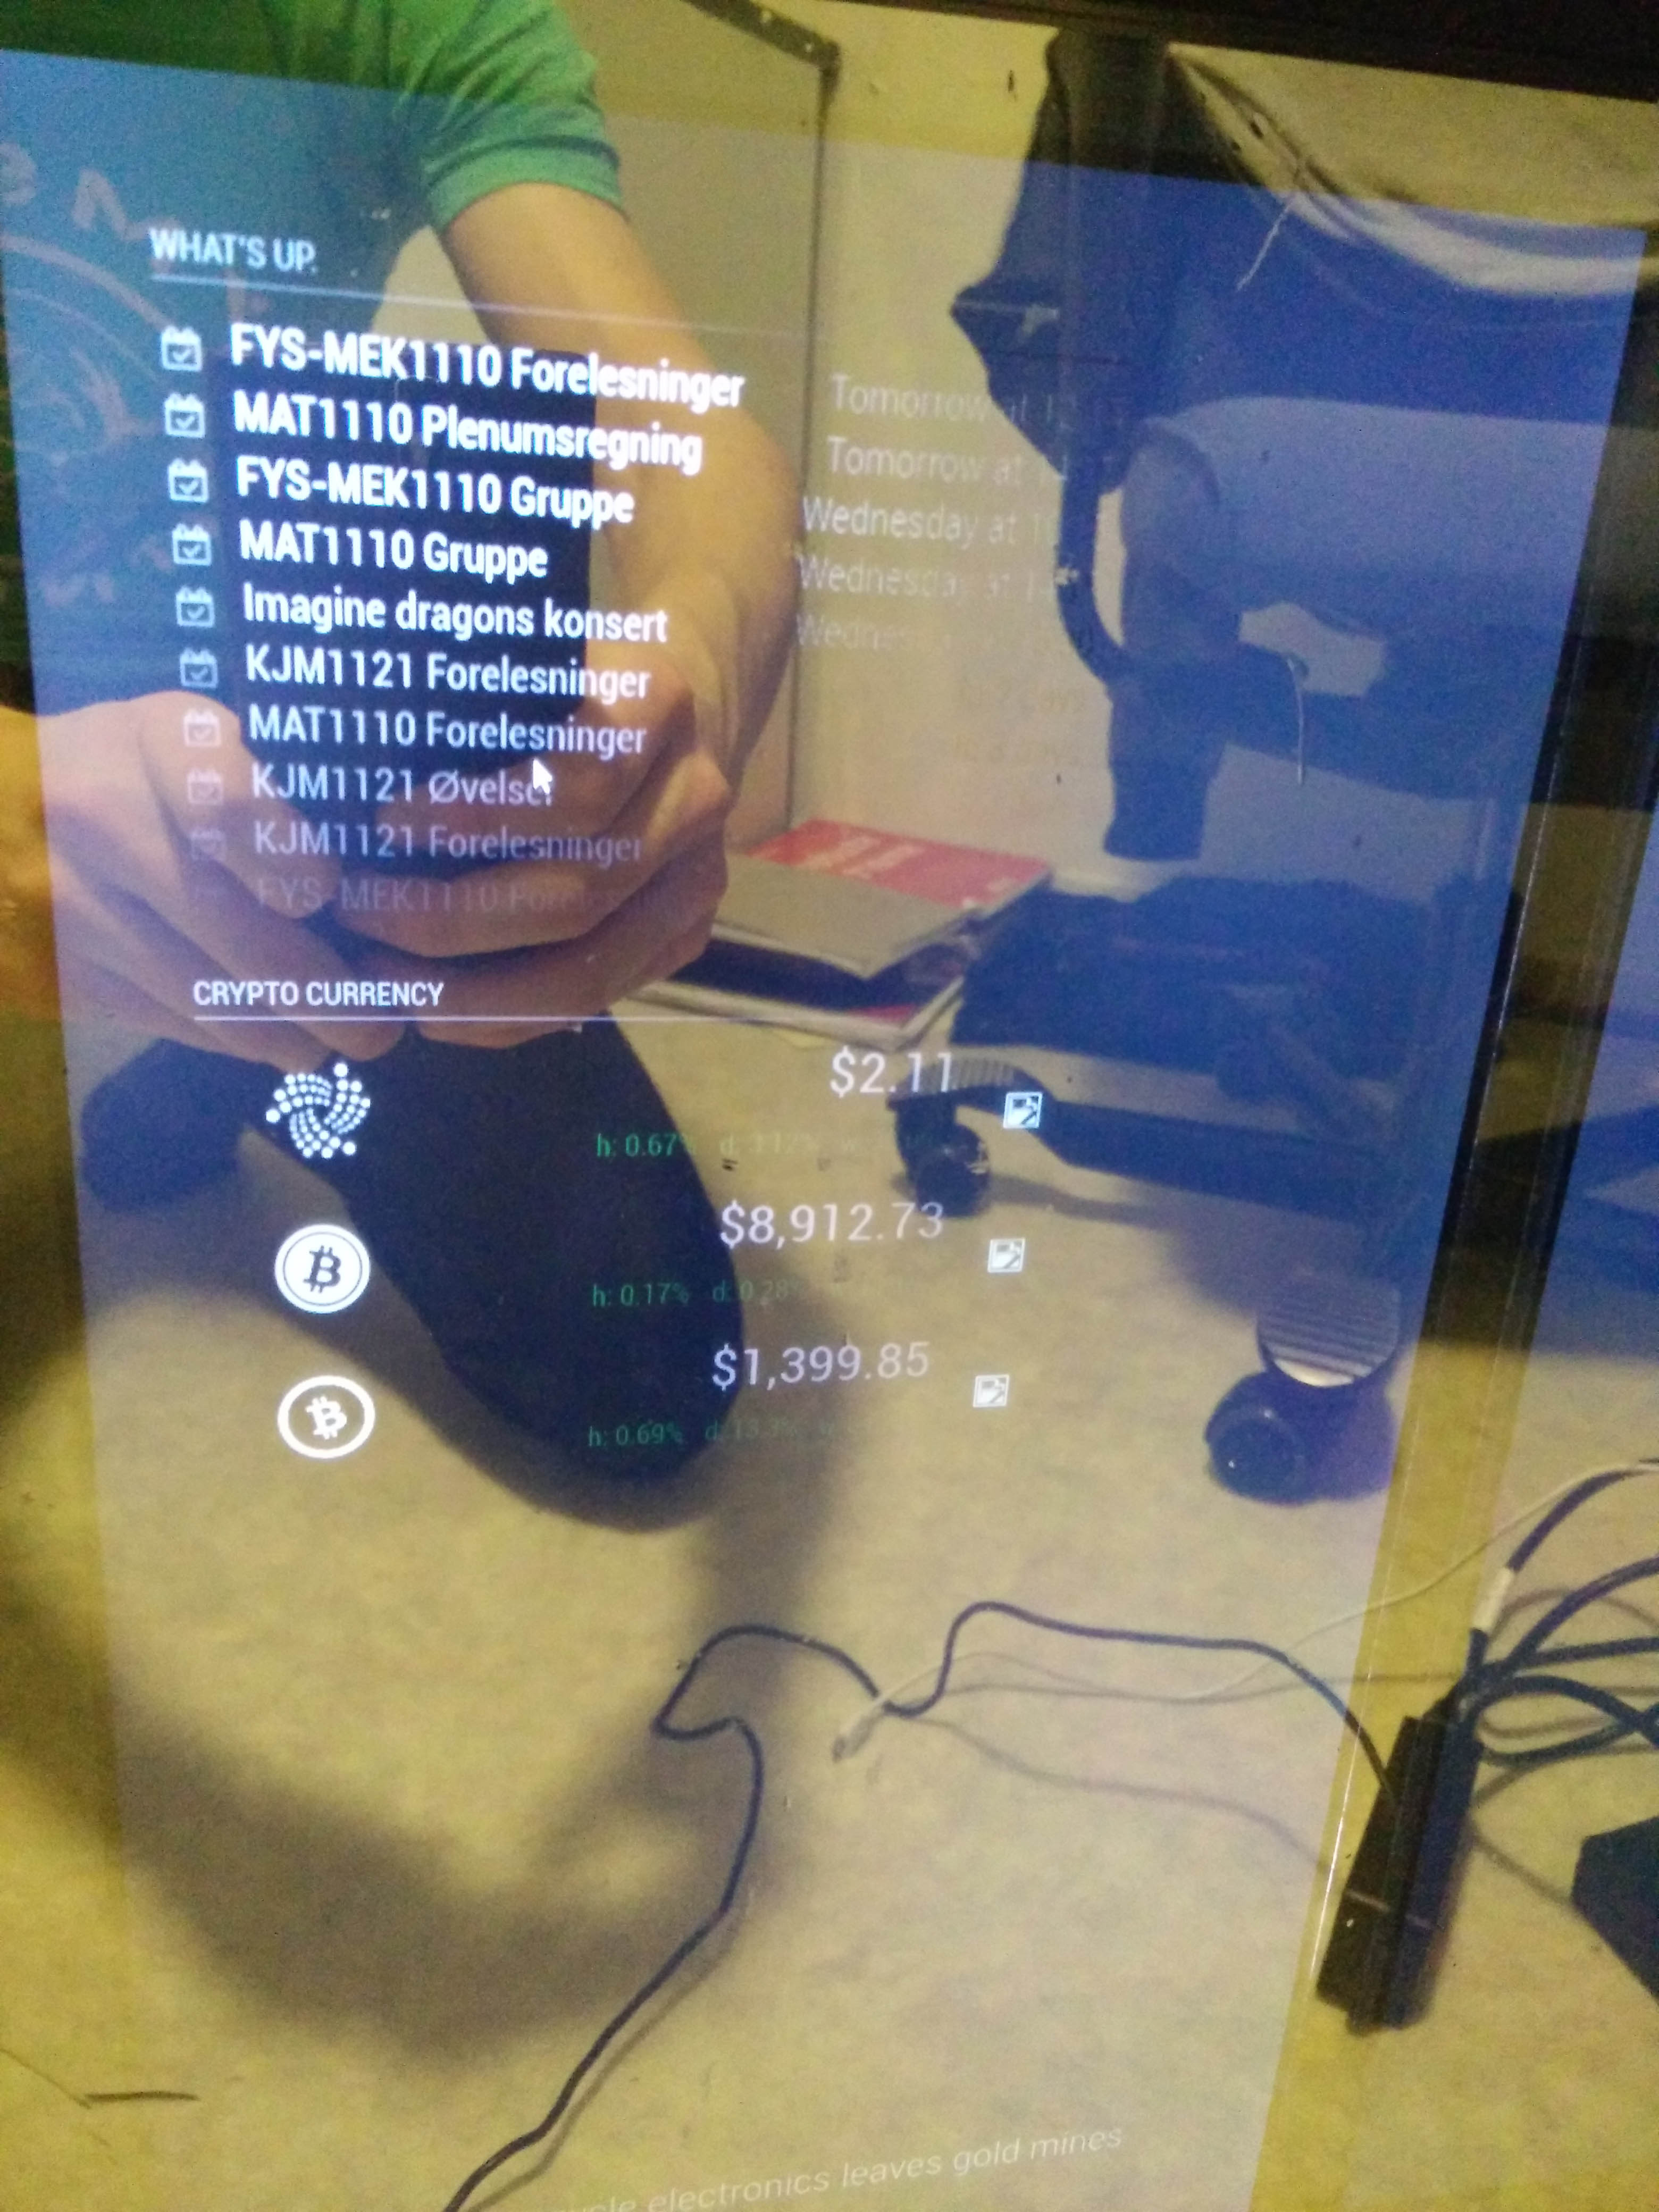
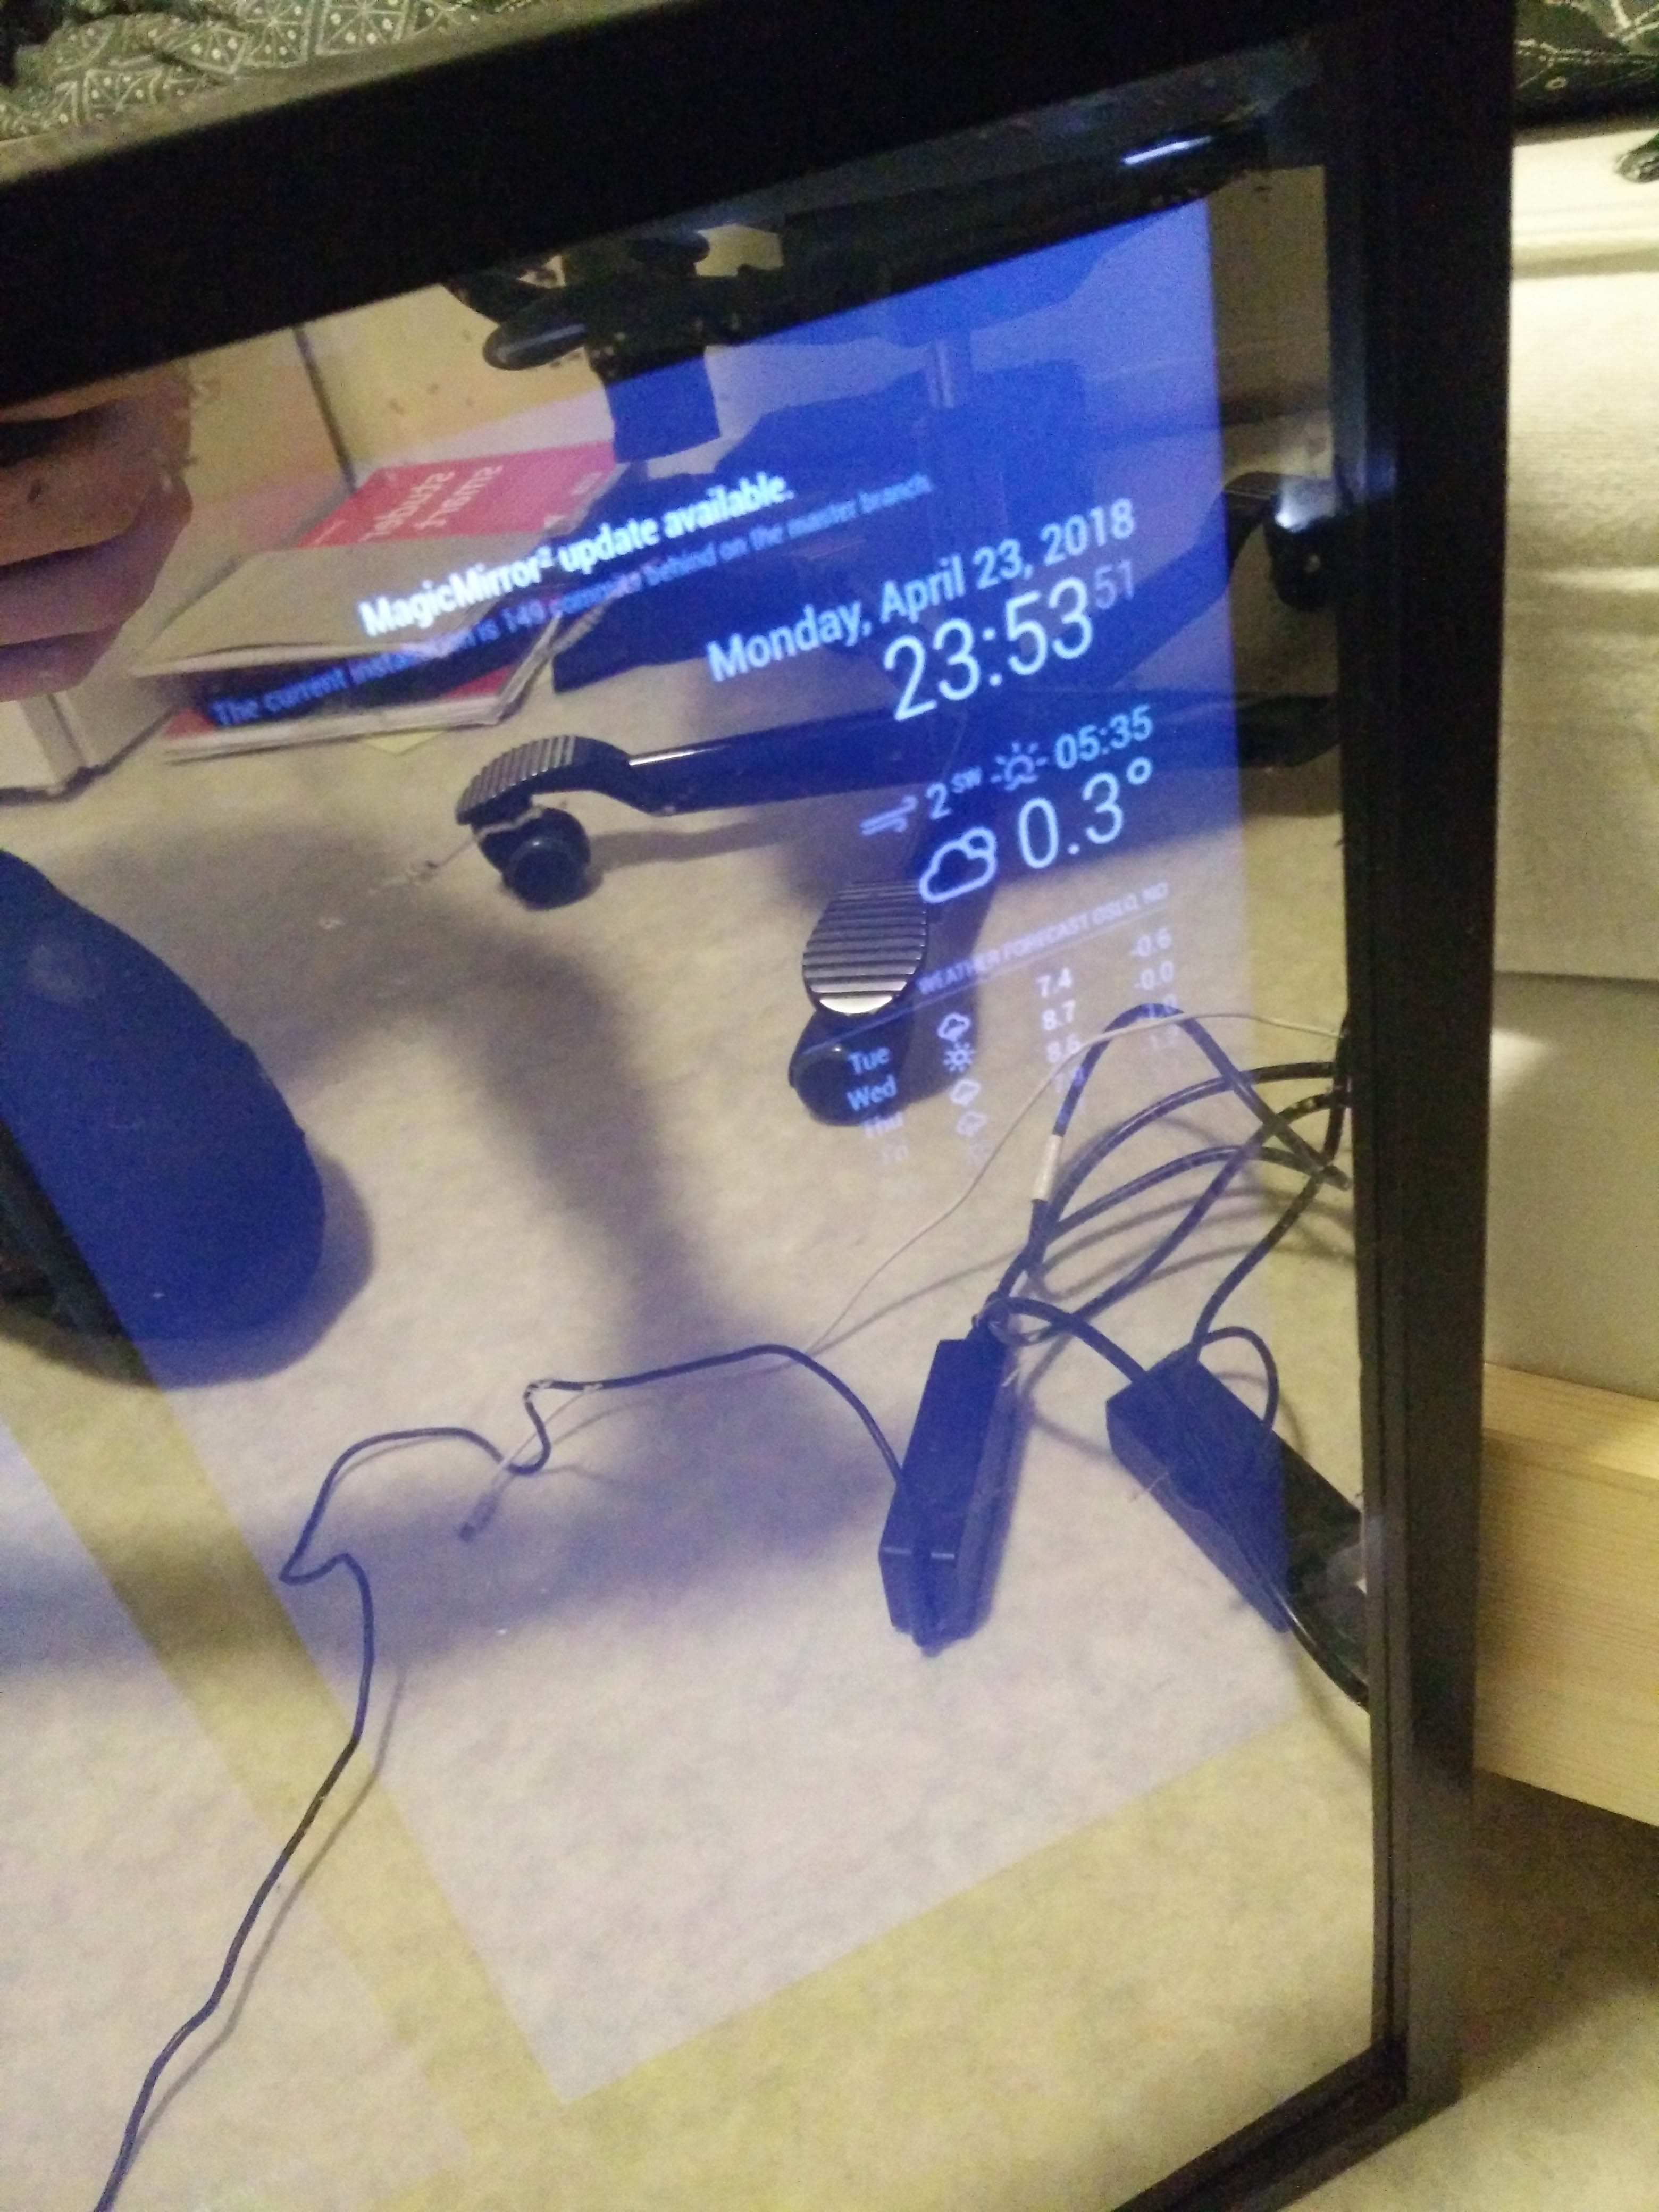
Now as you can see, the screens shine trough the film alot. This is mostly because of bad screens, but a better mirror would help too. Its hard to see but the plastic plate with the mirror film also bends a little, so the reflection gets bent around, and that doesn’t make a nice mirror. However, for a budget around $40, I think this was a decent project, and I learned alot along the way.
The things you can do with MagicMirror2 is really awesome. You could even have face-recognition to load different modules. I currently have it set up with my calendar, cryptocurrencies, and newsfeed on the left monitor, and time, weather and forecast on the right screen. I also got face-recognition working, so when my fiance walks in front of it it displays news relevant for her instad, and her schedule. I also have a module which displays whichever song my spotify account is listening to, but it’s only active when I’m actually playing music.
And thats the end of this build log. It took me quite some time to do, and I probably spent around $50 on this project all in all, but I guess you could do it for around $30 If you get the frame for free and have old laptops at hand, as well as all the tools. If you have any questions, just comment below or send me an e-mail.
Best regards